
I cant believe it buy ive now had this car for 10 years! i was 20 then, Eeek that went fast. starting college through college, first job ect history there.
I have posted about this car before for specific things and introduction. I would like to give you a very brief history.
t was my friends dads car they were 2nd owners, his dad bought it for him, he didnt have any interest. I wanted it the moment i saw it (this was back in high school) like i say my friend wasn't interested in cars and persuaded his dad to sell it to me. I paid 1k for it, with 89000 miles. it was always my intent on being a project car, in particular my first engine rebuild. but at the time it was a running driving car and that was future project.
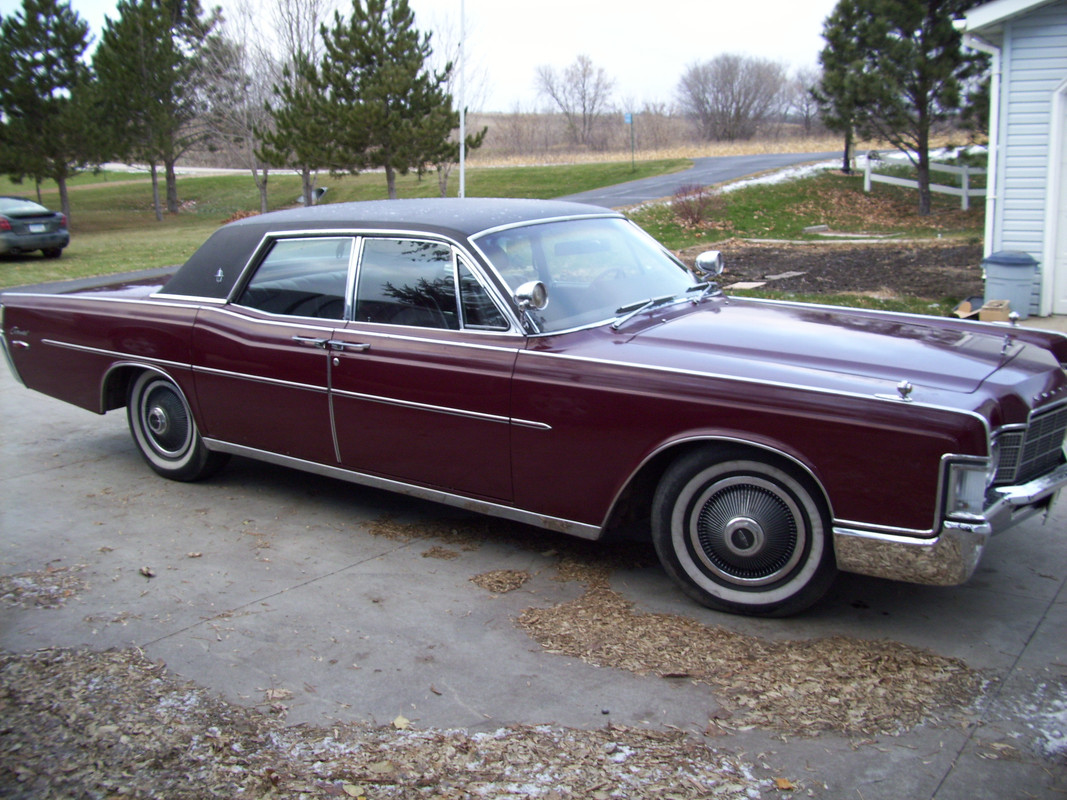
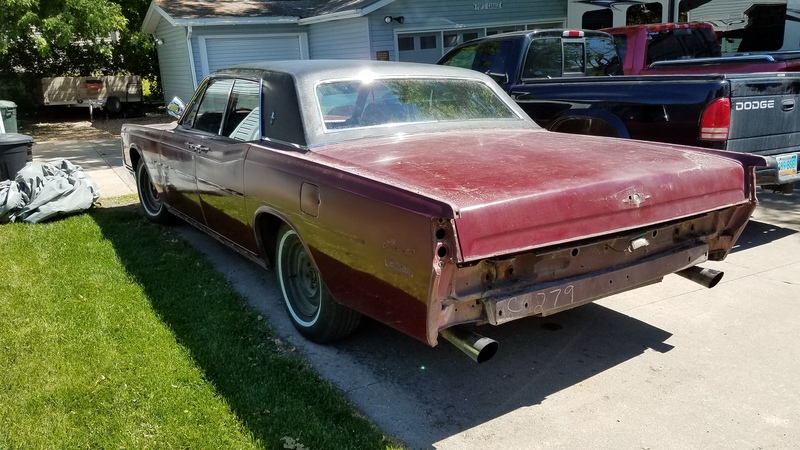
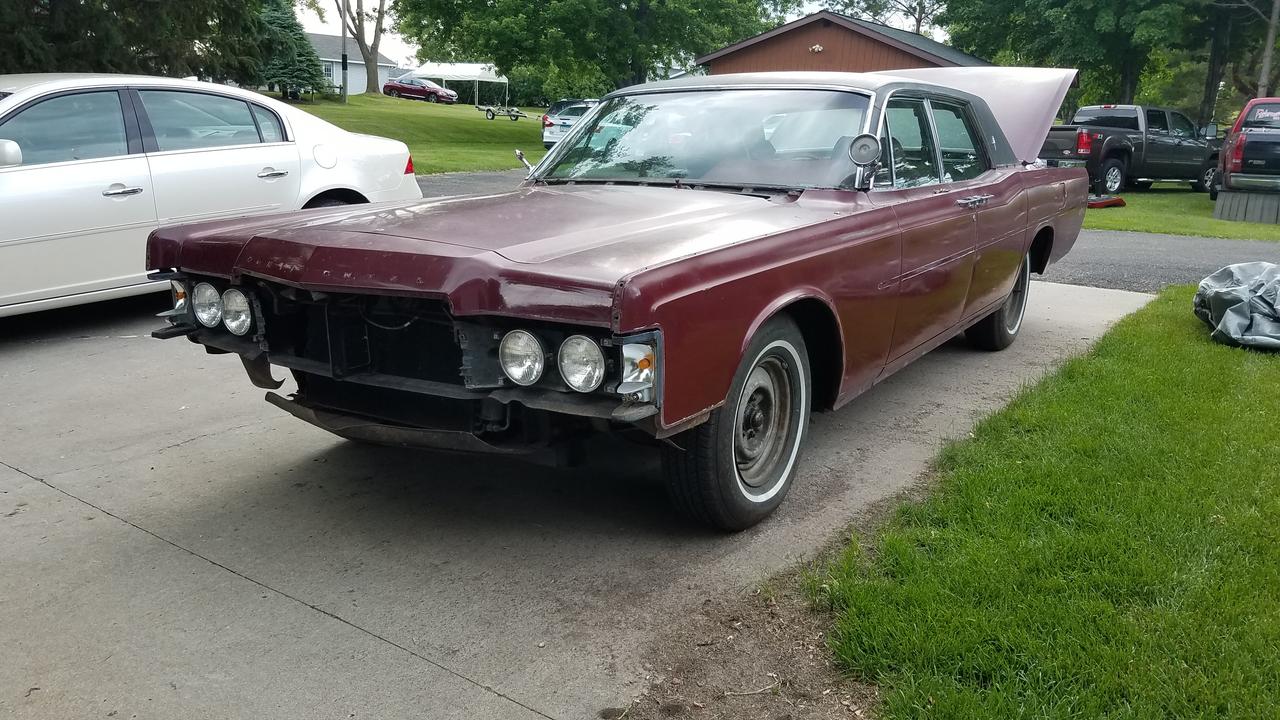
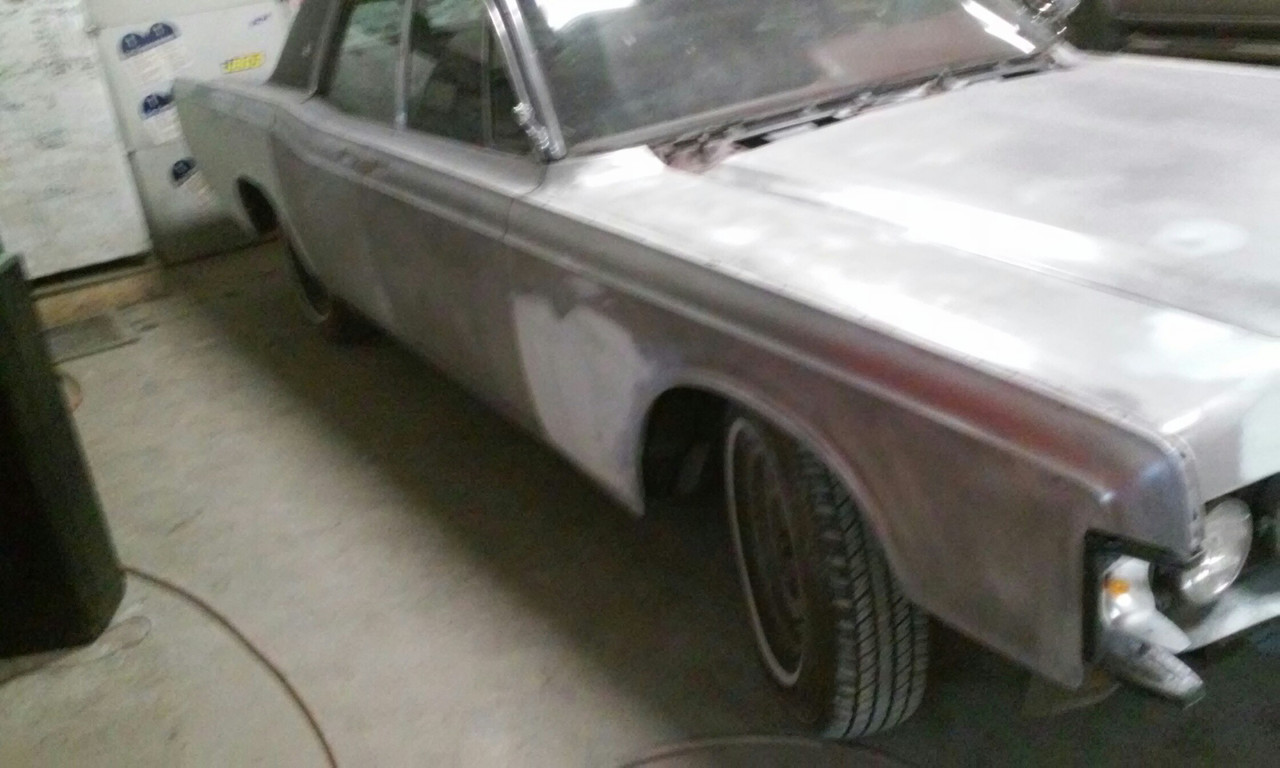
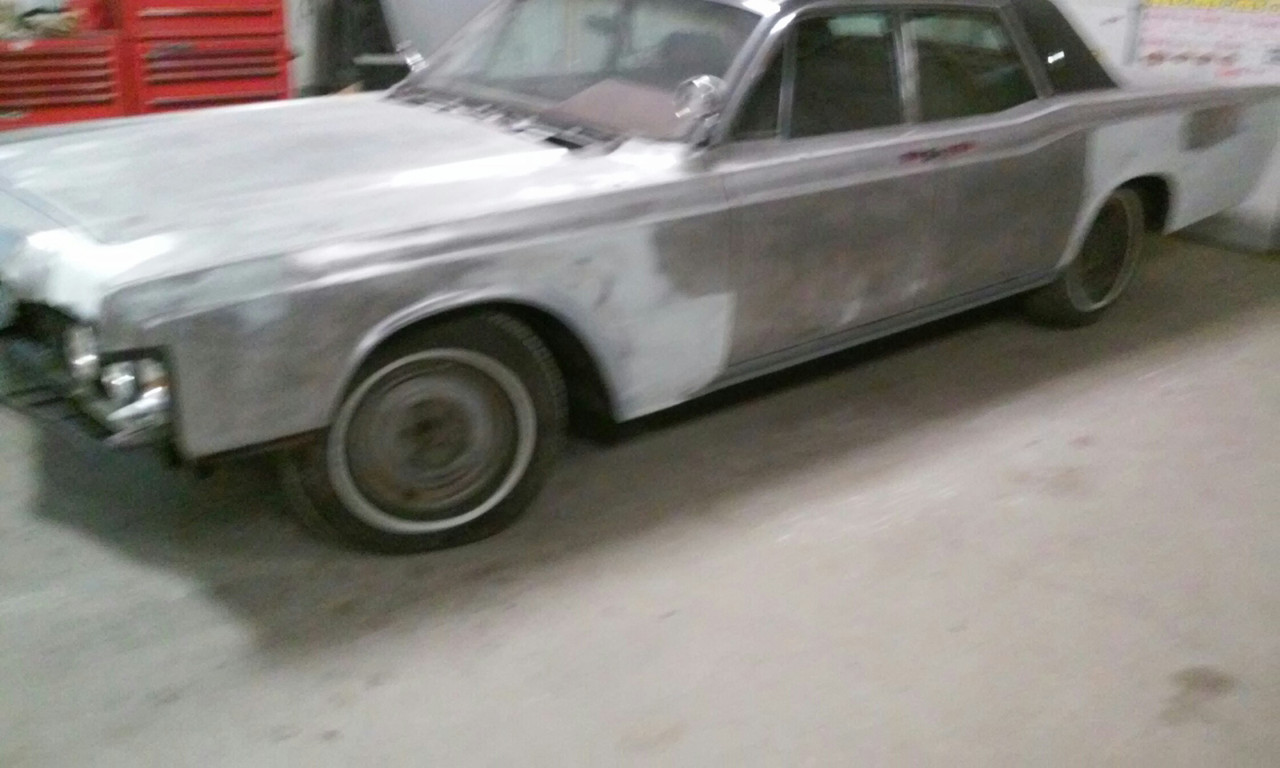
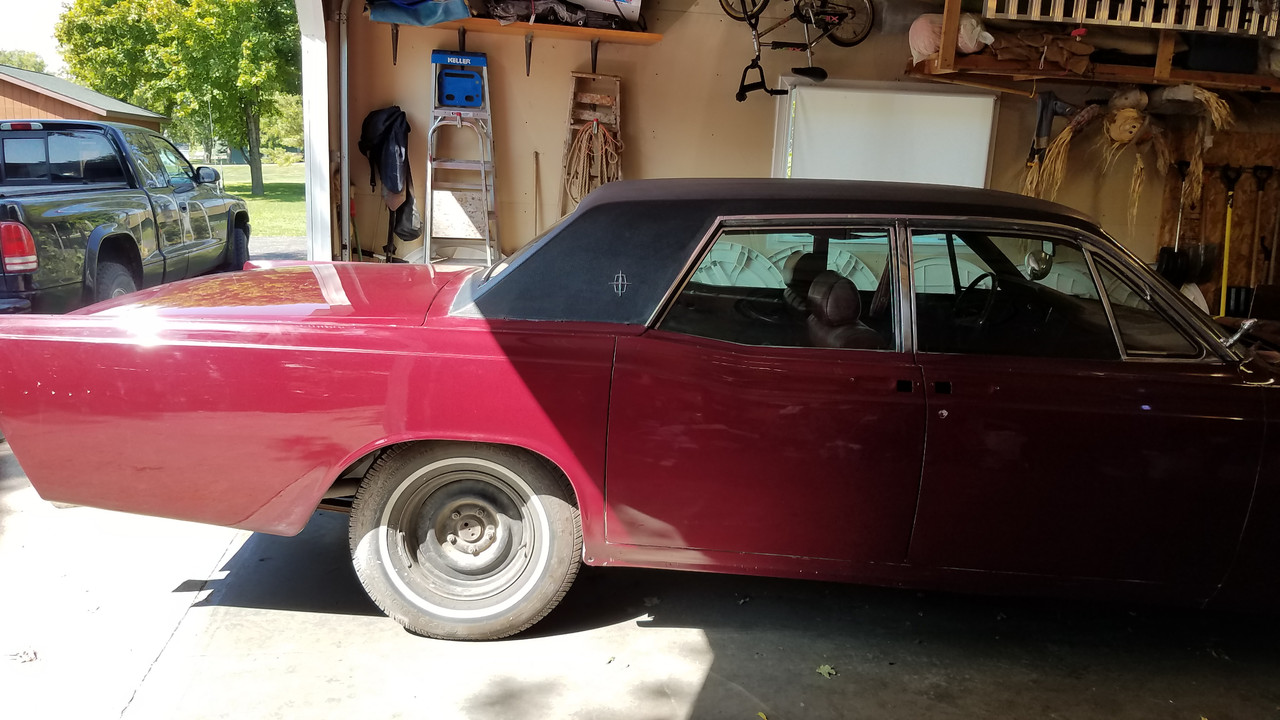
here is how i got it, pictures make it look better, paint was bit faded and blotchy, it had been resprayed on top of the original in the late 80s and of course over the 10 years i had it, the paint got worse.


and a little video of it mostly running back in the day (very old cell phone vid)
https://vimeo.com/240103255
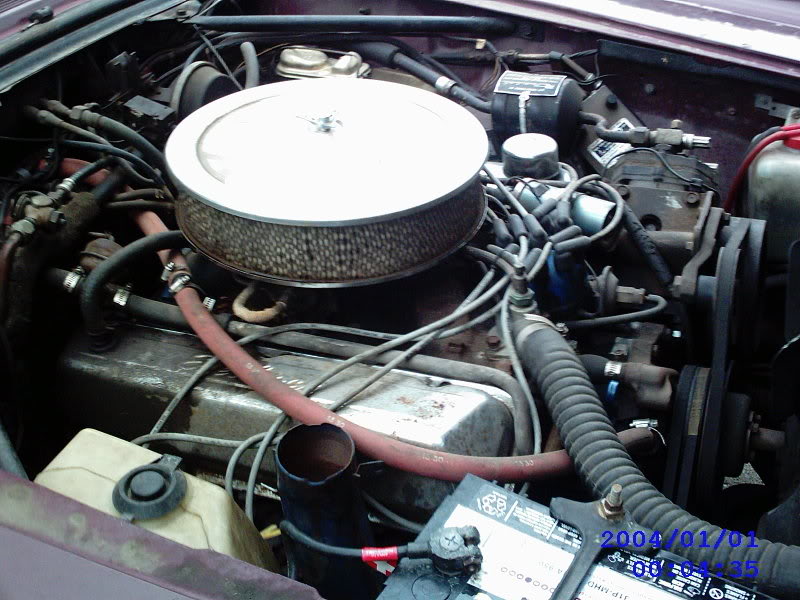
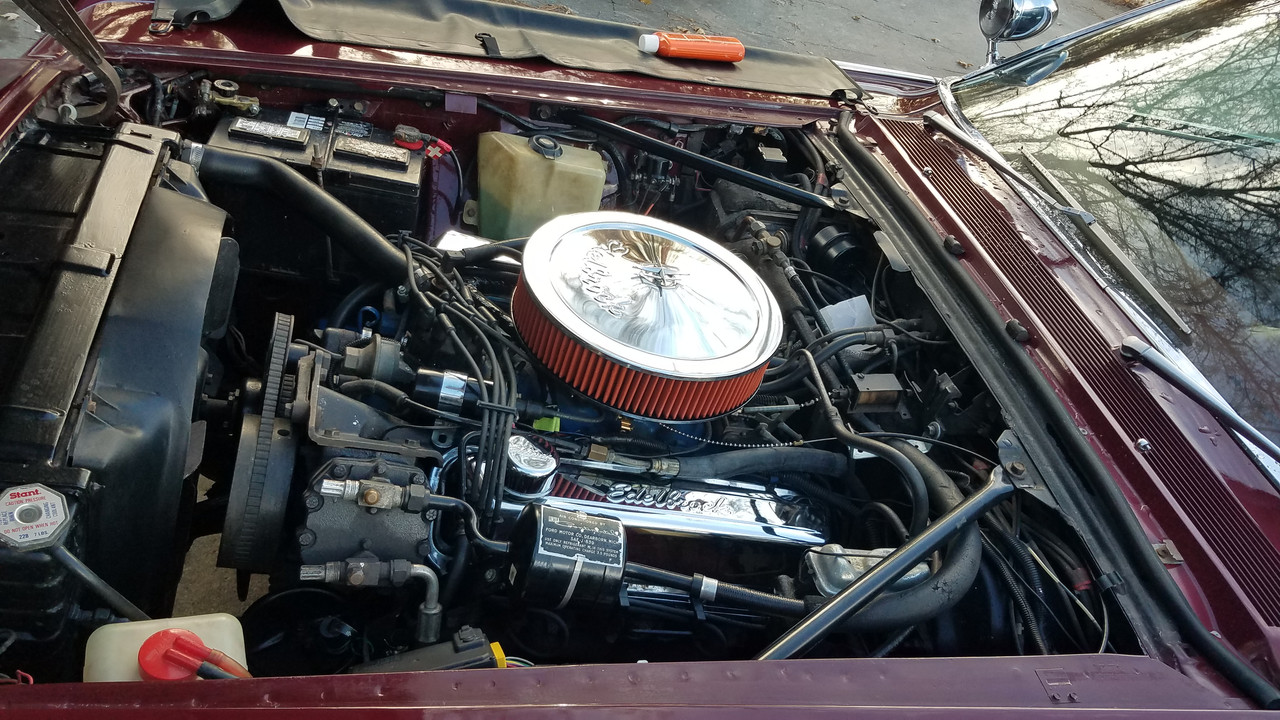
but a few months after, head gasket went, hydrolocked and broke a piston and some valves, pushing up the engine rebuild timeline
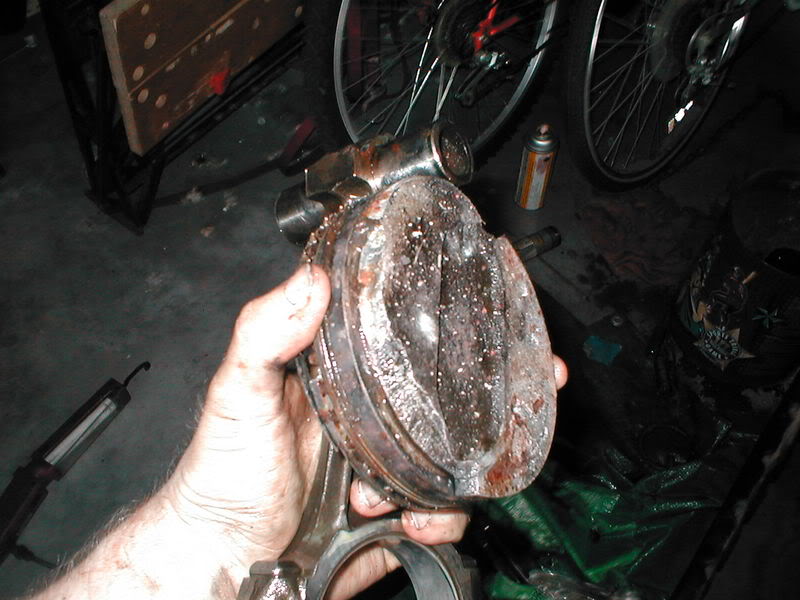
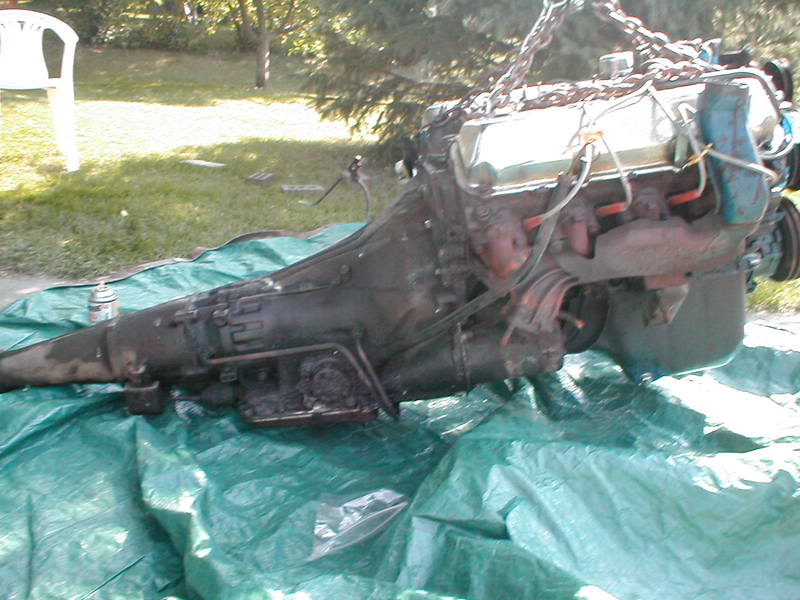
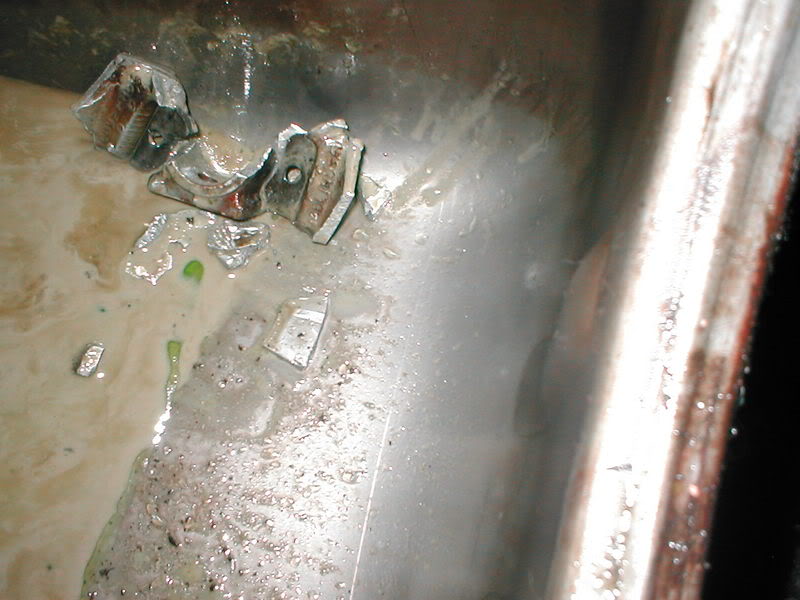
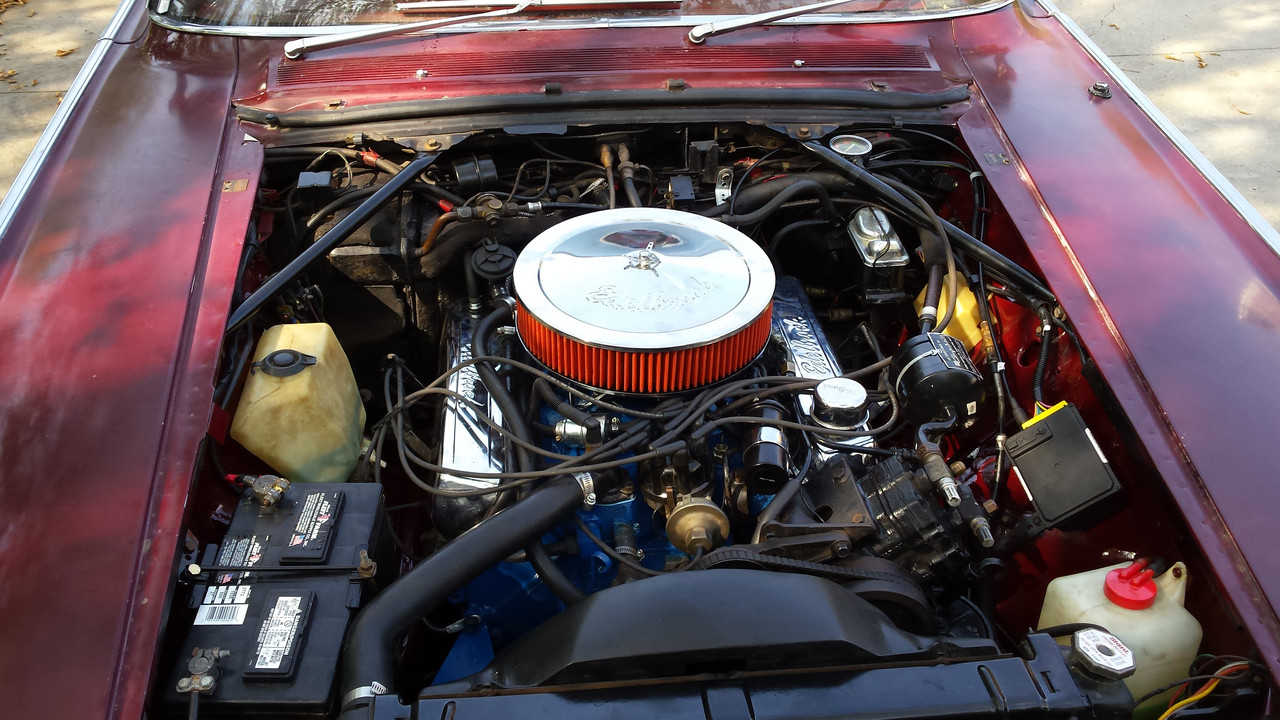
but that turned into this
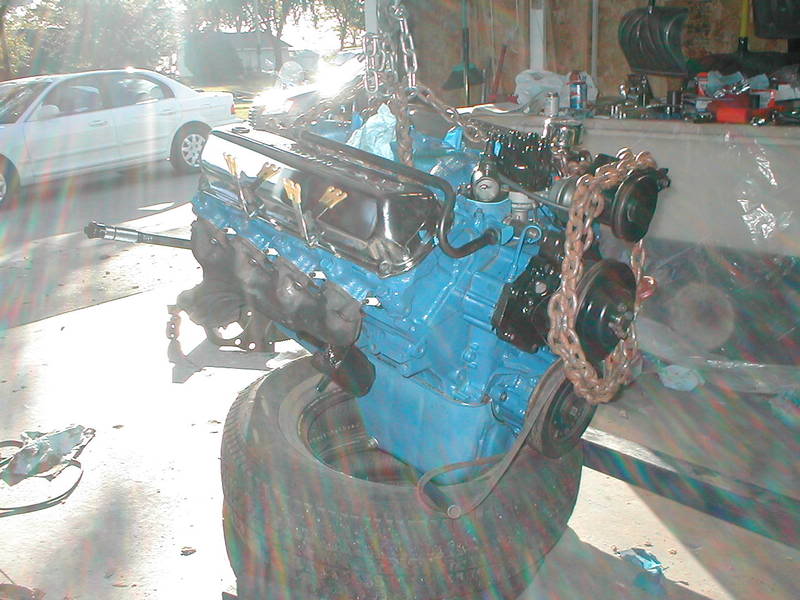
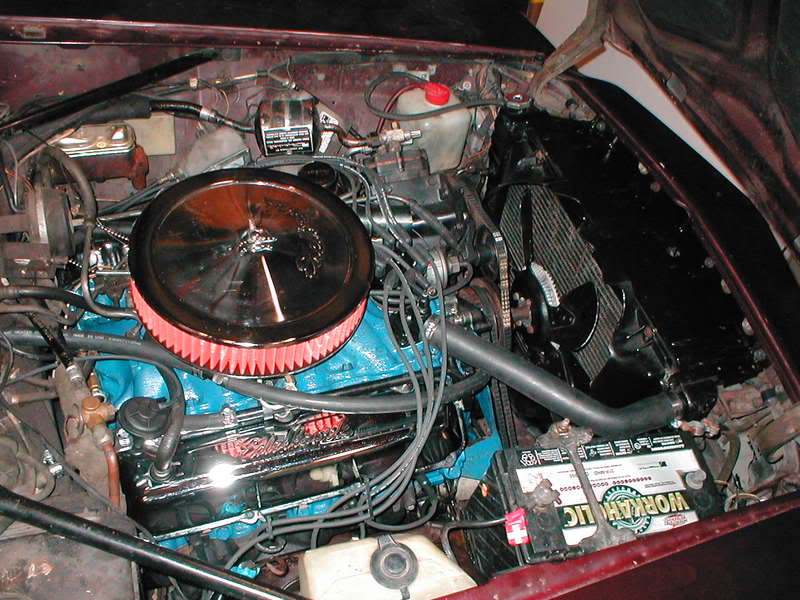
and video of the very first crank, of the very first engine i tore down and put back together entirely on my own with the help of a book and the internet. True i didnt do the machining but all the rest was me and it went pretty well. Upgraded parts and what not, but this isnt about a laundry list
(again old cell vid, thats my sister talking in it)
https://vimeo.com/240103236
ok with all cars little things happen along the way here and there, but basically we ran it this way for a while. the next major thing was an oil leak at the oil pan gasket and oil plug. this required at least lifting the motor to fix. also i had an oil leak on the top of the motor i couldn't figure out for the life of me. I added full set of gauges in a kinda stealthy install, but for my oil pressure gauge i Td the back port behind the intake to keep the idiot light. thats where it was leaking, but i always thought it was the fitting and i redid that sooo many times. i was even starting to suspect the rear block plugs, which was another reason to want to pull the engine. anywho that was pressure switch itself, but only under high pressure, like a really cold start or hard revving, the crimp fitting in the pressure switch itself leaked. so it was just a $3 switch that caused me all those problems. but i was happy to to solve it.
ANYWAY....
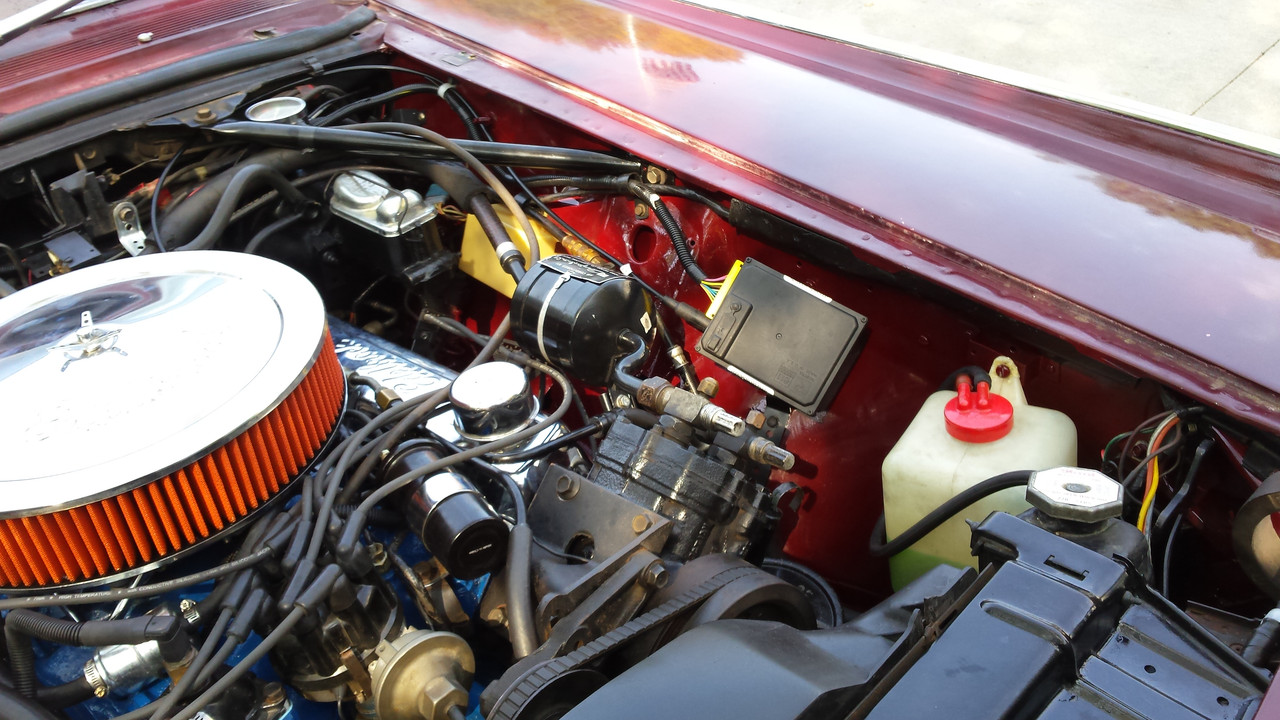
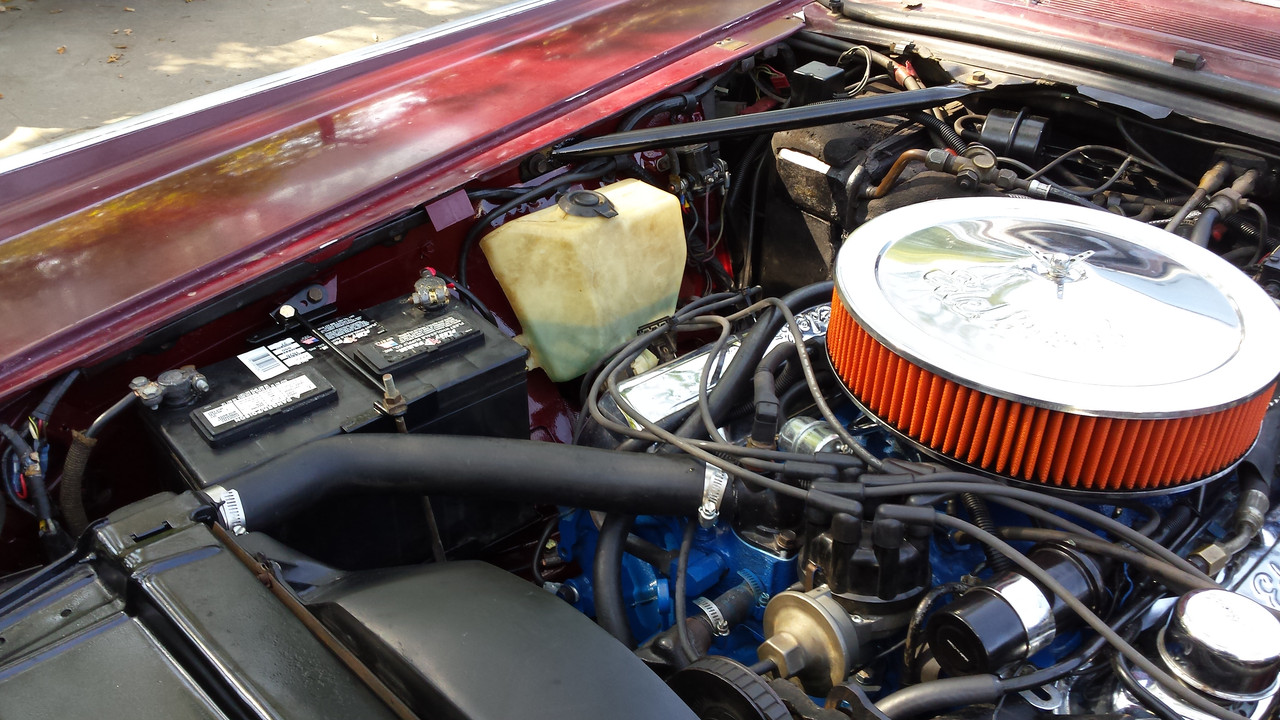
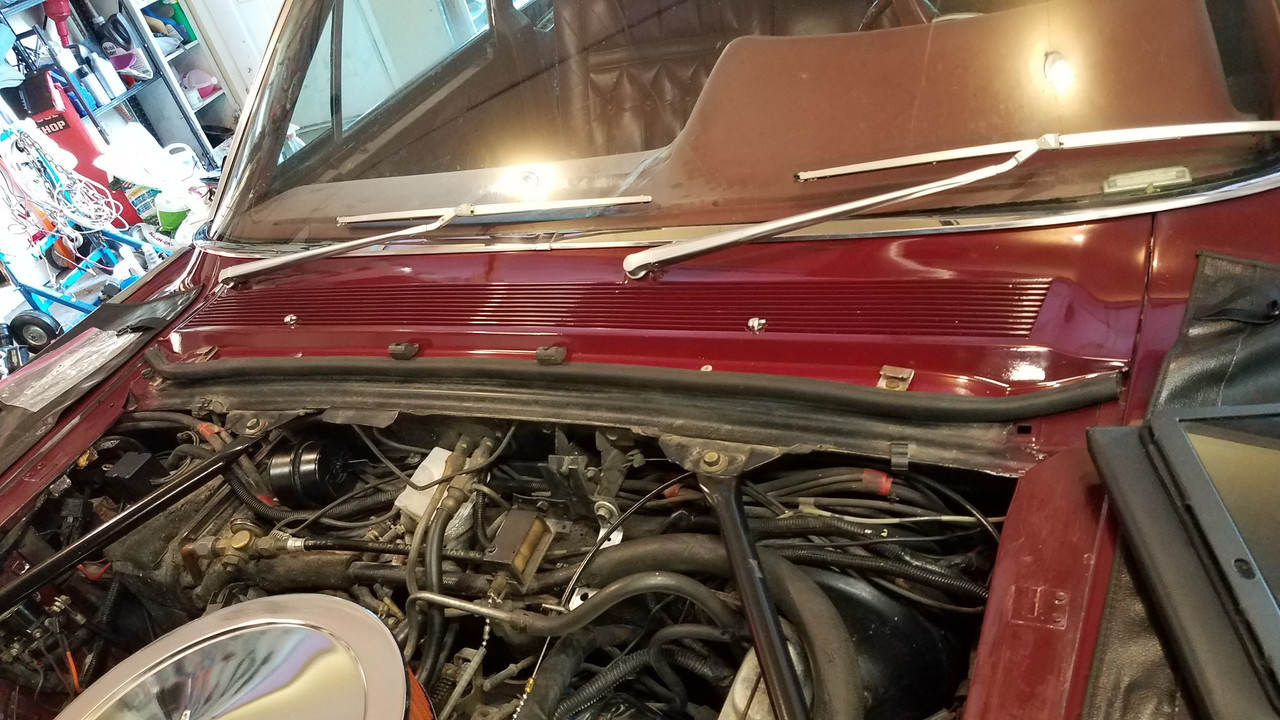
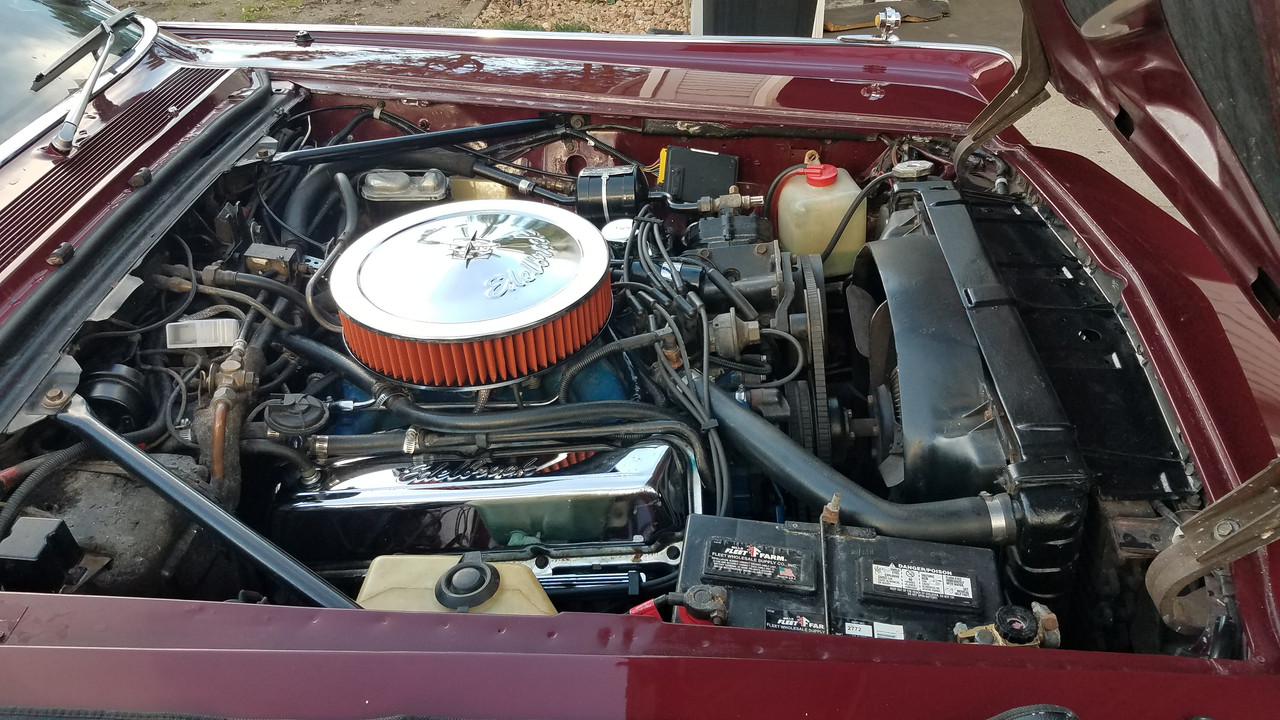
this is maybe 5 years? later. i pull the motor again, this time leaving the trans in there. the trans was gone through the first time by shop. i wanted to fix those pan leaks, inspect the rear of the block for seals. and clean up and repaint the engine bay. including replacing hoses and cleaning up unnecessary things, and removed the old cable driven aftermarket cruise control and autostart components. and installed an electronic aftermarket cruise. i did all of this in my parents garage including the painting. i figured its just the bay. also i repainted the engine again with some higher quality products
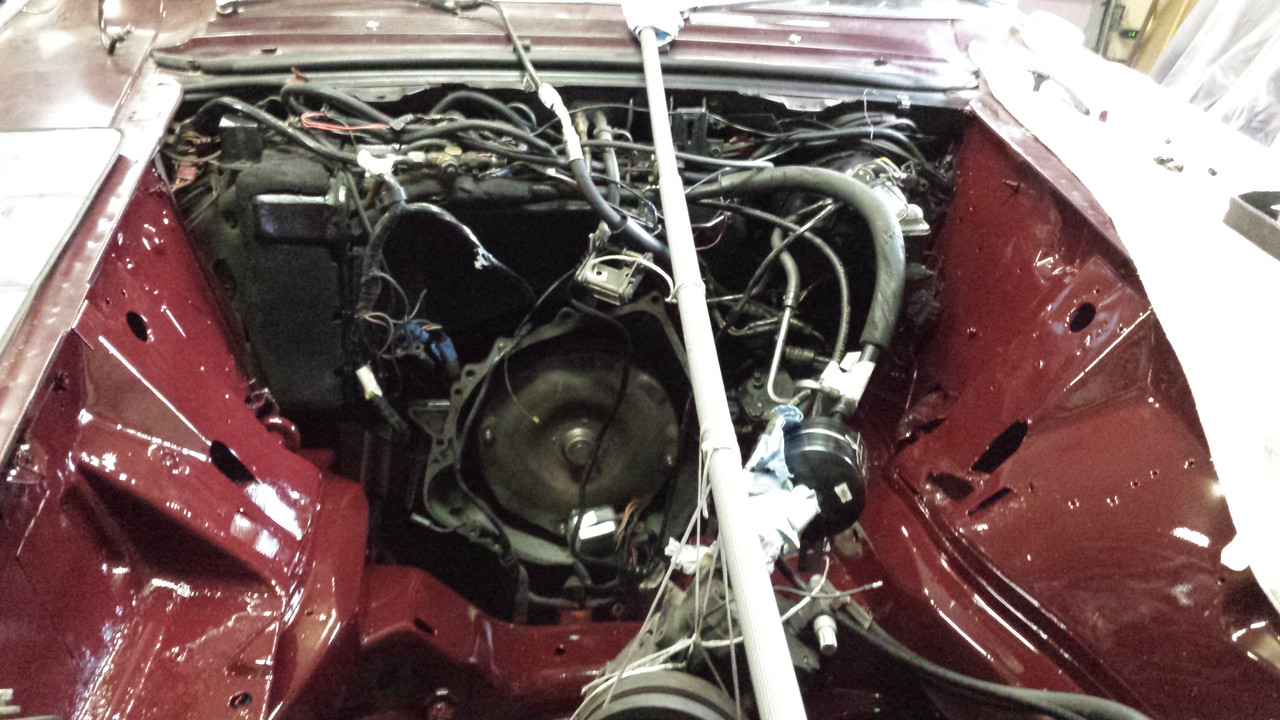
there is only so much i could do as we know lots of hoses and such to make things work on these cars

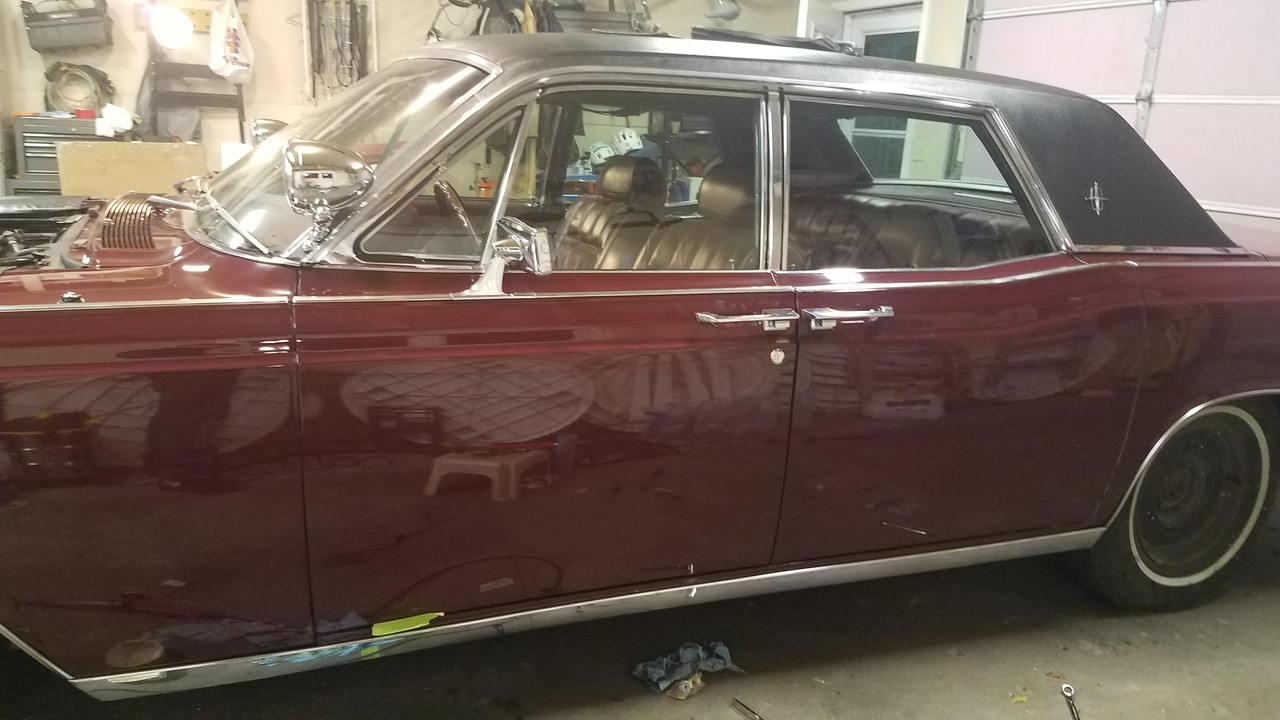
and since then i am happy to say no leaks and we just drove it, flipped the odometer during that time too. but it was looking a bit rough, had that rust hole in the driver fender, chrome was looking a bit dingy as well as the top. you know just time taking its toll. wasnt sure what to do with it, but then a family member had an accident and put a decent gouge in the passenger front fender. which made the decision for me, that it should be painted. make it look more respectable and delete some silly stuff the PO did.
now i must say money wise this was a lot for me, so this was an exterior respray, no jams, stock color. so no show car for sure. we did get dings repaired and such with it but its obvious when you open a door this is not a full restoration. but i am proud of it.
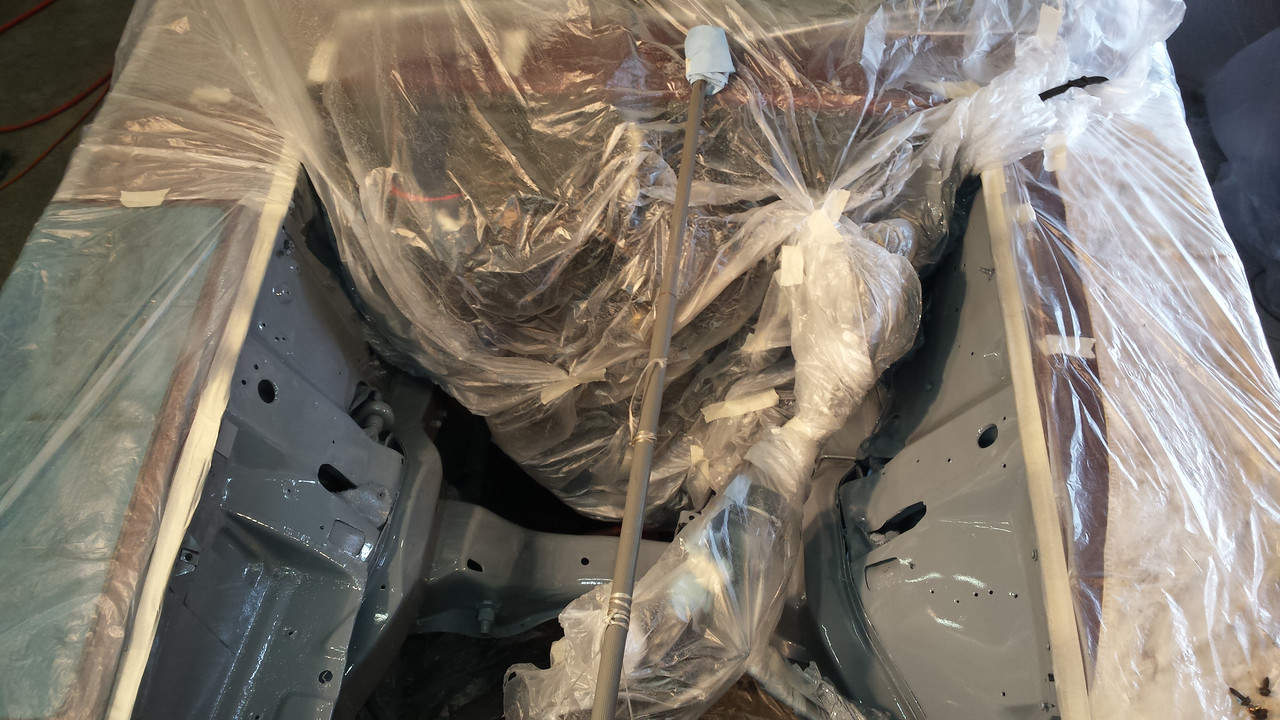
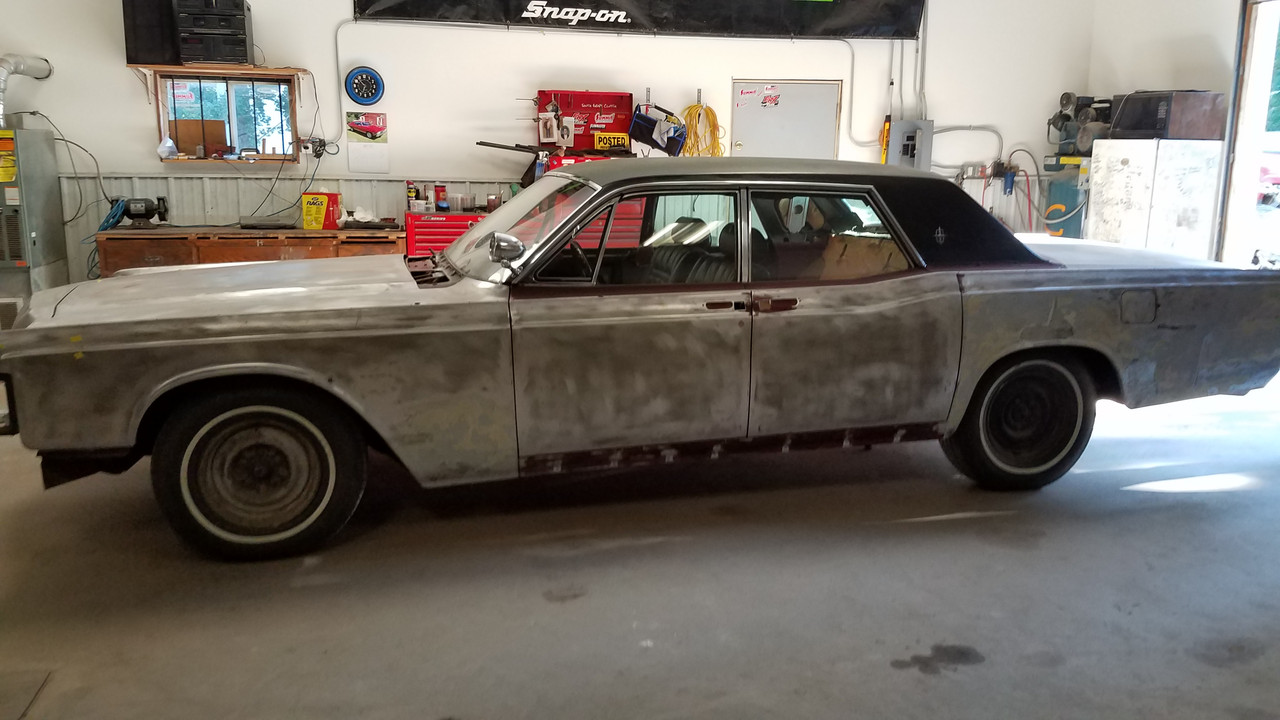
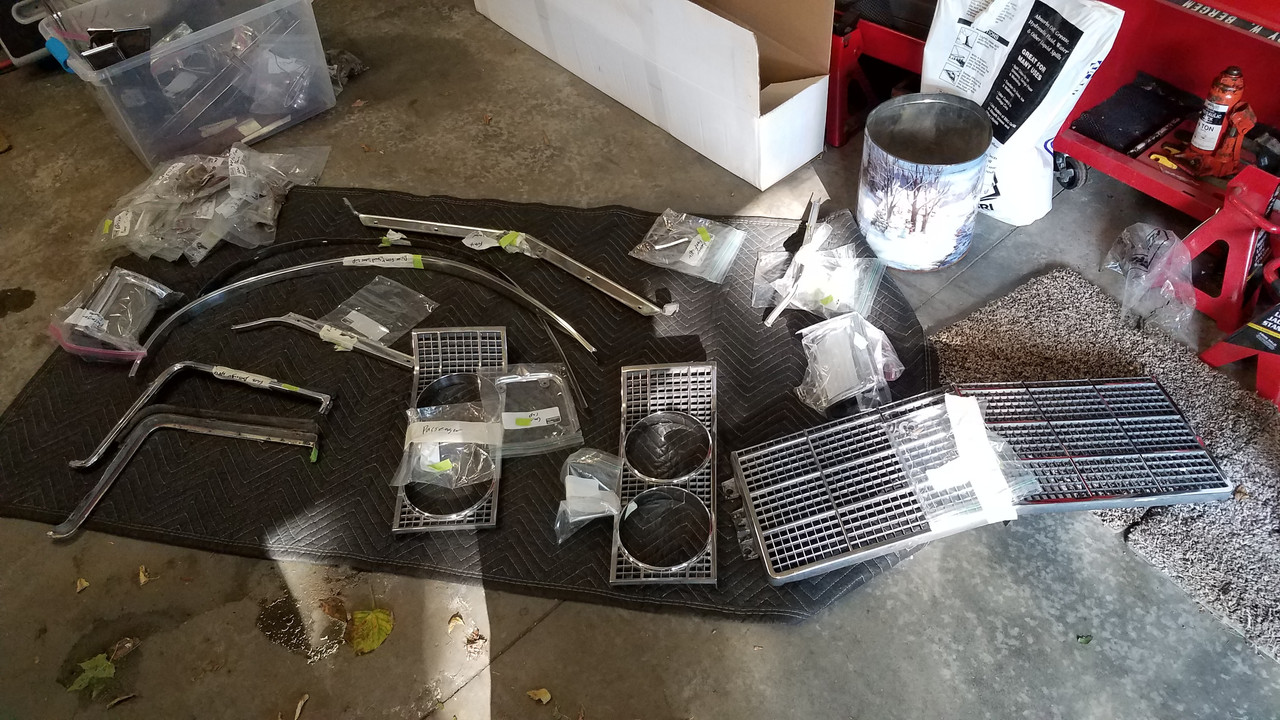
to save some coin i took the thing apart, just a few for fun..
and i drove it naked to the painter. who did strip to bare metal. we did find previous lower quarter repair form that 80s respray, that was mostly filler. but this time around he cut it out and welded in metal. no doubt there is still a bit of filler involved but i was please with his work.


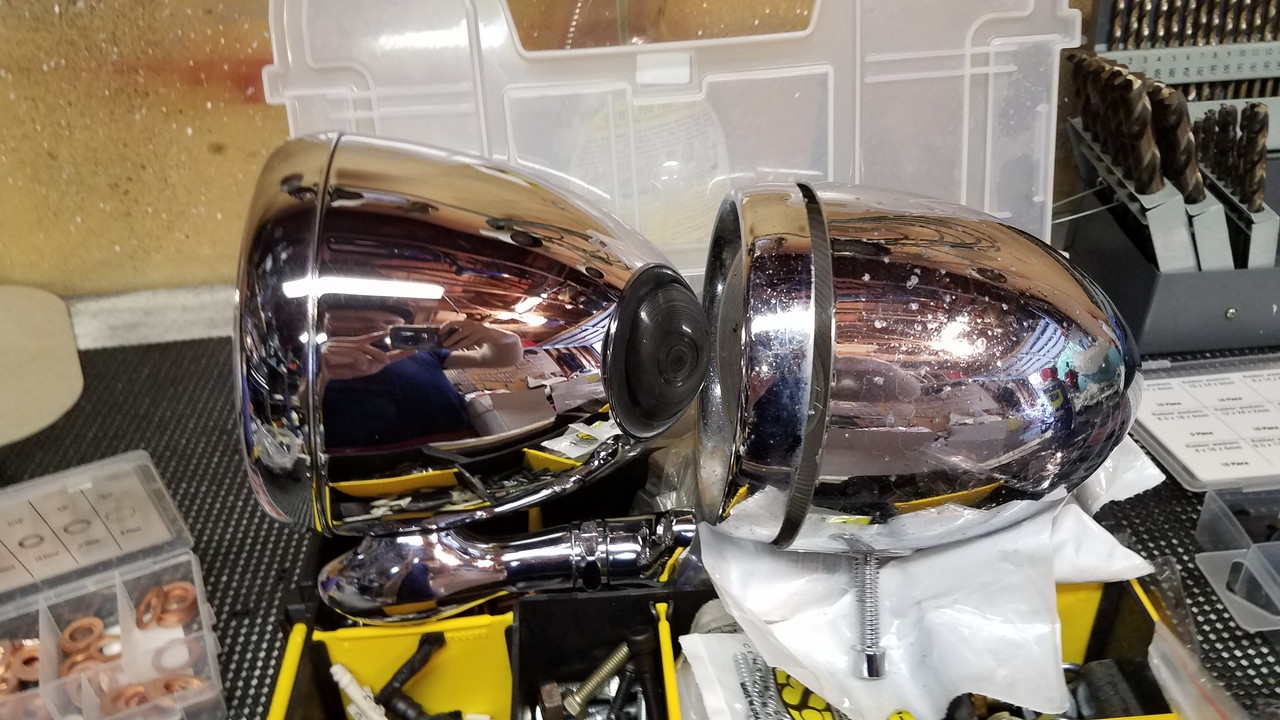
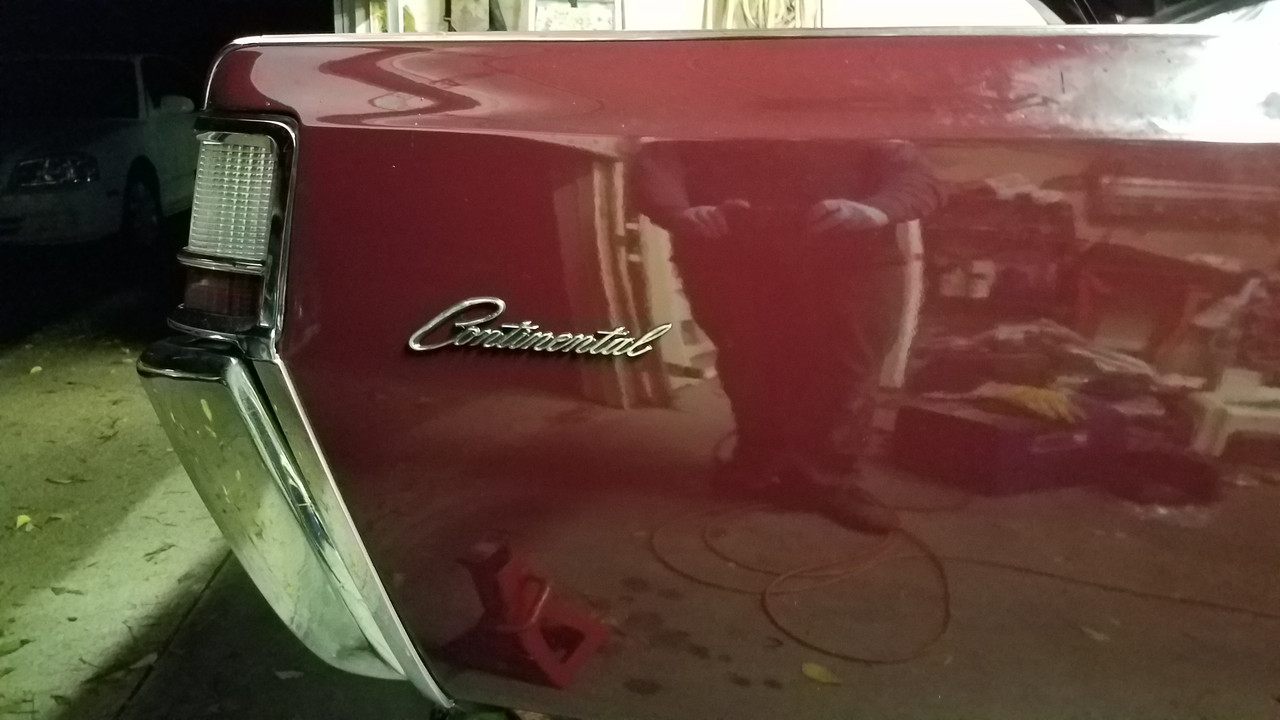
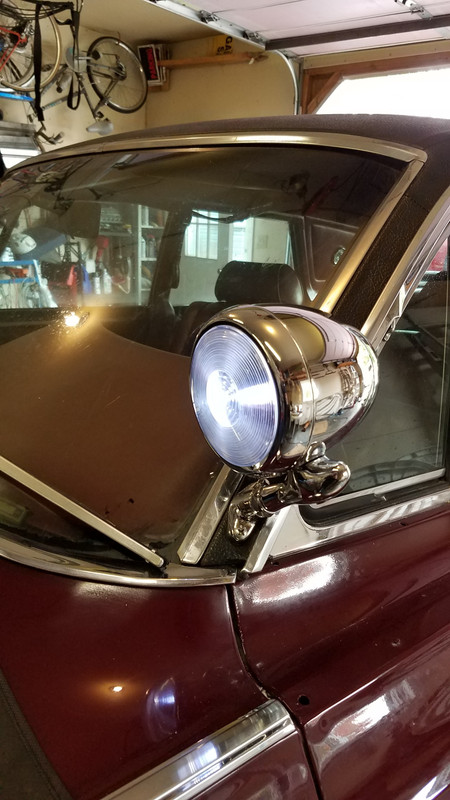
at this time, we deleted those side rear marker lights and filled those holes. and that add on center molding wasnt going back on i wanted it to be as much stock as possible. due to the holes the PO made for the spot lights they had to stay but i got new ones, as well as those turn signal lights. maybe ill replace that trim to delte those in the future. they do work but are a bit pitted.
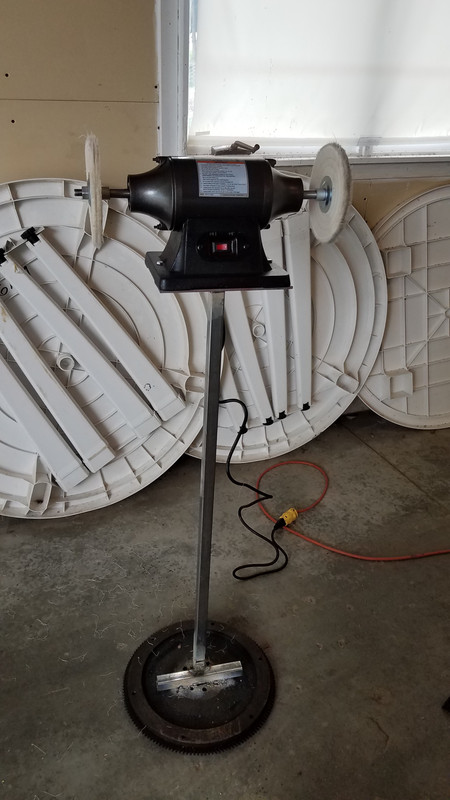
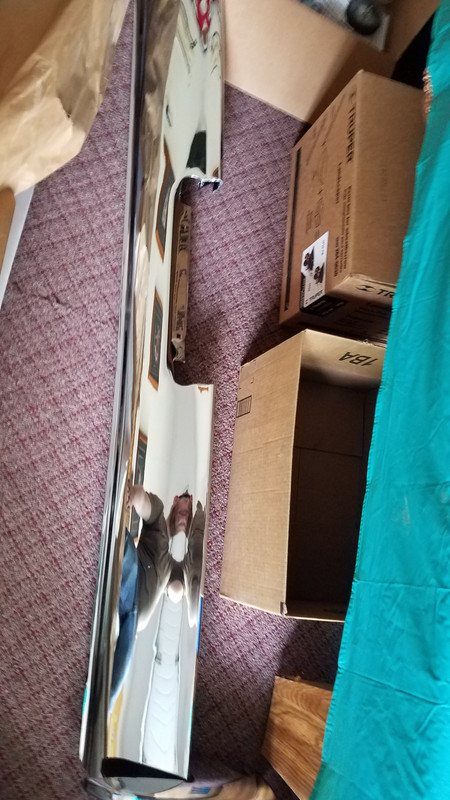
but while paint was going on, i bought the cheap HF bench buffer, a bunch of wheels and all the rouges. I made a quick and dirty pedestal and went to work polishing ALL the bright work. which i think came out really well

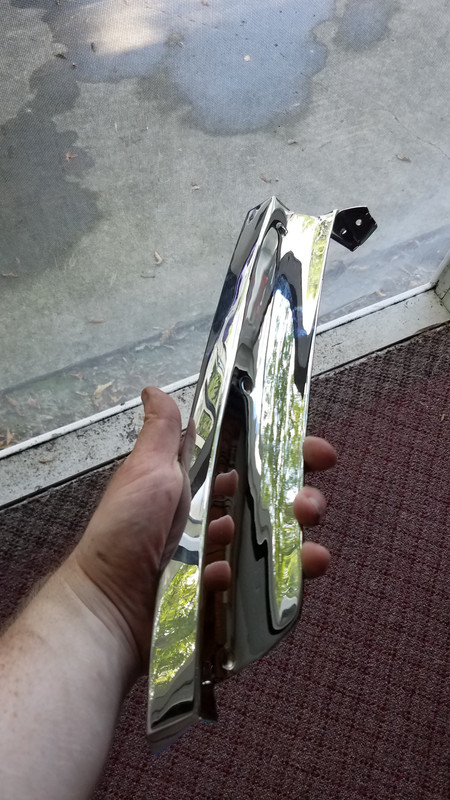
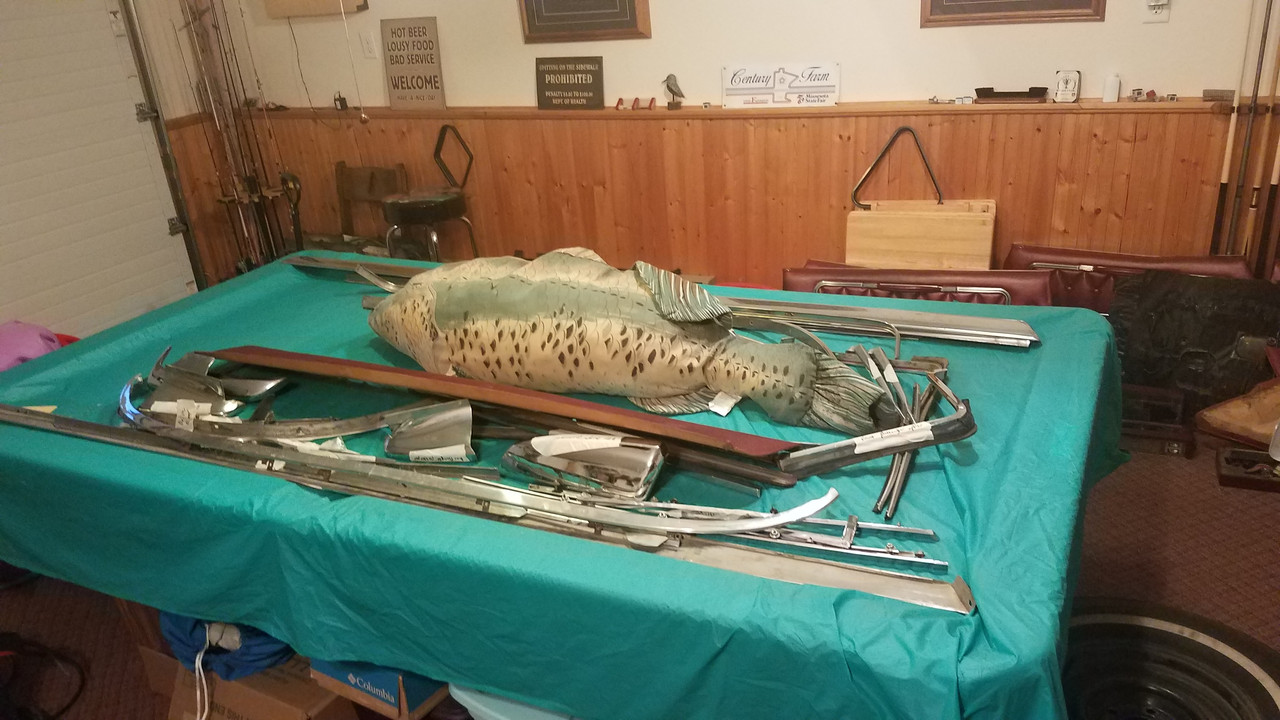
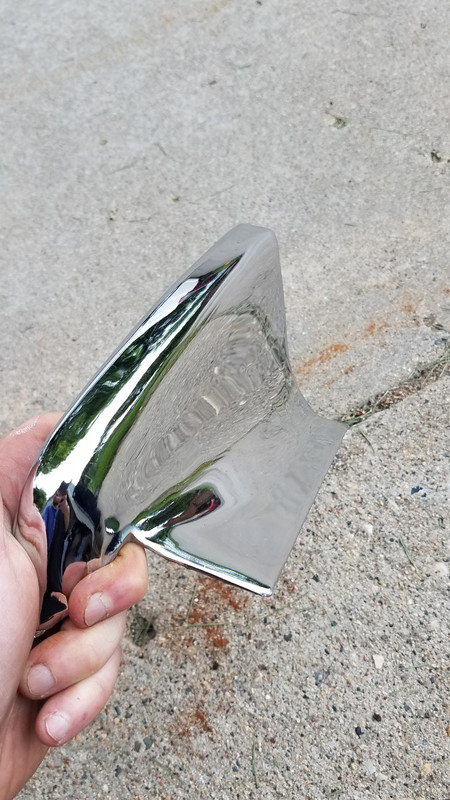
the front bumper i did get lazy with and kept it in one piece which changed my polish method but it worked out great
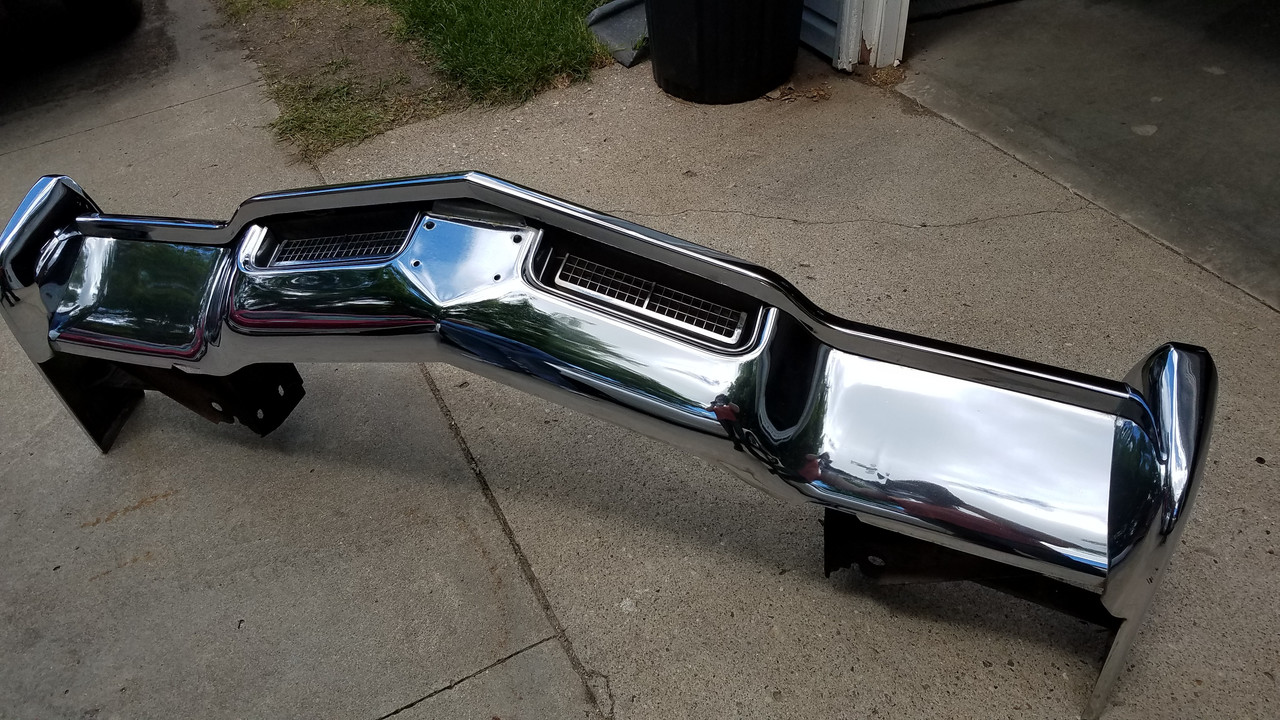
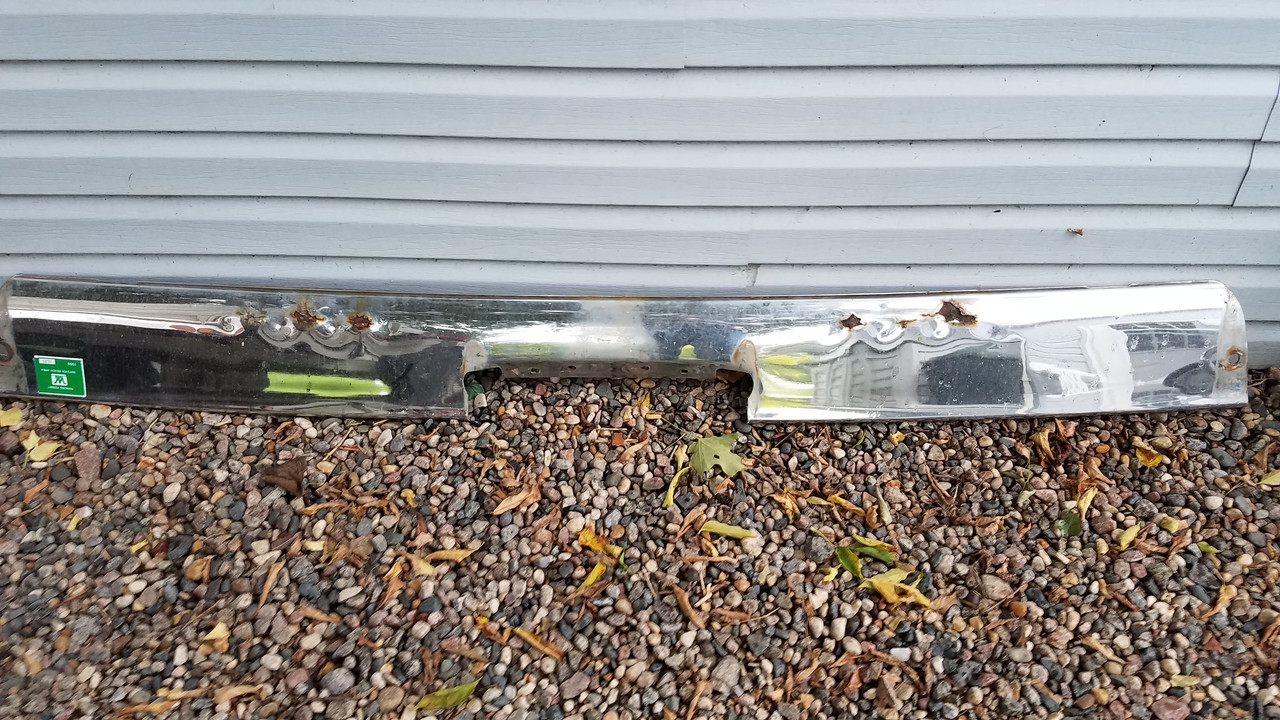
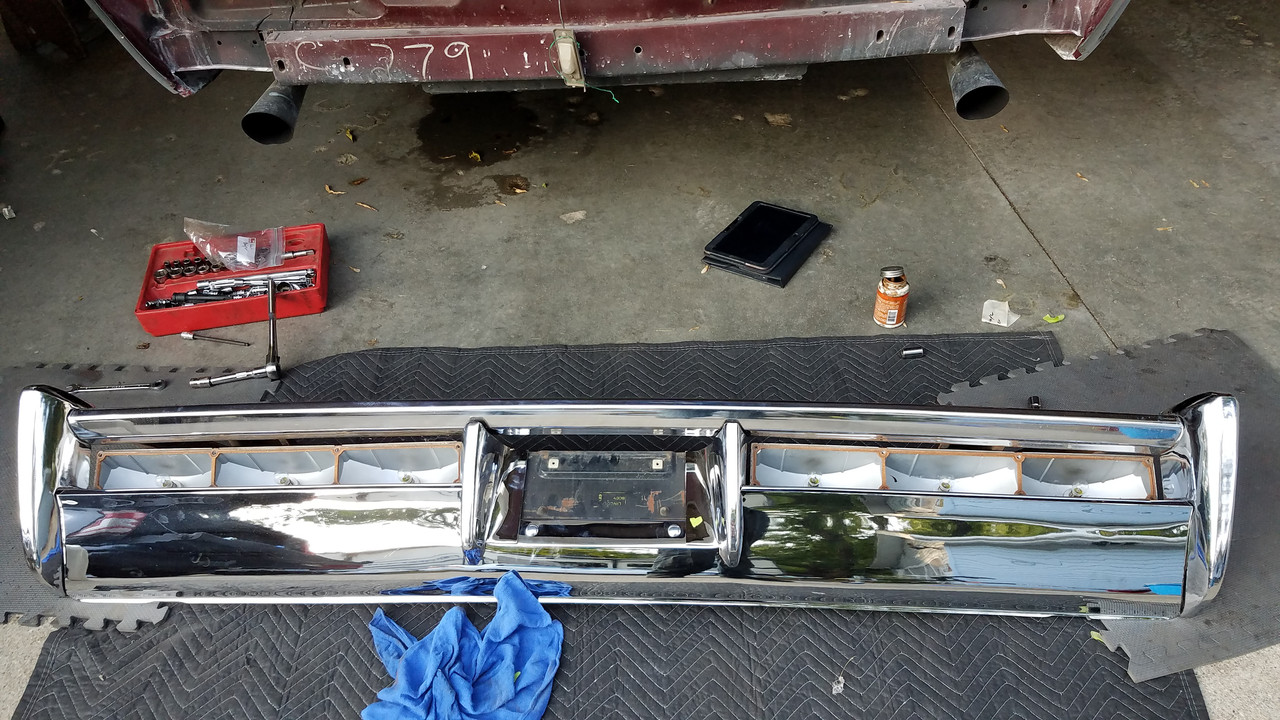
the rear bumper though, the lower center had rust issues and needed to be rechromed. but also patched. totally doable but the timeline to repair that and chrome was like 6 months. cost wise it was the same to buy a better core from the usuals, then rechrome that. so that is the route we went.
and here is the rechromed piece back with the polished originals, i think they blend well
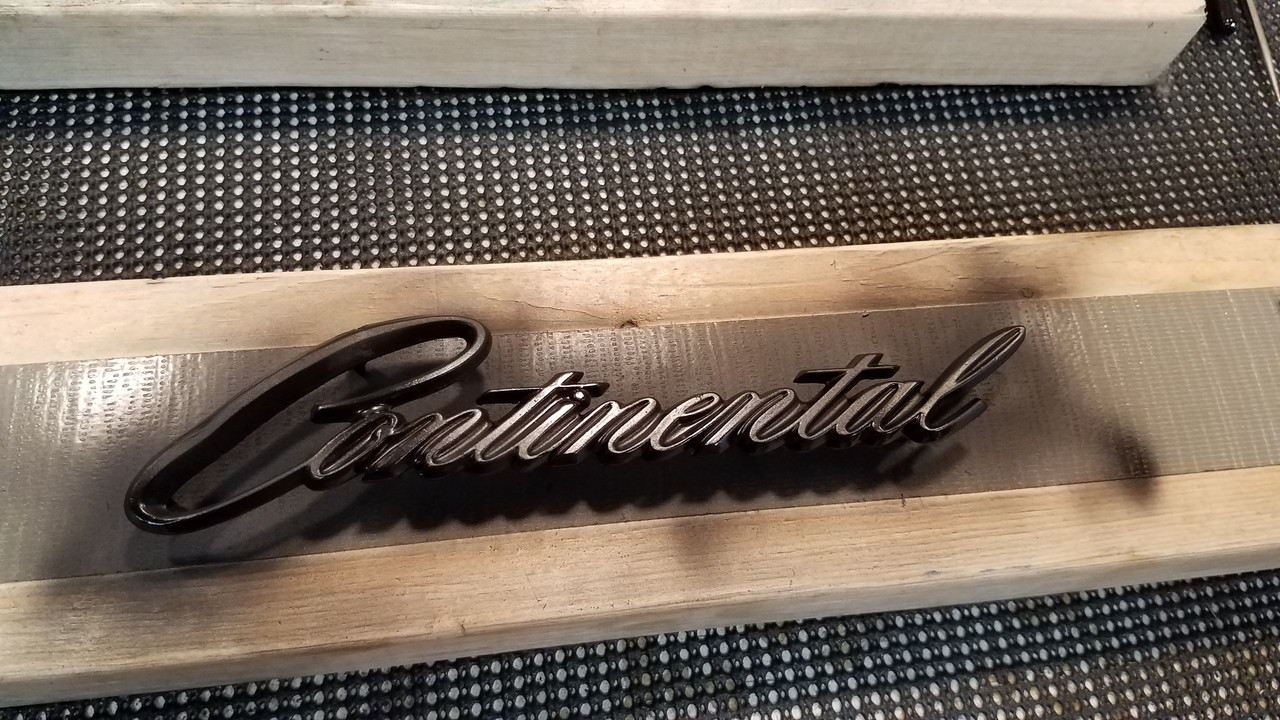
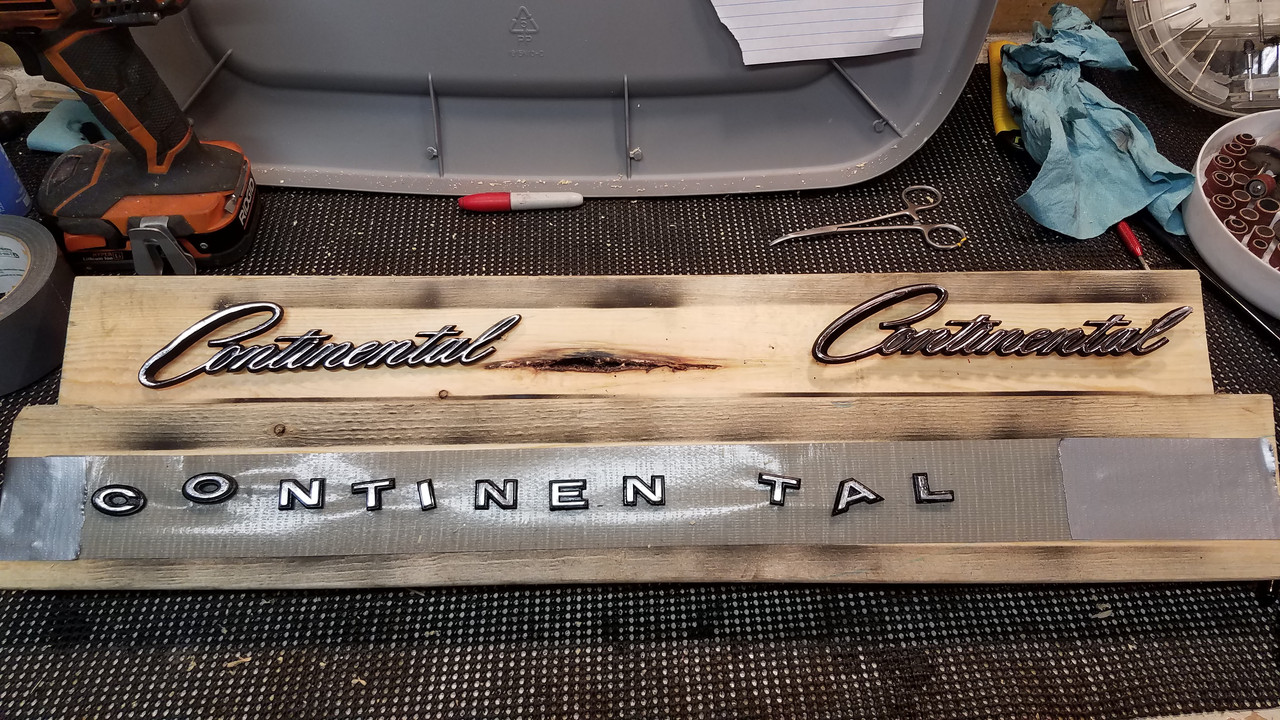
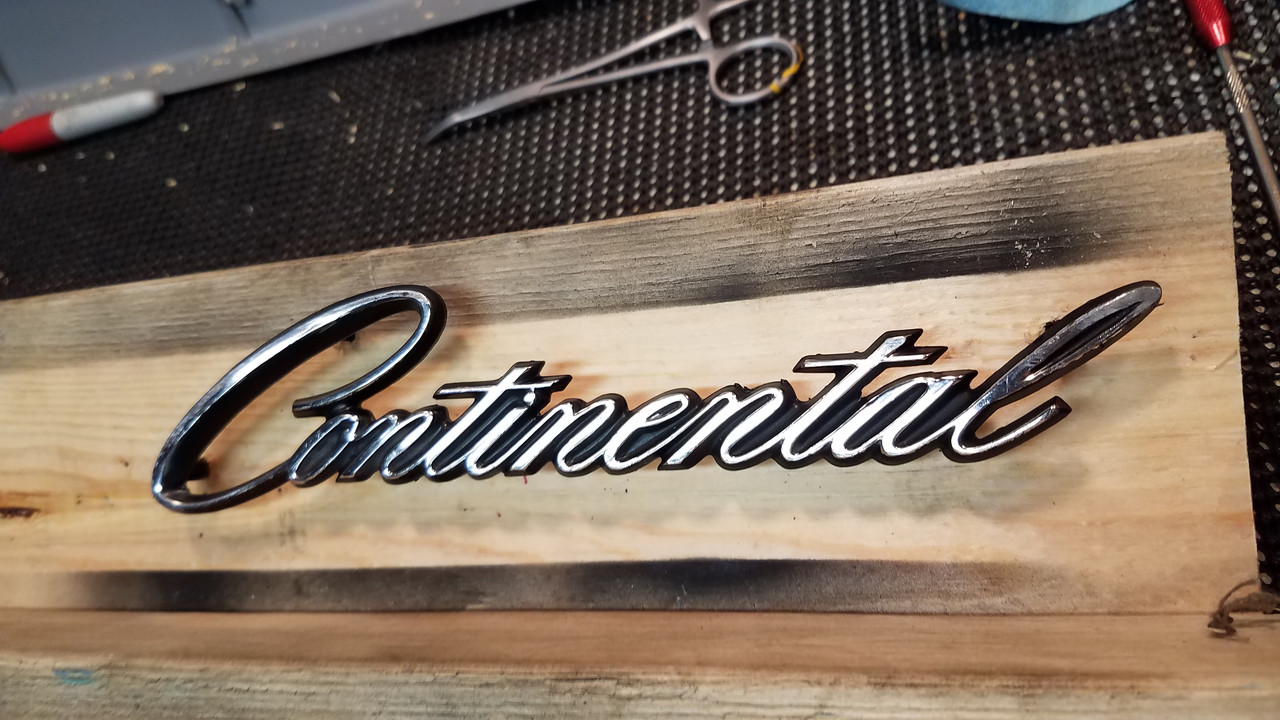
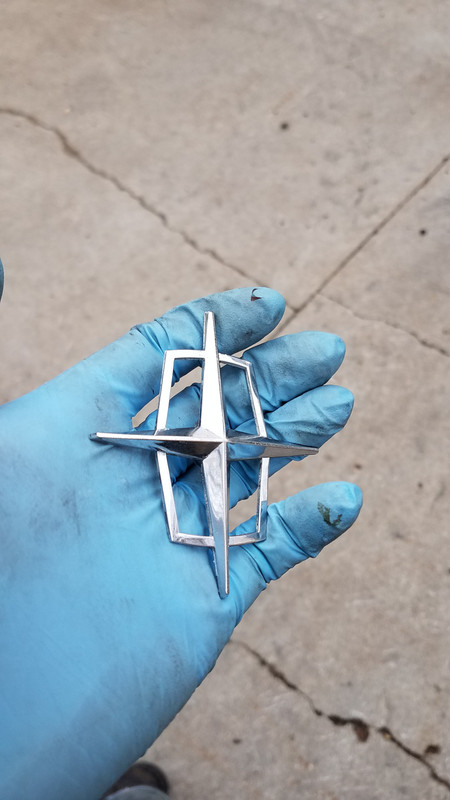
i cleaned up and touched up my emblems as best i could too, air brush and then buff away to reveal letters
sent the clock out to get converted and it looks soo pretty now
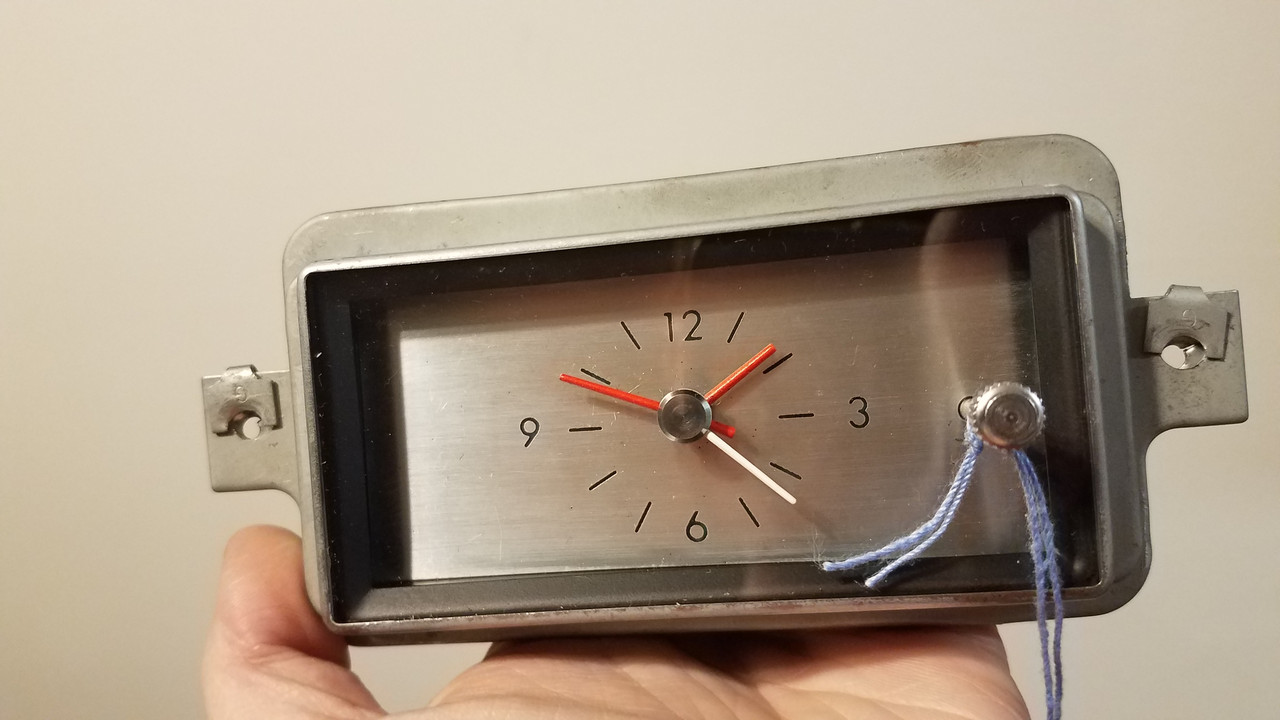
and it even WORKS!! its crazy how happy that makes me
https://vimeo.com/240103343
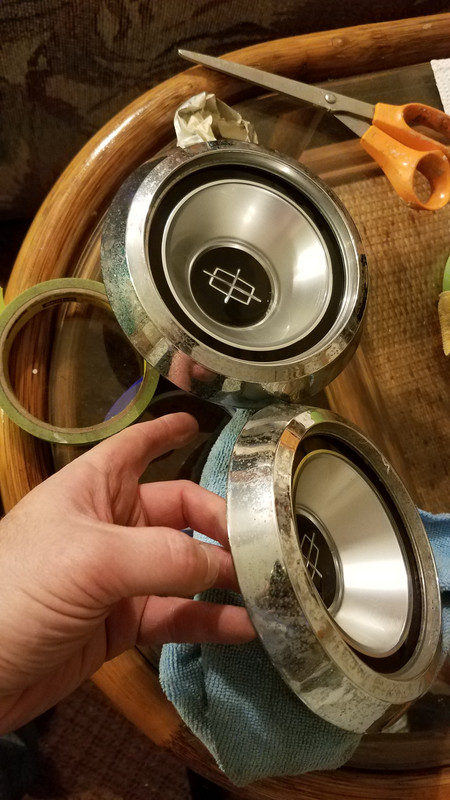
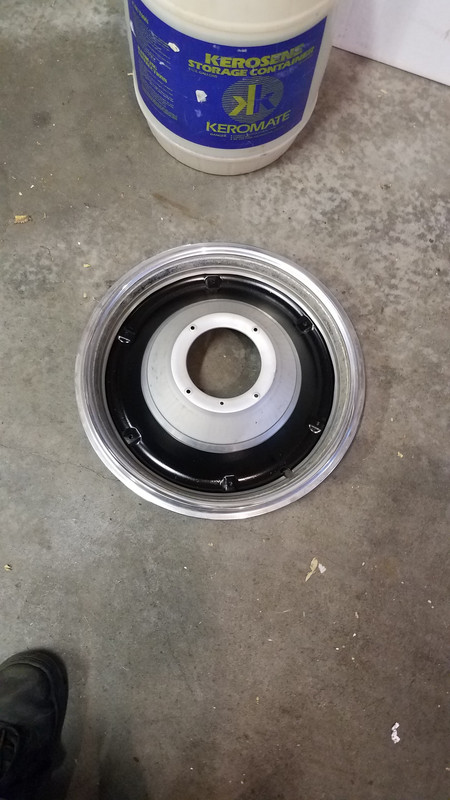
another long time frustration was my mismatched wheel covers. i had 2 mark covers on 1 side and 2 conti deluxe covers on the other. i actually had 3 of the deluxe, one was thrown by the PO and couldnt be found so they went 2 and 2. so i only needed one, and to find one even from the usauls that was nice, was CRAZY hard. i was told these "deluxe" covers are pretty rare. maybe they aren't actually called that but they sure seemed rare. i tried off and on over the years to find one, but wasnt never so motivated as the last 6 months or so. but through luck i found 2 that were OK, but the centers were not great. then i found 3 centers 2 of which were OK and i took these apart and polished and pieced together 4 good ones and 1 spare with a broken fin.

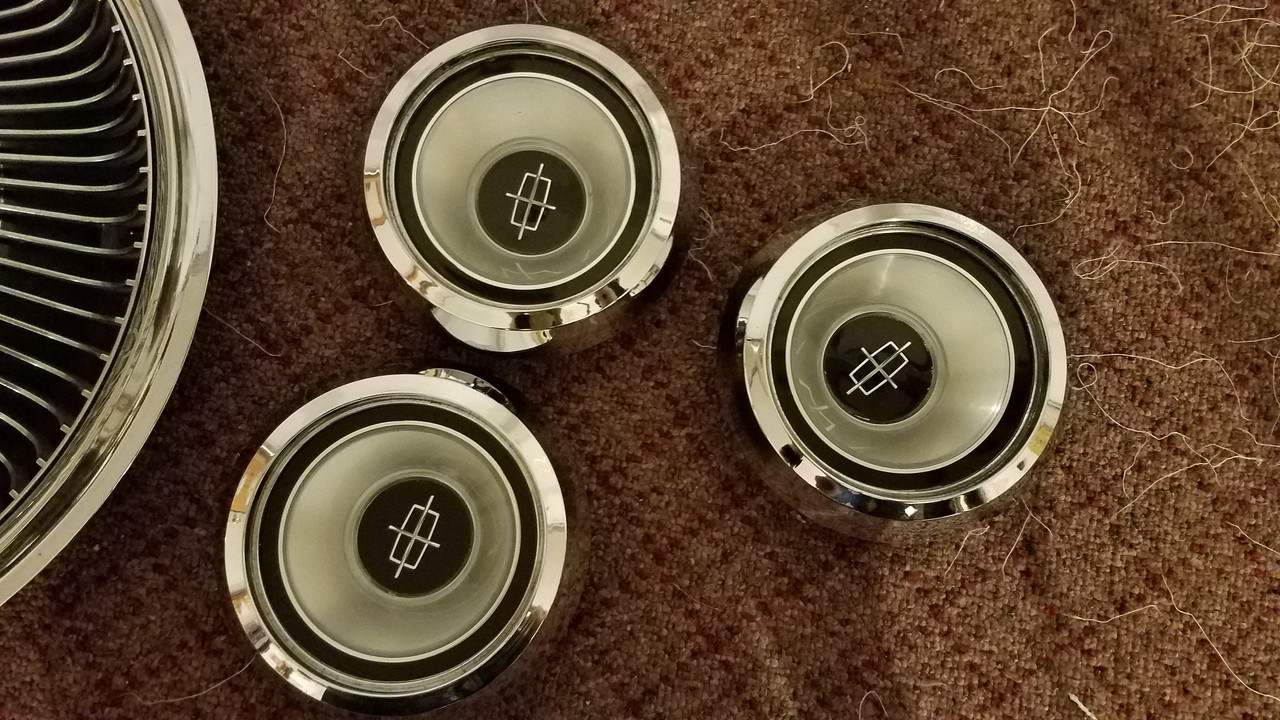
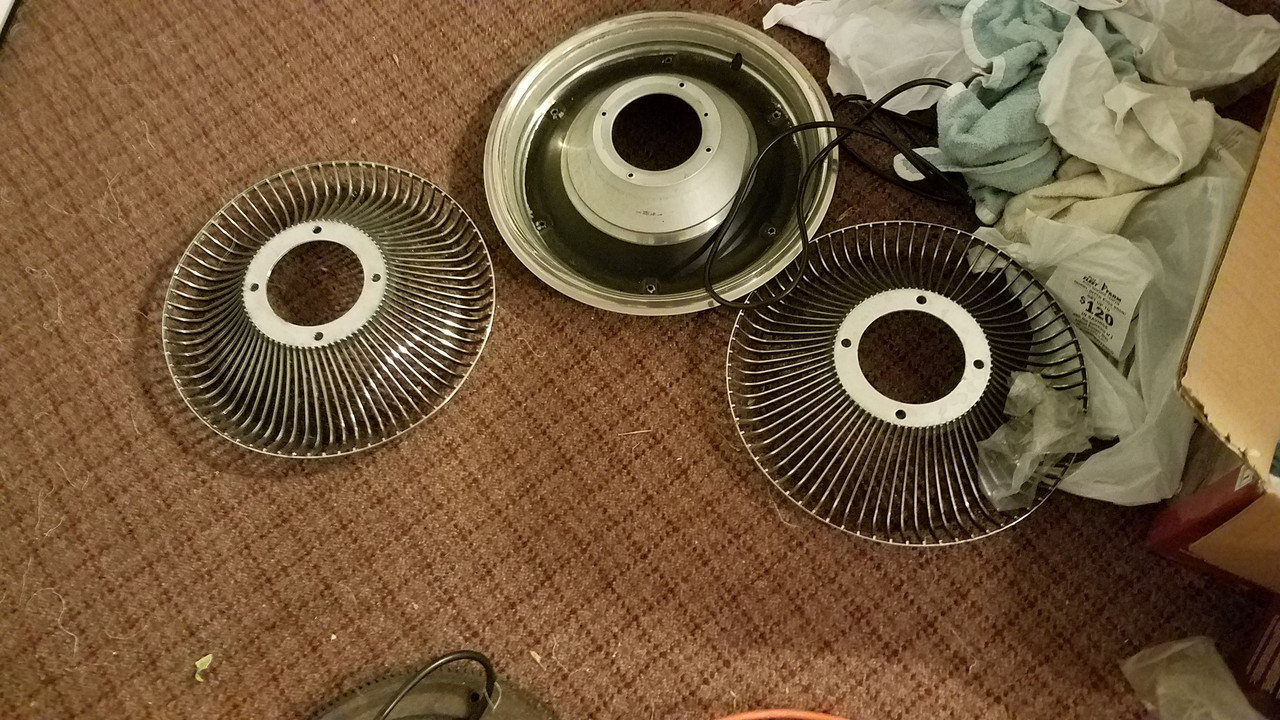
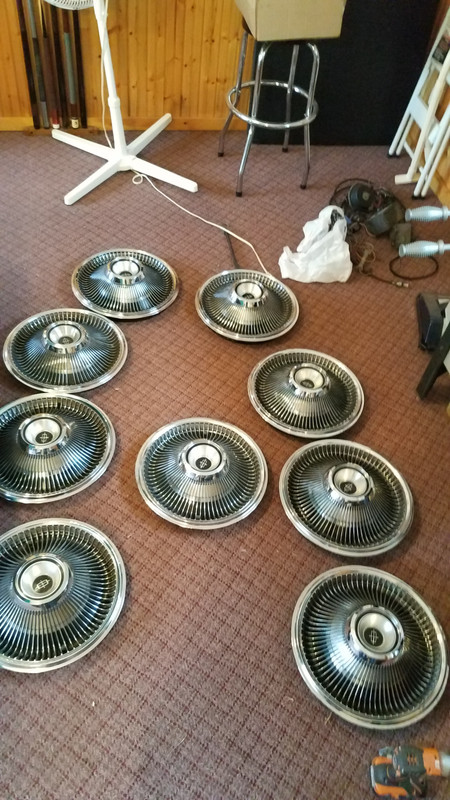
HOWEVER i then found a set of 4 that were REALLY nice
i cleaned those up too and they are almost NOS. and now I am KING of the deluxe wheel covers!
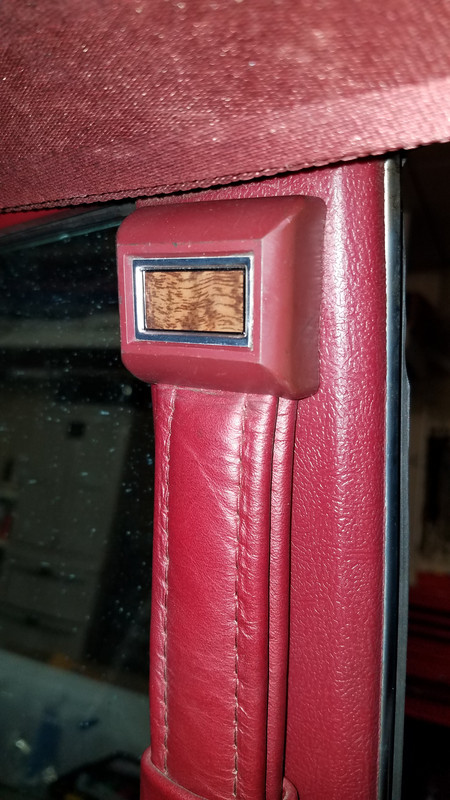
another fun thing i did while it was out at paint (it went longer than scheduled, big surprise) my ash tray covers came to me without hinges when i fist got it. which back in the day i made some with brads, but i didnt have the springs. the best i could do was compression springs to just make it pop up. i could never find the correct torsion springs. which lead me to buy some spring wire (i guessed on the size) and make my own
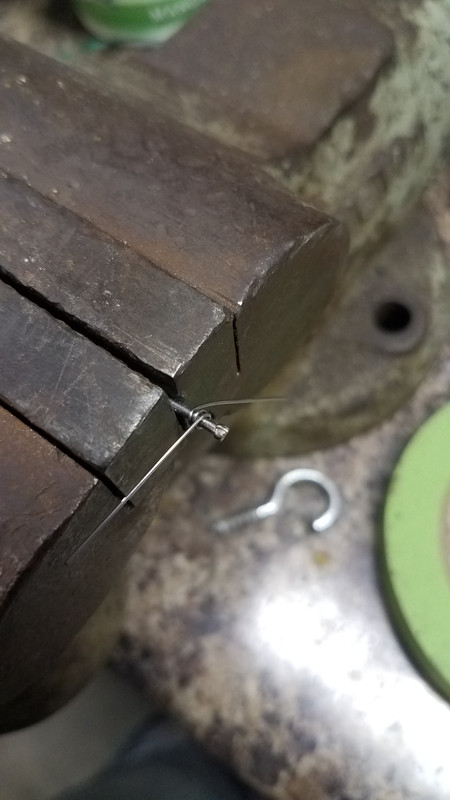
and now they work. maybe not as fast as stock (never seen them) so maybe a bigger spring or more coils but they do the job
https://vimeo.com/240103300
i cleaned up the electrical switches and polished while those were apart too.
then i ran out of stuff to do and had to wait. but now the bad news. painter had an accident. while stripping paint he was bead blasting the top ledge of the doors. while he had a heavy tarp over the side windows it got under it. so he blasted all 4 side windows. essentially turning the bottom 3 inches into frosted glass. i was certainly mad but he was honest about it and brought it to my attention. while he said he would sort it out after 2 weeks i had to step in. i dont know if he wasnt trying or didnt know where to look. i ordered a set of 4 from the usually thankfully they were also very nice windows. The painter paid for them but rather than wasting more time i put them in. i was mostly mad about the wasted time pushing me closer to winter.
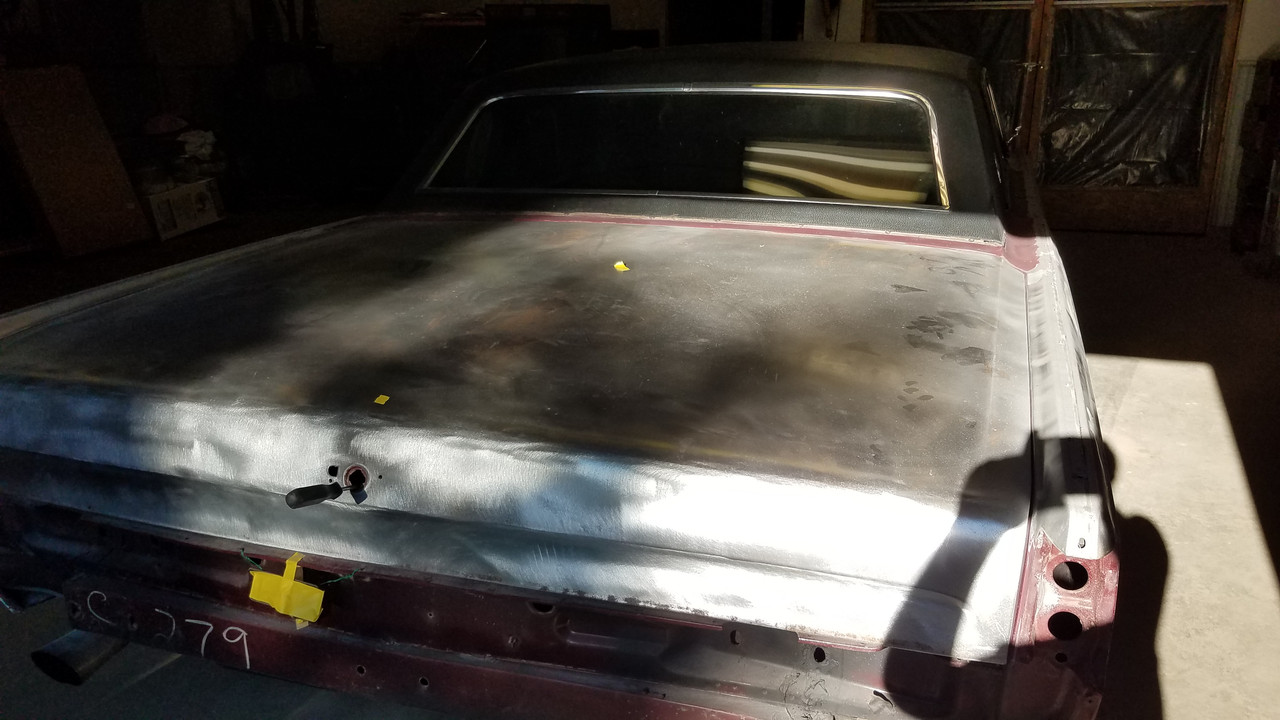
you might not see it but its about the only pic i have of the damage
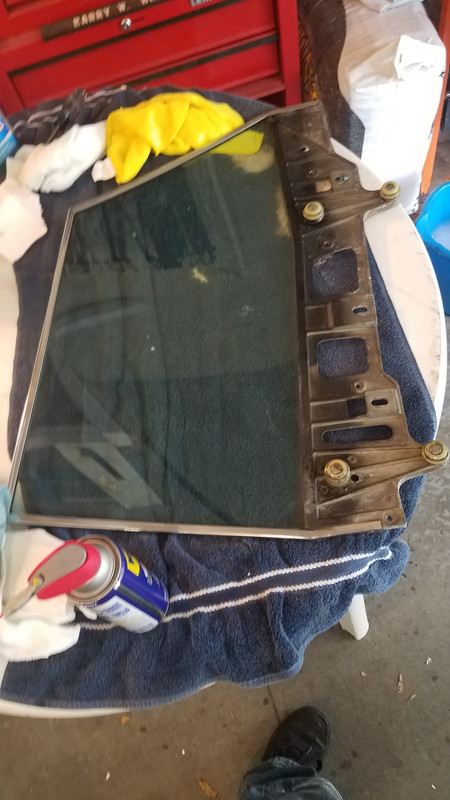
i still have them. think a pro could polish that out? idk just thinking if they could be saved otherwise i suppose no sense in me keeping them
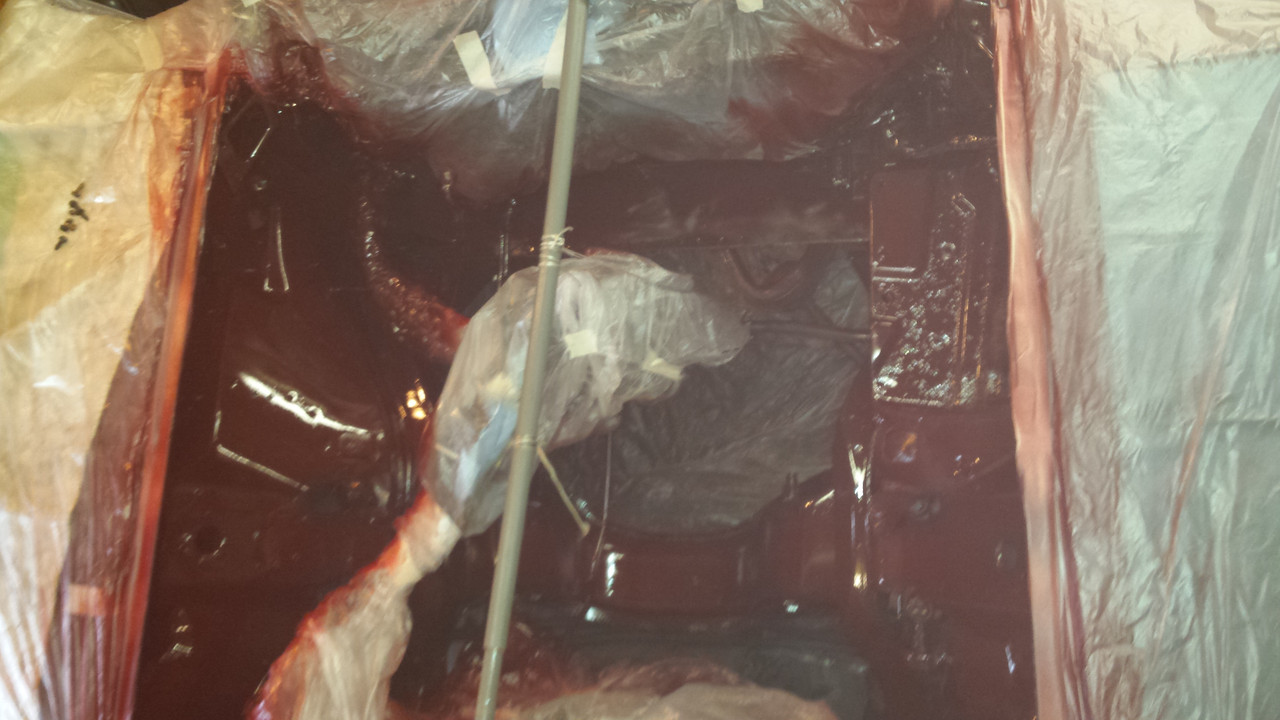
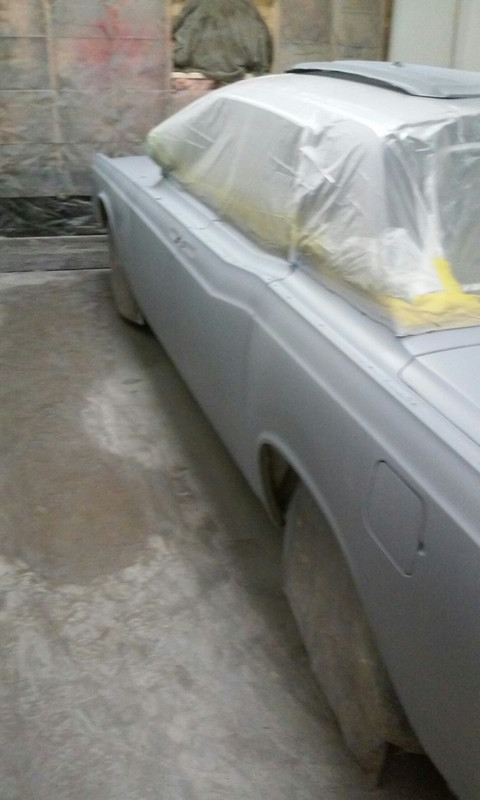
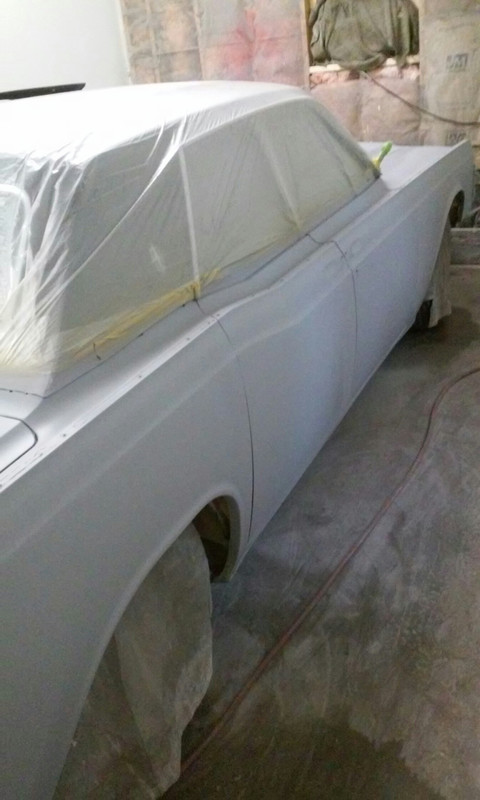
the color did layout nice though
 [/url
[/url[url=https://postimg.cc/image/8akrzlf9l/]
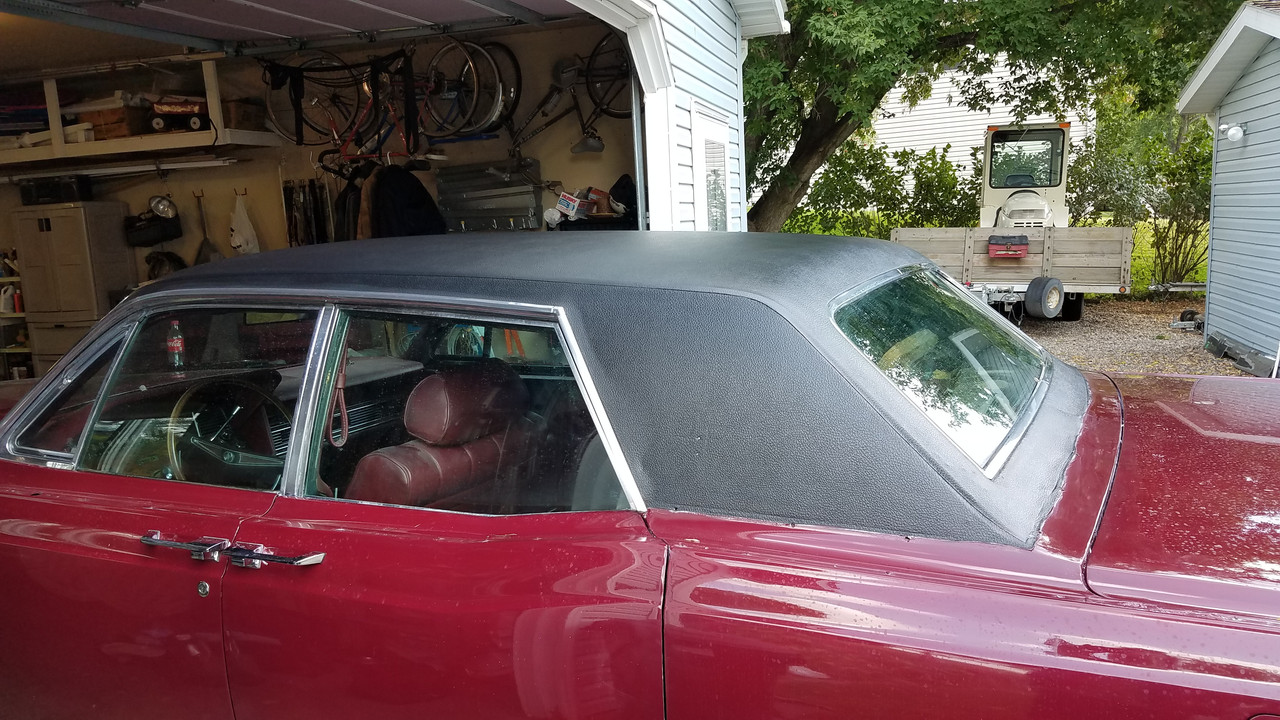
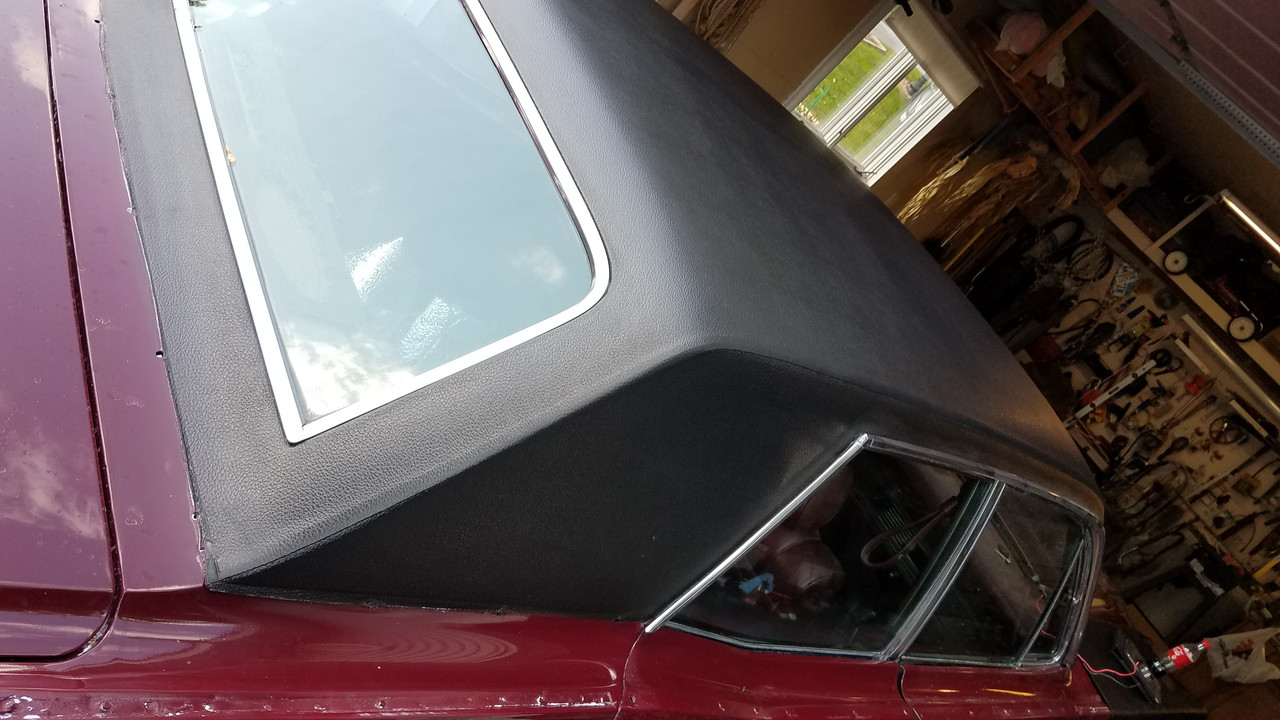
once home, the first thing i did was wash it off, dusty and such then re "dye" the top, i think its more of a top coat but worked well. also while the trim was off i cemented down some of the tails of the top that were coming up. it is the original top and i would like to keep it.
some other odds and ends at the time.
new trunk gasket
new trunk deflector rubber strip
new hood gasket
new rear door upper weather strip
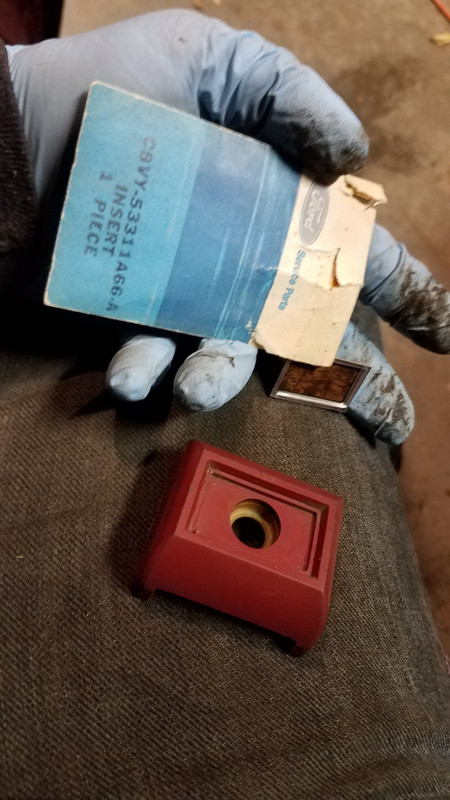
new door lock knob pulls
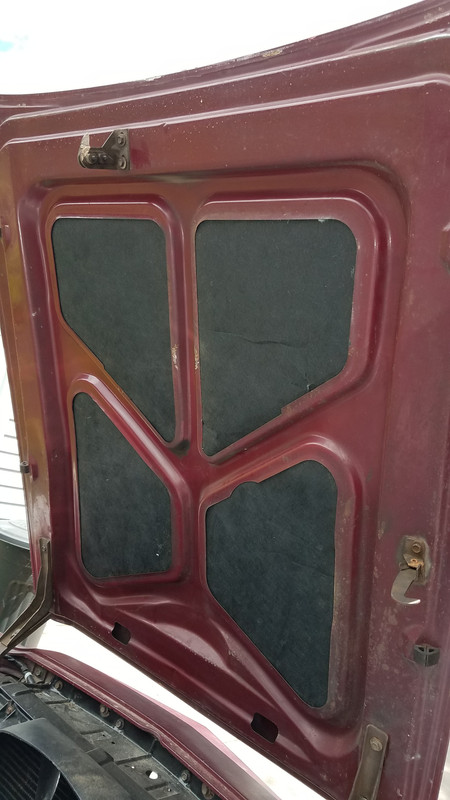
new under hood insulation
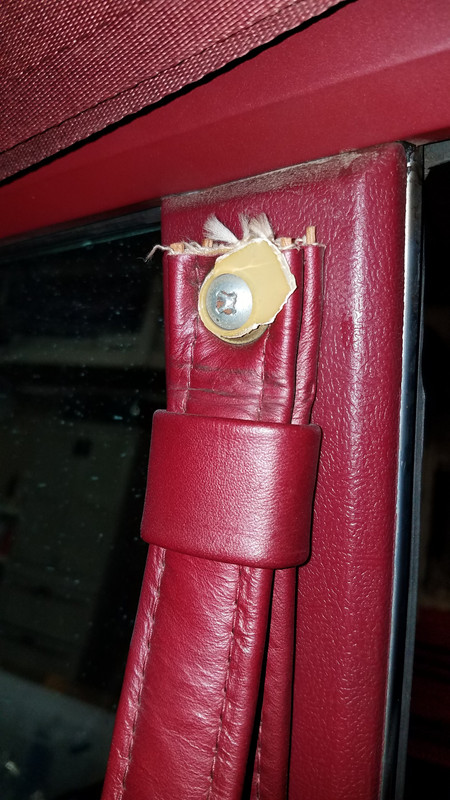
i was missing the seatbelt strap cover and the usuals were able to come through with some new old stock for me
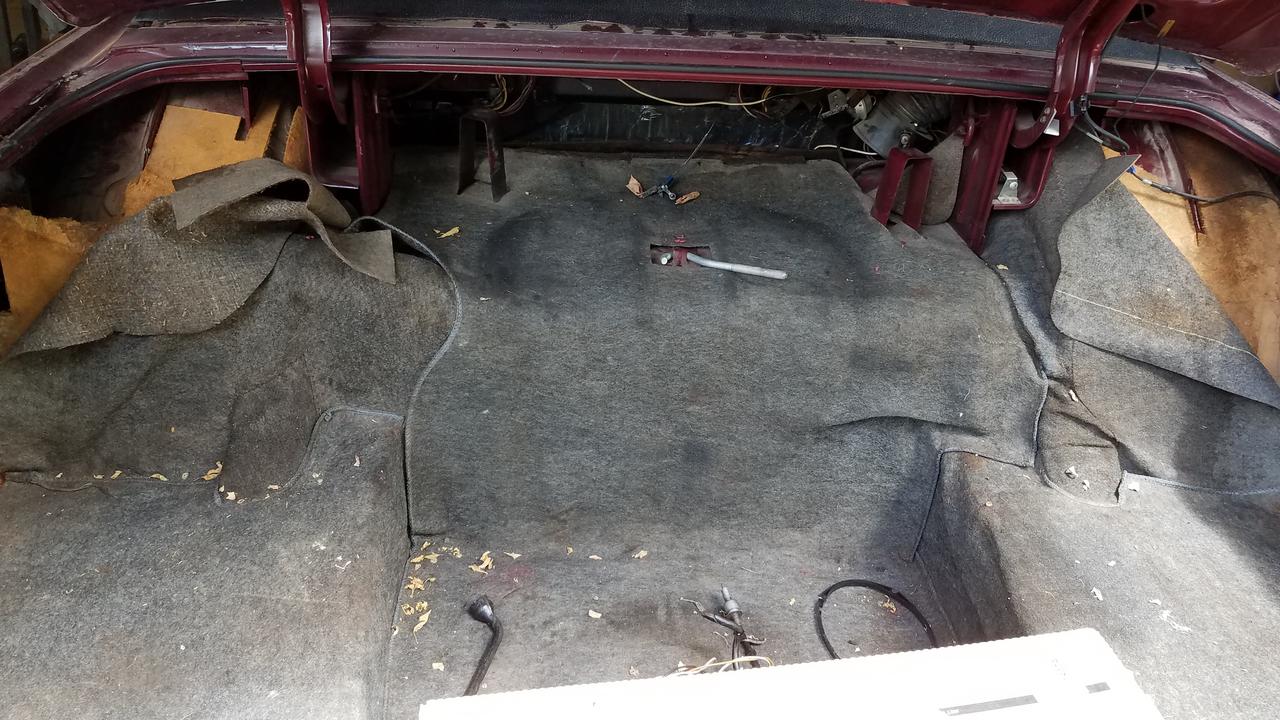
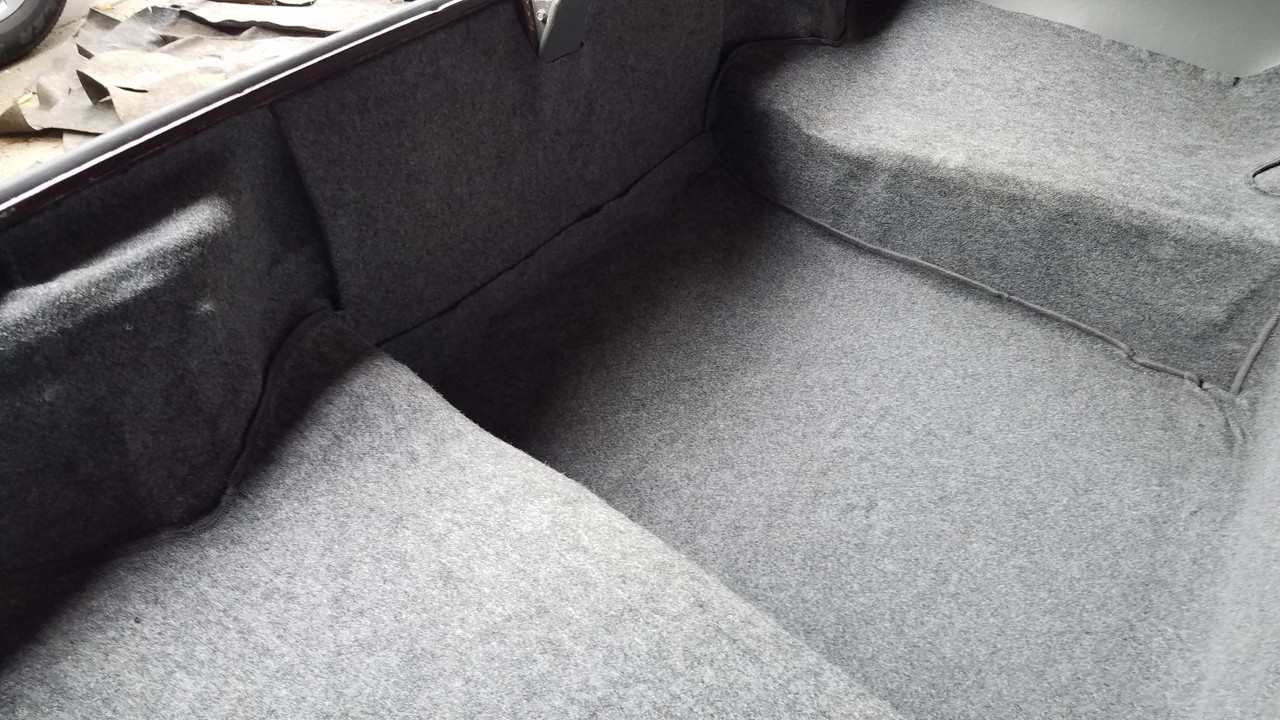
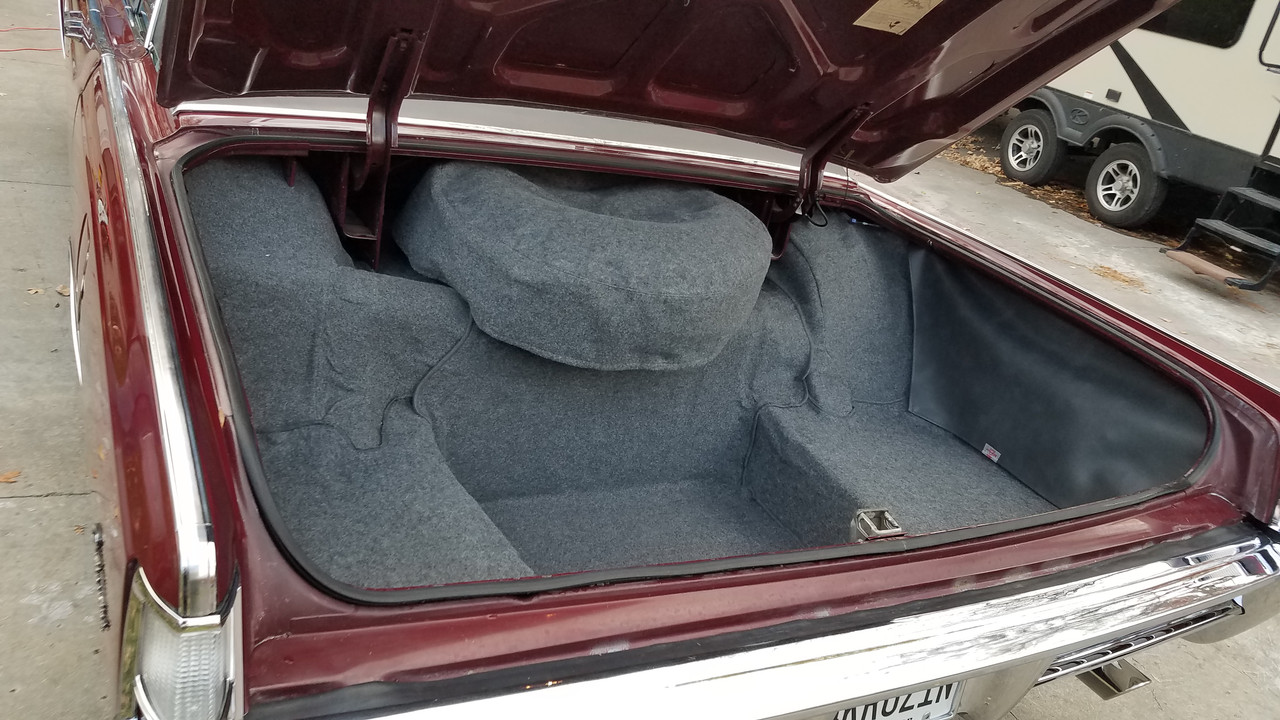
new trunk kit
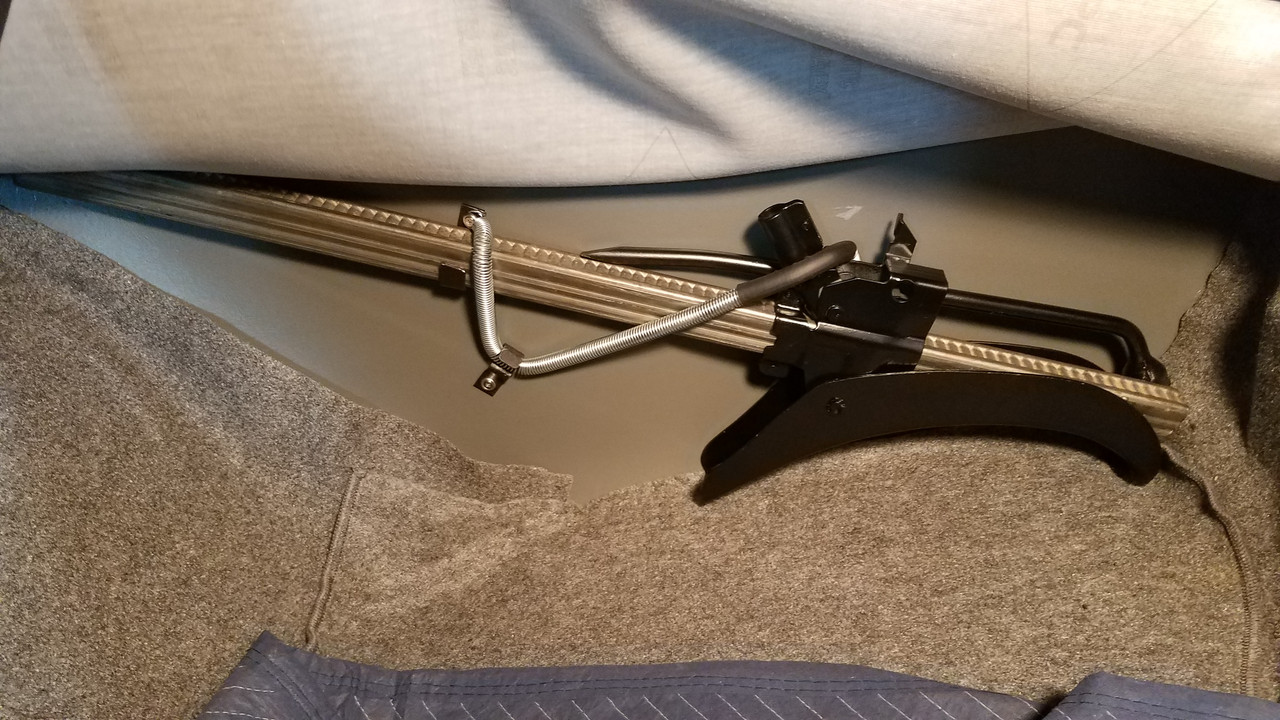
with the forums help i was able to get my jack back too. maybe not 100% correct but its what i made to emulate the stock location. i had no brackets just bent some basic ones on my own and used a gate spring with some heat shrink to prevent rubbing.
and of course all the stuff i took off had to go back on
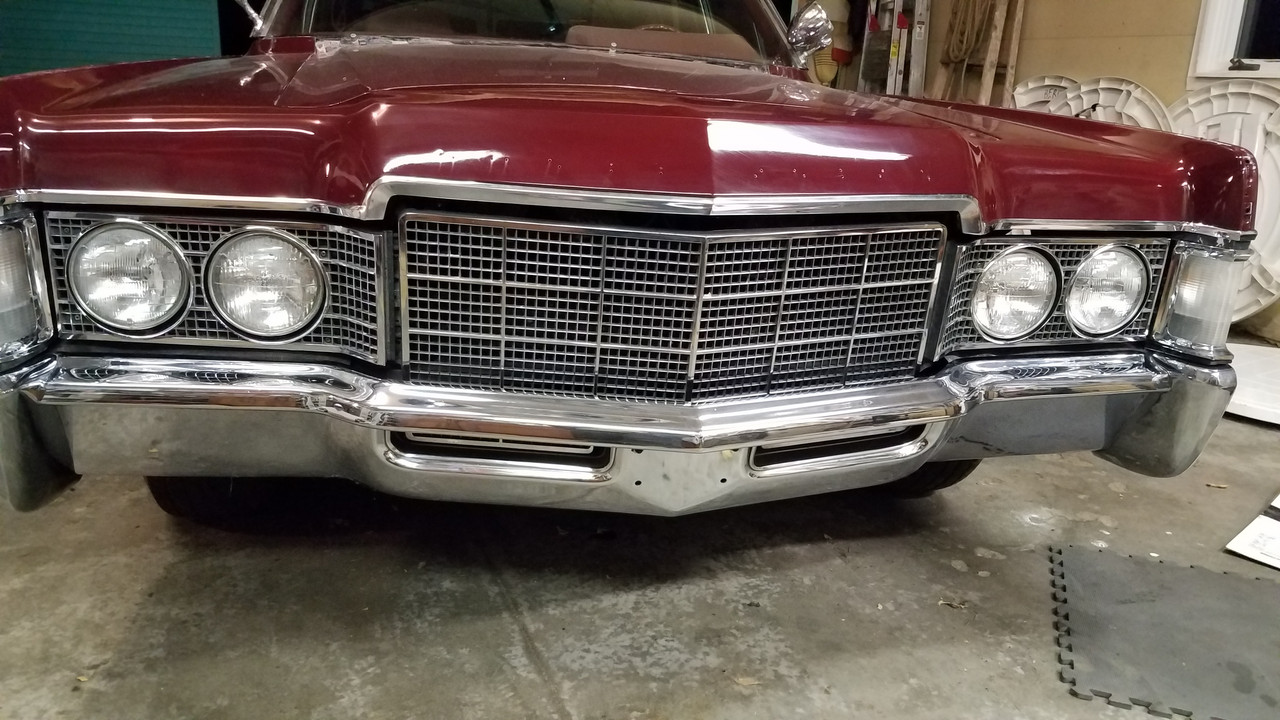
those new spot lights
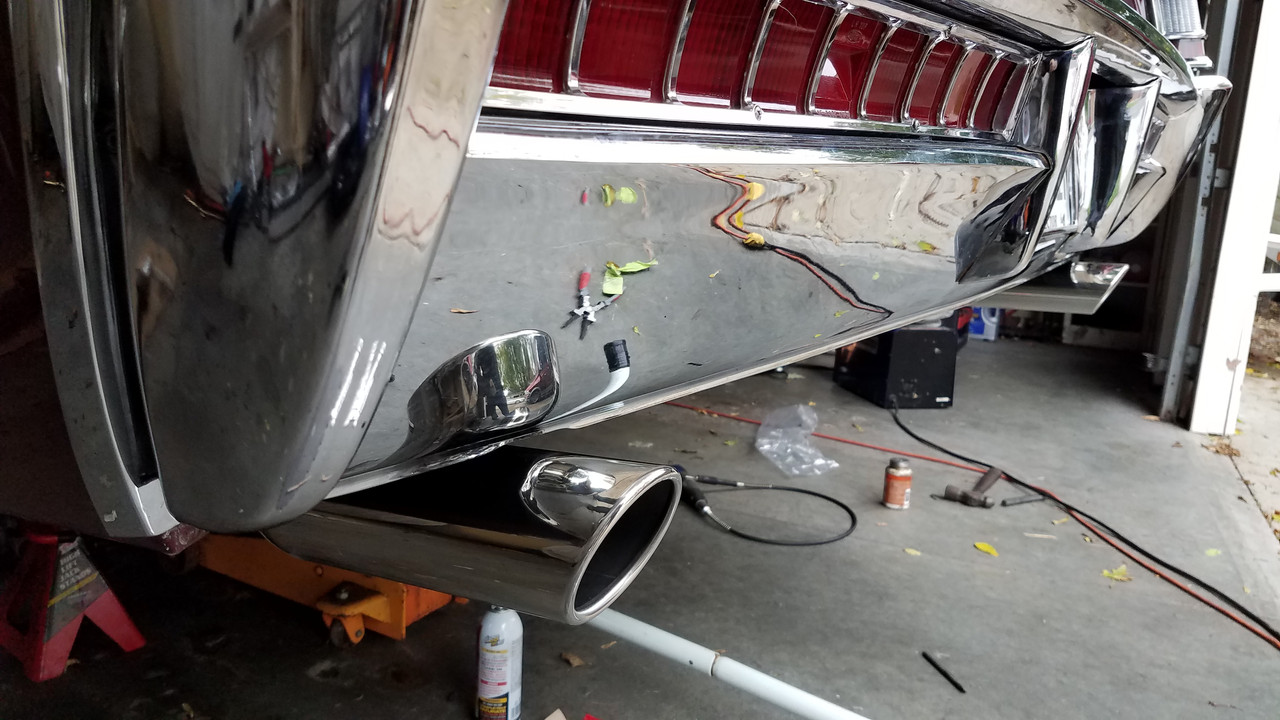
on the underside of this beast, before paint i redid the under coating. but this old exhaust tips had to go, theys nasty
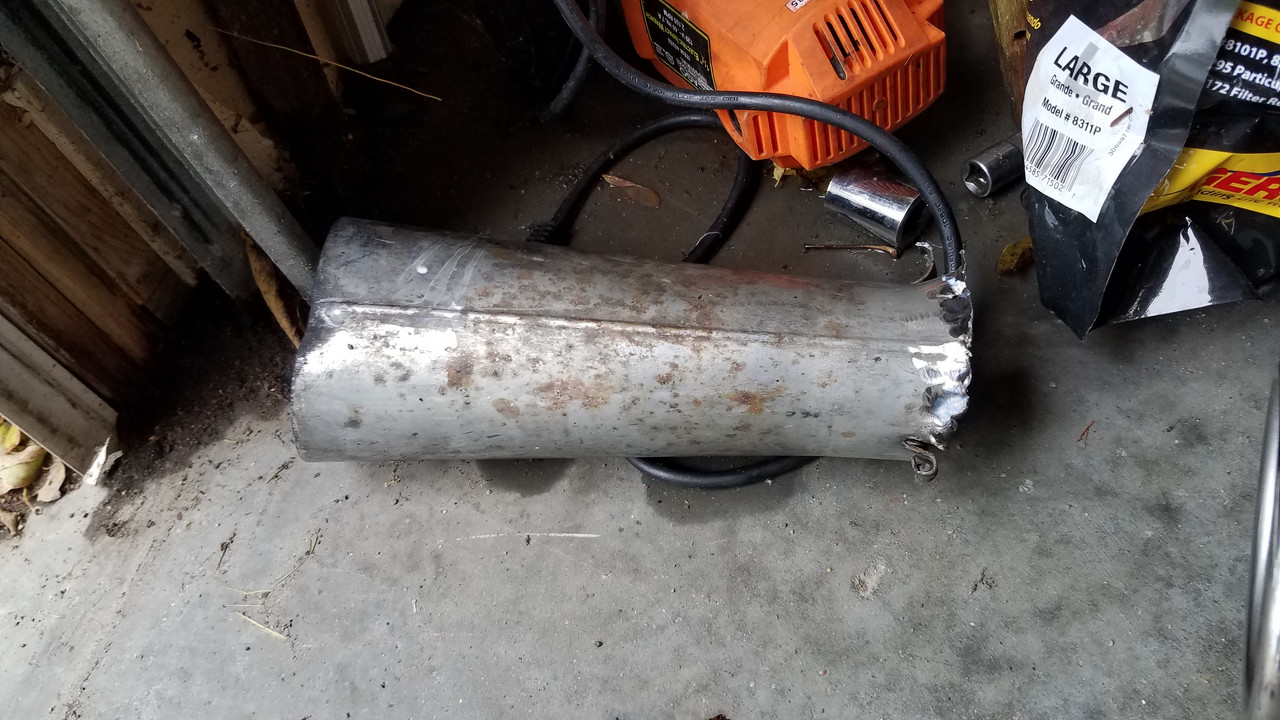
cut those off preserving the pipe for easier mounting of replacements
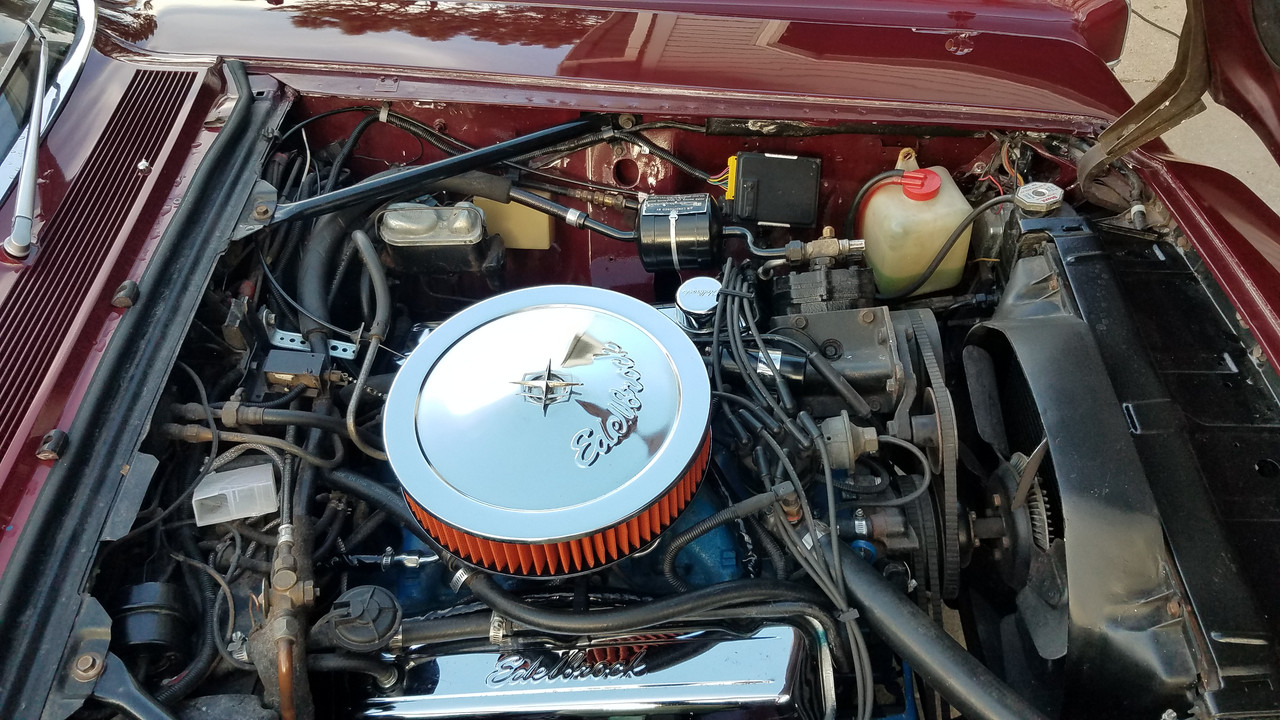
i got some new nicer plug wire looms and cleaned in the bay again as best i could.
i needed a lower profile air cleaner nut, it would lightly hit under the hood. i picked up a spare emblem, though off an 80s model it was the same our side ones, but it was missing the stud but that was fine, that made it cheap. i drilled the center and tapped a 1/4 20 hole. then put a small stud in there followed by a 1/4 20 coupler cut to length for overall height adjustment. add a little red lock tight and you got an air cleaner nut
certainly more has been done but i forget or its not that interesting. i am happy with how it turned out though this leg of the project ran long. i am proud to drive it around now but understand what it is and it isn't. and certainly pictures make everything look great. its not without its faults for sure. but it doesnt leak, starts every time, runs and drives and everything works and i think thats a big win. and now to the rest of the world it looks "nice"
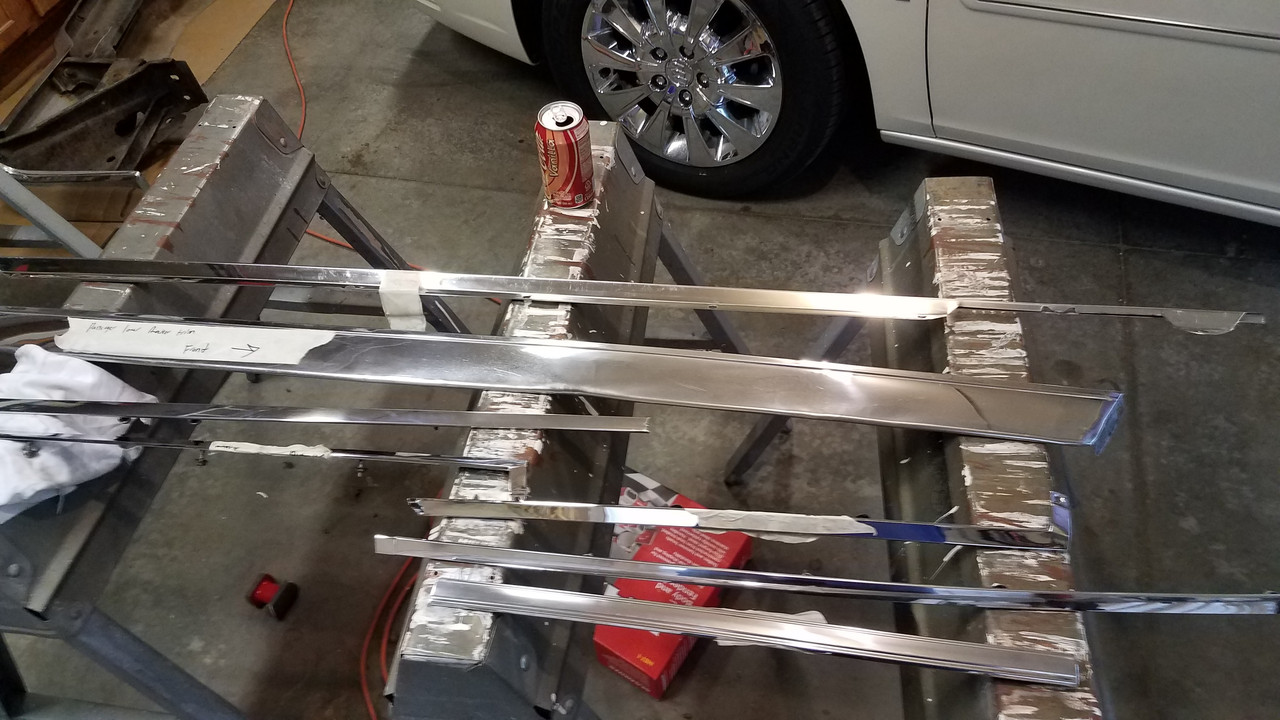
i am really impressed with how well that original chrome came out. i encourage others to try it, the buffer was $40 plus other supplies i was into that for maybe $80. the rest was just my time. i did not strip down that top trim and polsih smooth like i know some people have, that just brightended up a little as is, but the bumpers, rocker trim door handles ect really came out great. i am glad i got all those random things i mentioned sorted that had been bugging me for years. I dont think there are many 69 guys on here, but i think i am in a good position to share if someone had questions about this model. i cant think of a single system or part i havent taken apart at this point, over the years. i am no expert. but after this round of stuff i think i have now touched everything in this car inside and out.
whats next? i would really like see about getting my driver seat fixed up a bit. also i would prefer a nicer dash pad. mine is all there and not cracked, but it has a previous repair.
and thank you for your help along the way, and for reading my ramblings here. Throughout this post i have said We, the we is my Father and I. i am proud to say we share this car and its expenses. So it isnt all my money, but mostly my labor. He helps me when i need another set of hands but these kind of tasks arent in his wheelhouse. HOWEVER most importantly 10 years ago he went in with me on this car when i had no money. and believed in me enough to get the ball rolling on the engine repair and the rest is cascading. So while he couldnt teach me all these things i wanted to know, he allowed me the opportunity to try and let me make mistakes along the way. Thank you to my Dad.
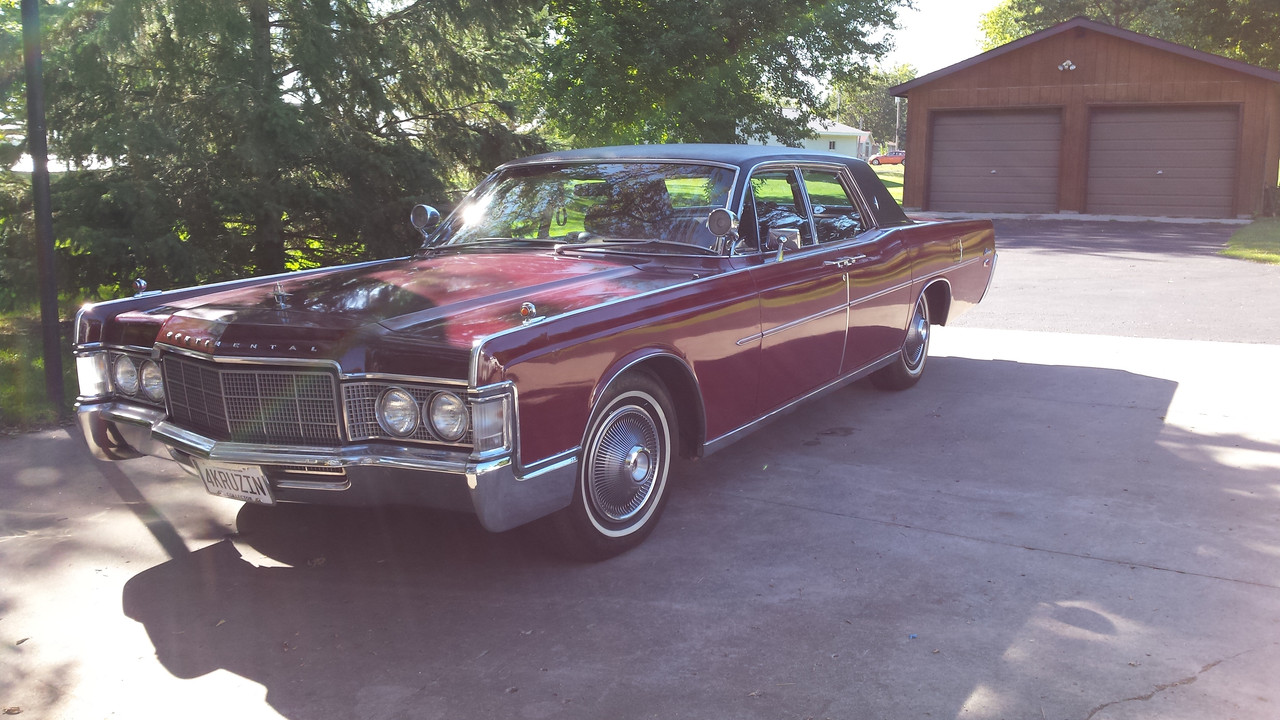
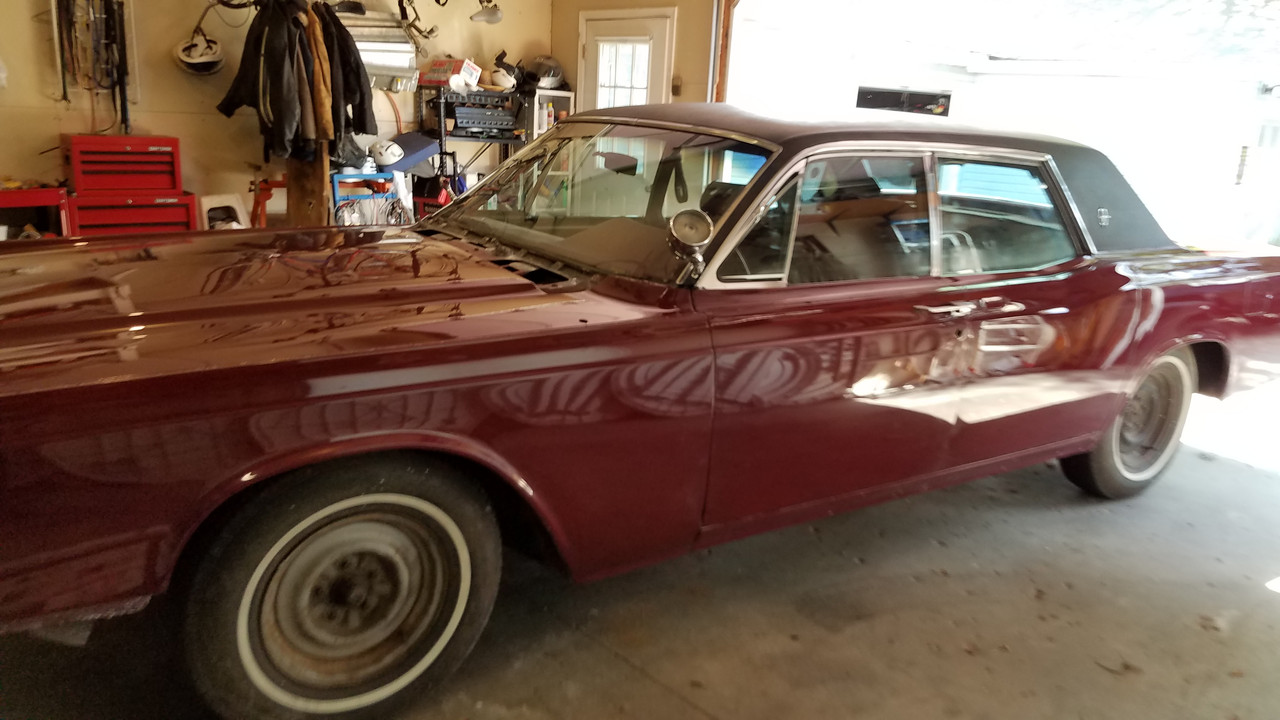
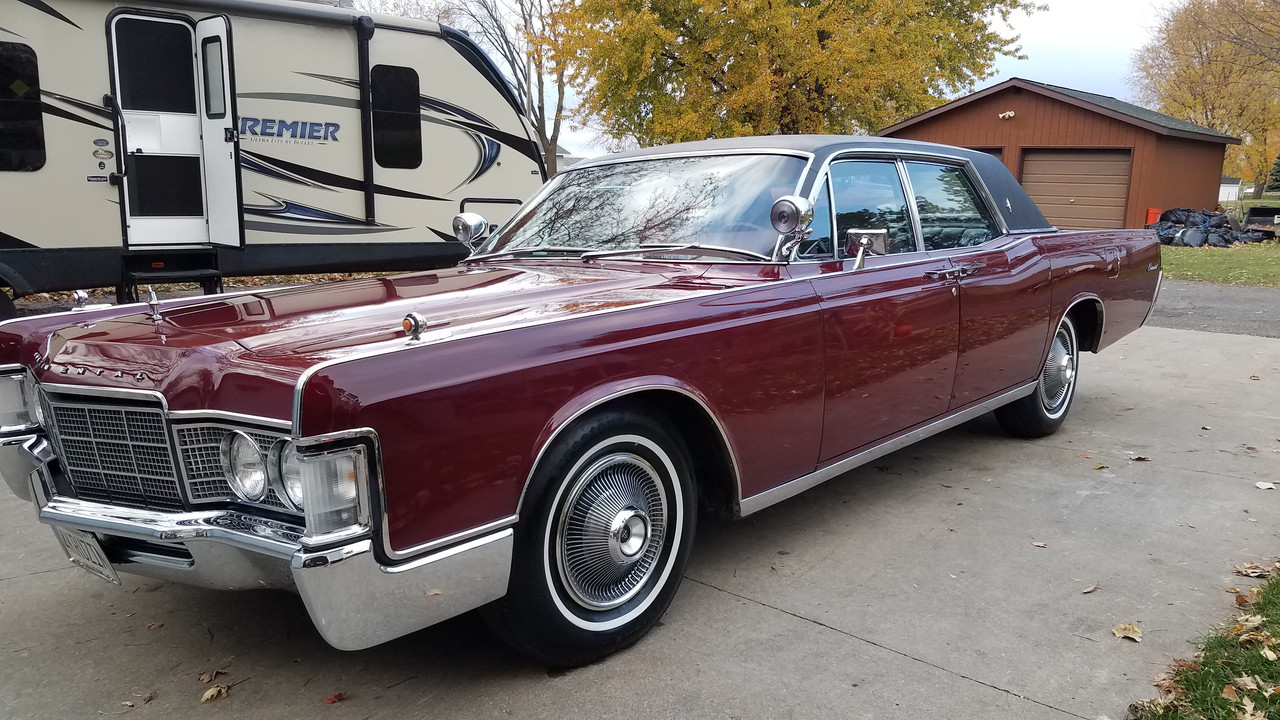
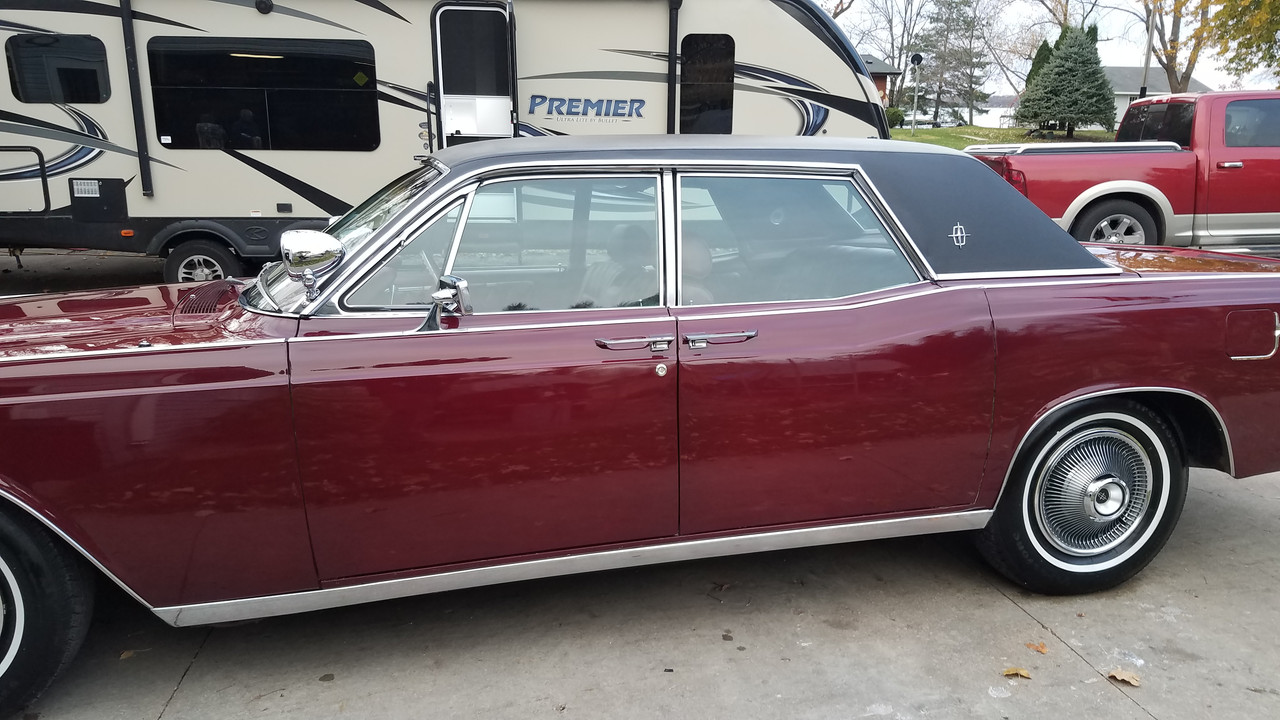
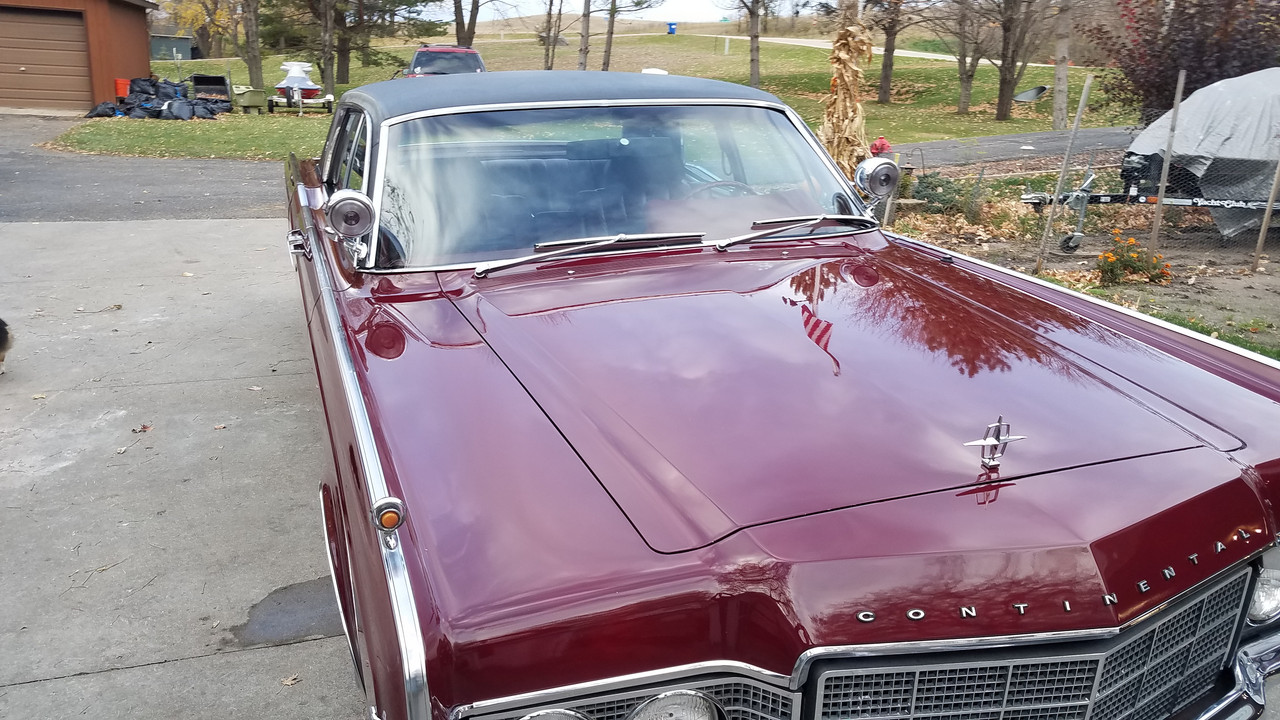
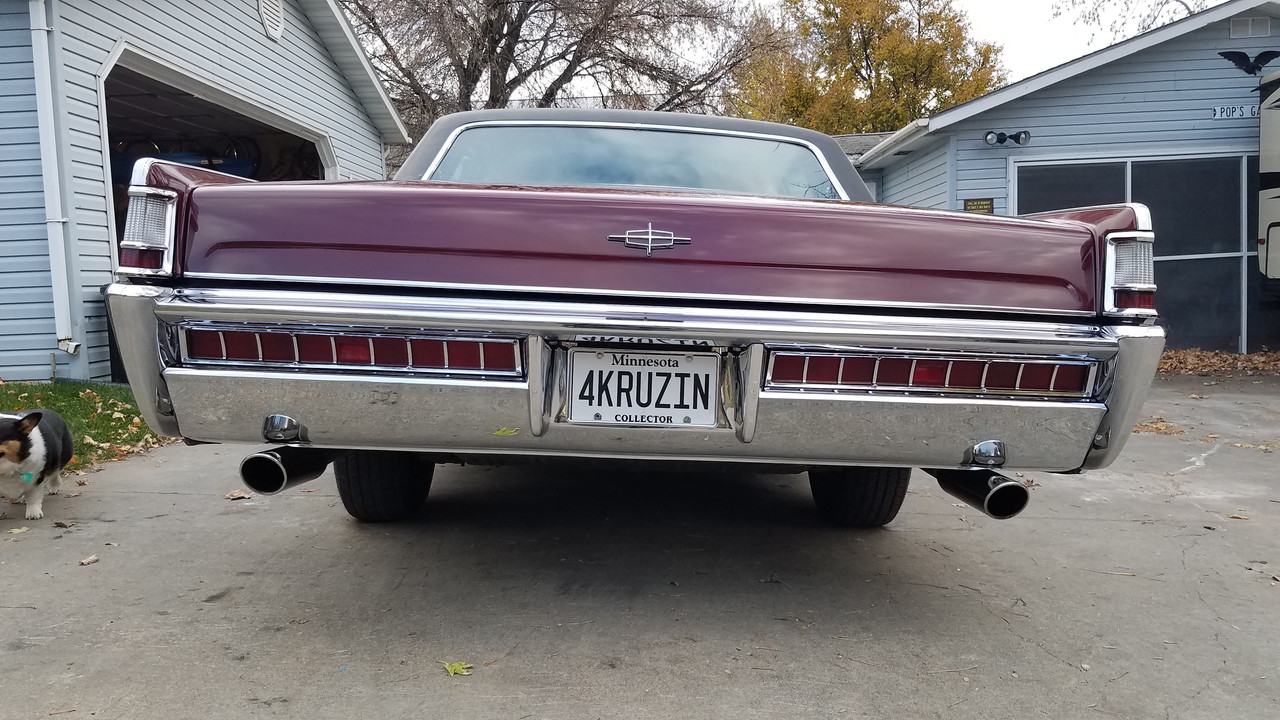
i will leave you with a set of assembled, washed, polished and buffed pictures. done just in time for winter storage, LOL.

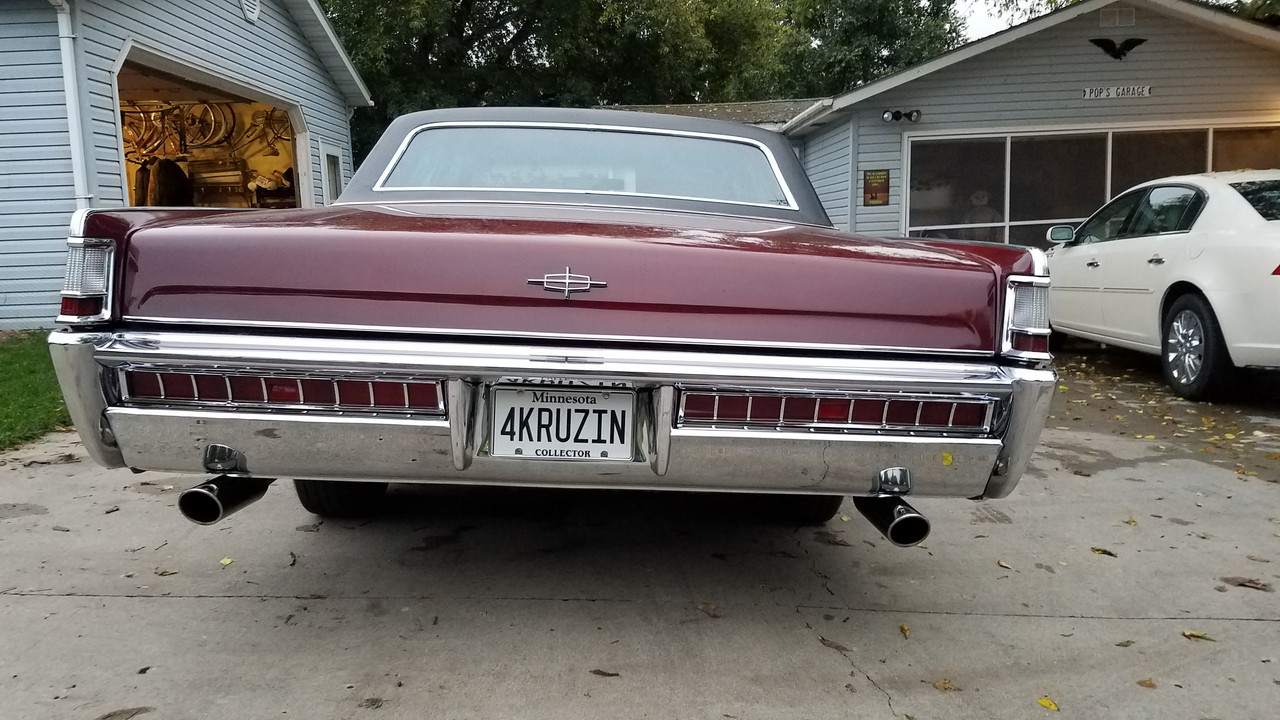

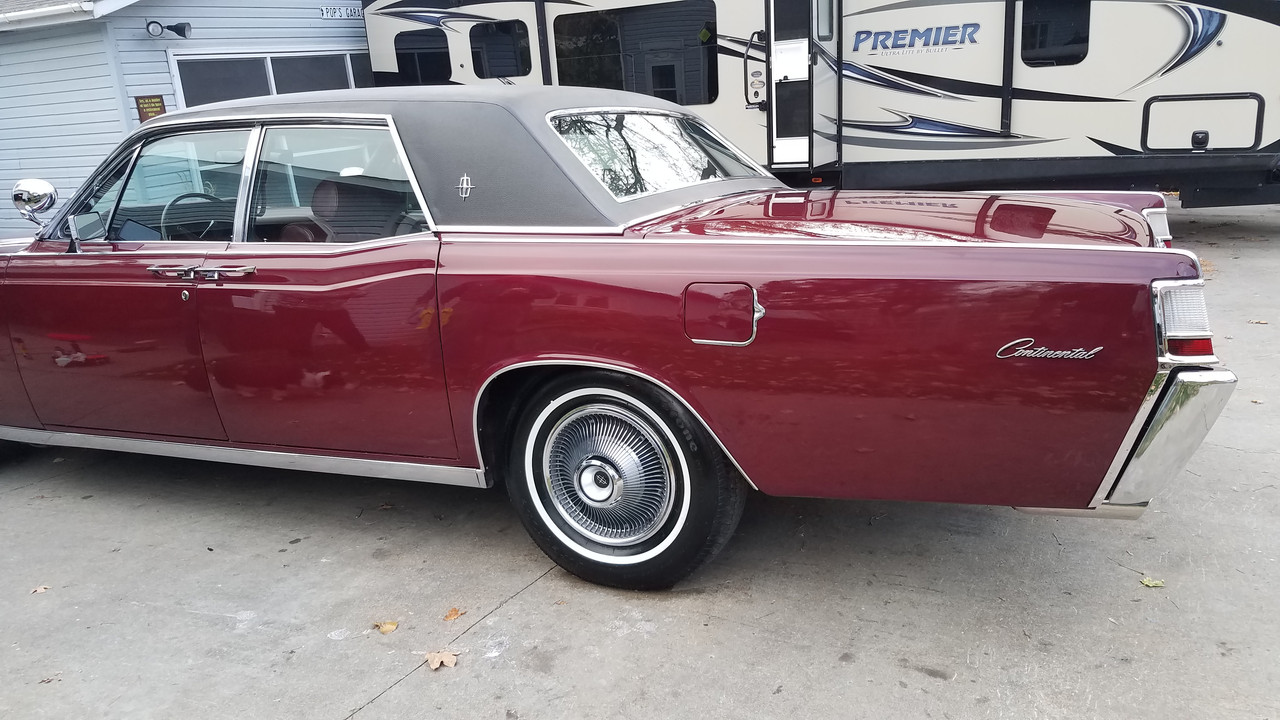
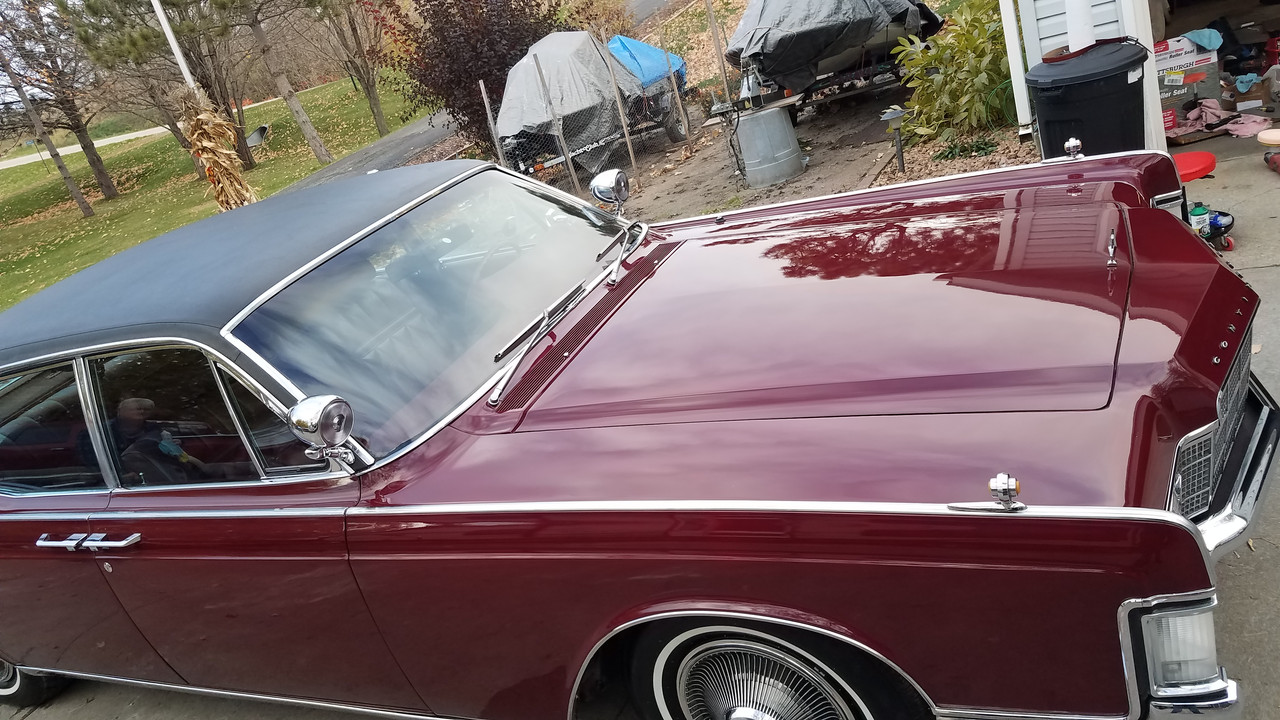

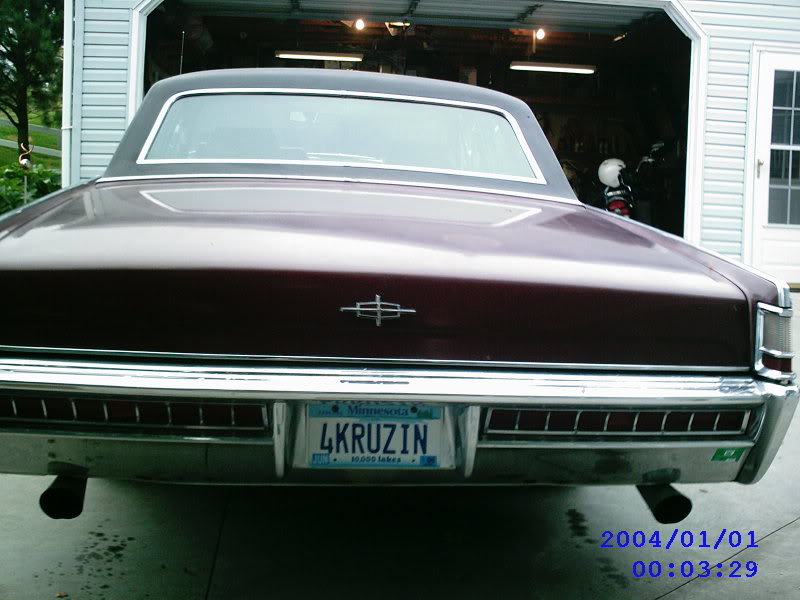
i really like this back end
and perhaps the very best view of this thing, a quick video walk around of the car
https://vimeo.com/239951667


