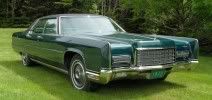
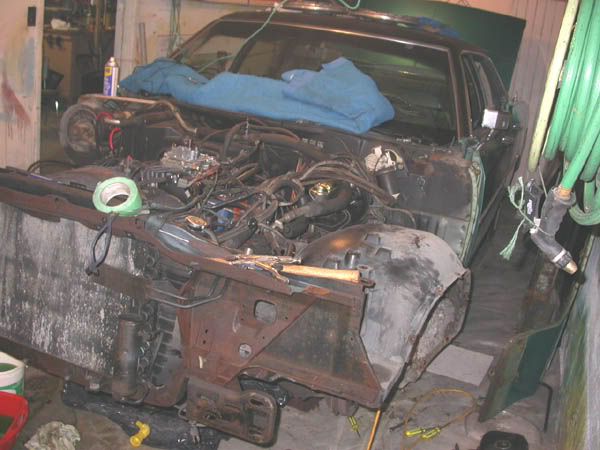
Deconstruction. The entire car was stripped, every nut, bolt, screw, rivet, if I could remove it I did. Only broke three bolts, two fender and a bumper, everything else came out by hand. A coating of RustCheck after I bought it helped.
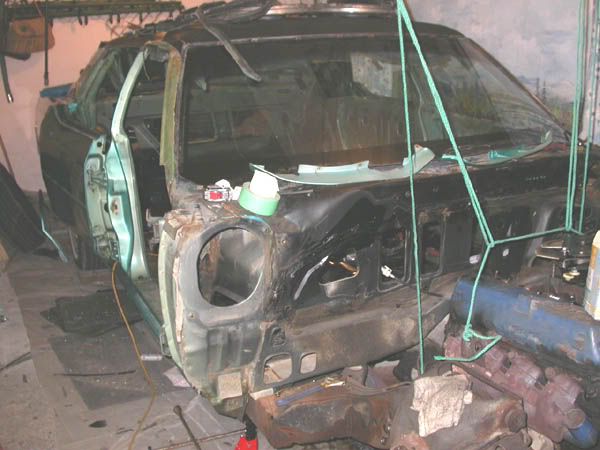
Front fenders gone.
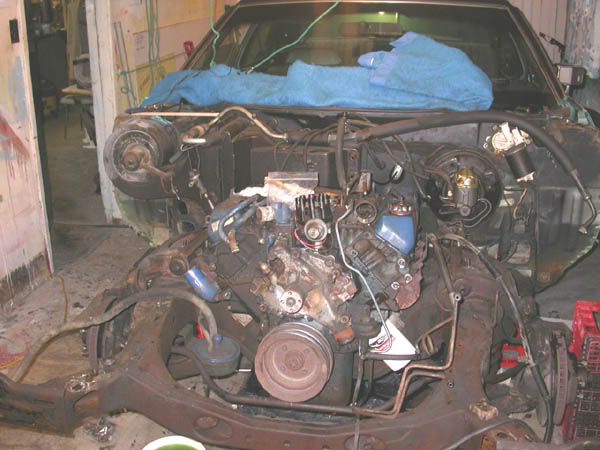
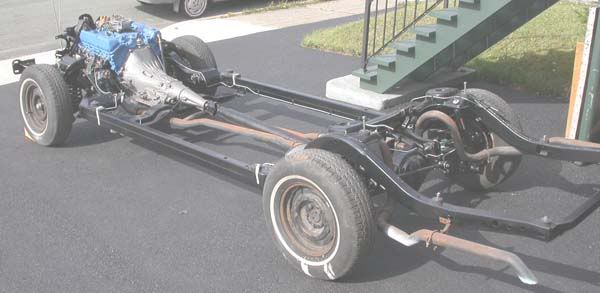
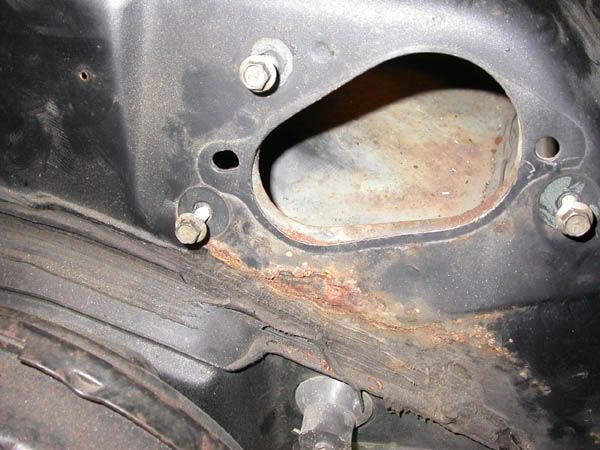
The rope is holding up the exhaust.
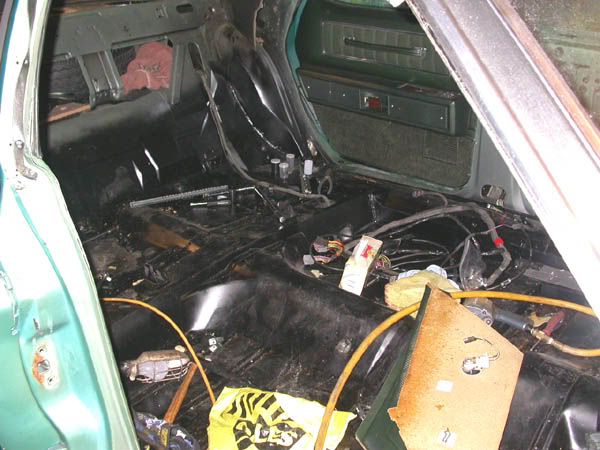
Interior shots
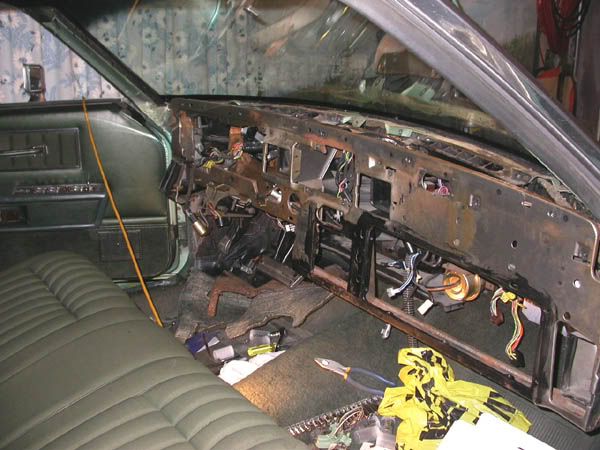
Gutted
Dash chassis gone.

This is the worst rust encountered, that and a small hole each side of the trunk opening, one hole in a rear wheel well, pinholes in the door skin at the lower rear corners (tight spot that catches water) and one hole in the trunk lid that some moron drilled for a hood ornament. Everything else was surface. Solid floor, trunk, doors, rockers. The black paint on the floor is what I did two years ago. Car was from Montana, that helped.
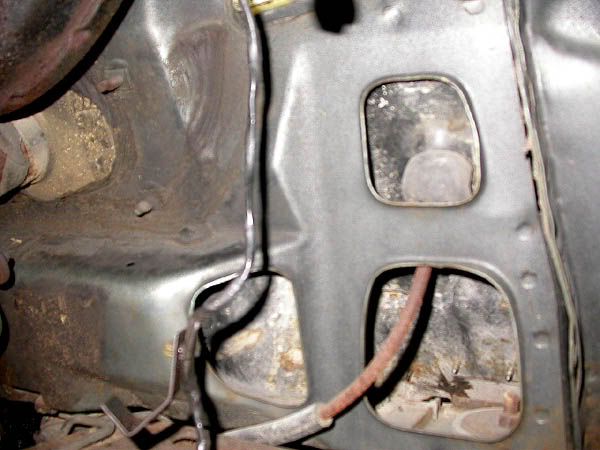
Under the wiper motor
Two bad spots were at the base of each windshield post. A flat area that allowed water to pool.
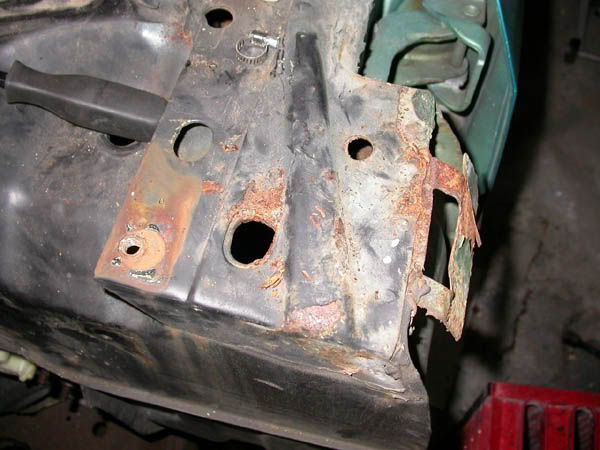
Behind the front wheels near the bottom was a silt trap that allowed moisture to eat the panel from behind.
There was some scale at the base of the firewall. Booster and steering shaft in upper left corner.
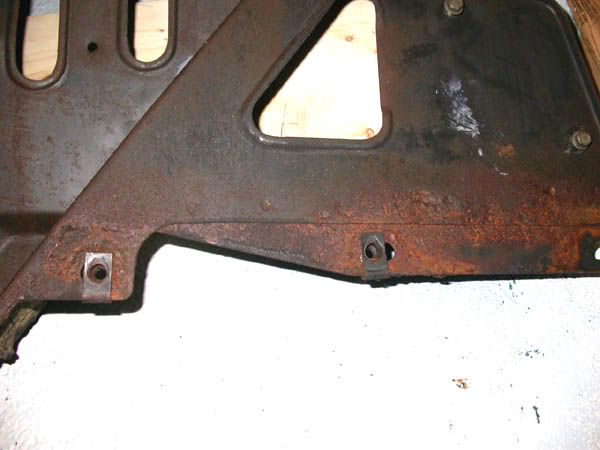
Base of the radiator/fender support frame was shabby
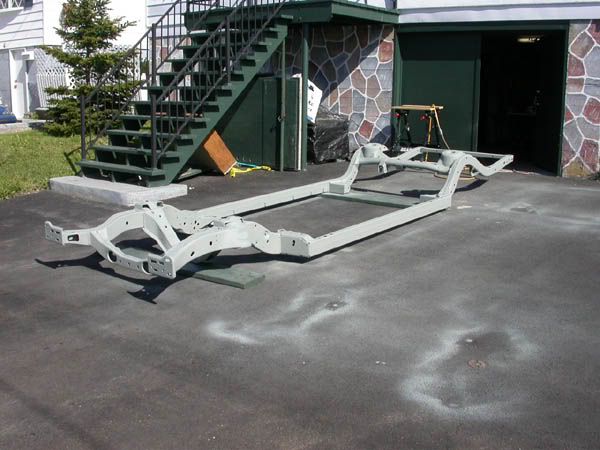
Chassis back from the auto restorer, who's doing the body.
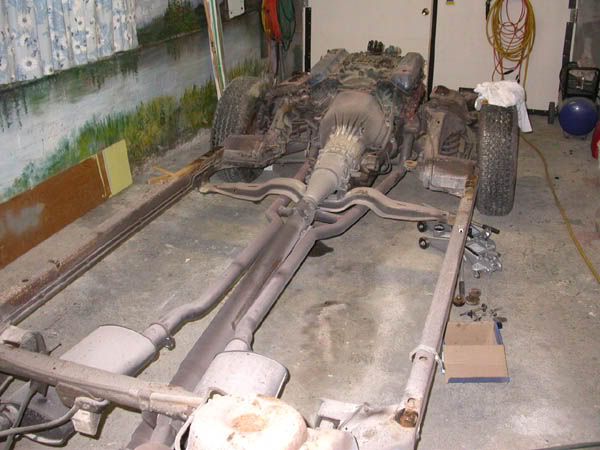
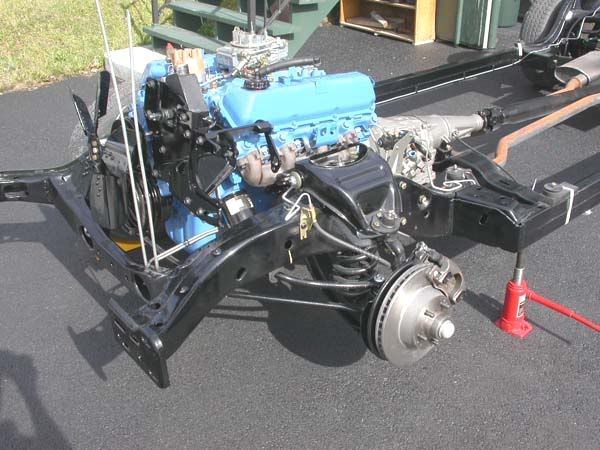
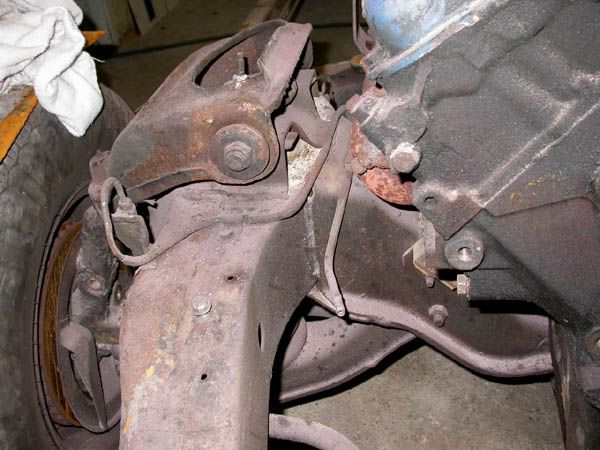
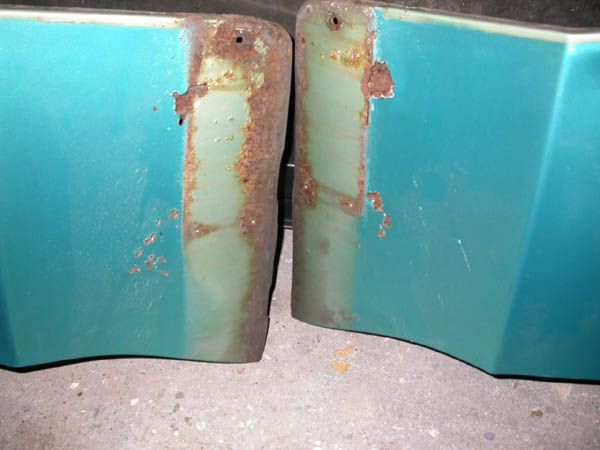
Suspension stripped off. The two rusty rectangles down by the red jack stand are rotted panels cut out of the two front fenders behind the wheels.
Stripped
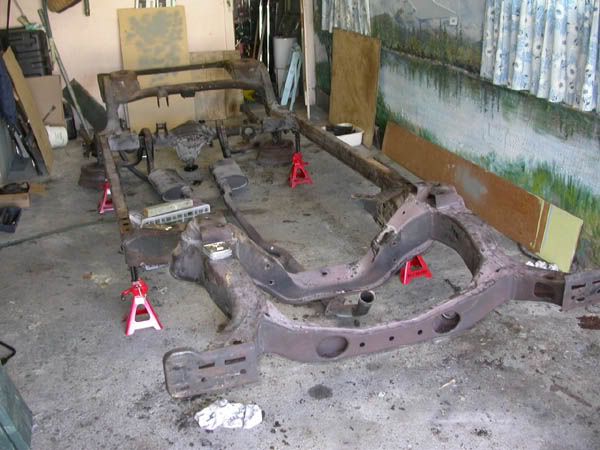
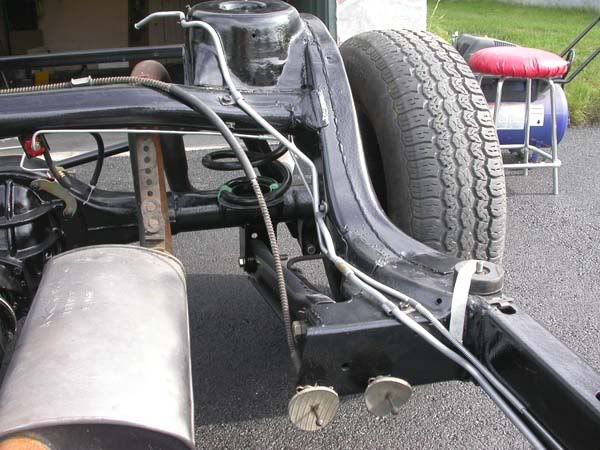
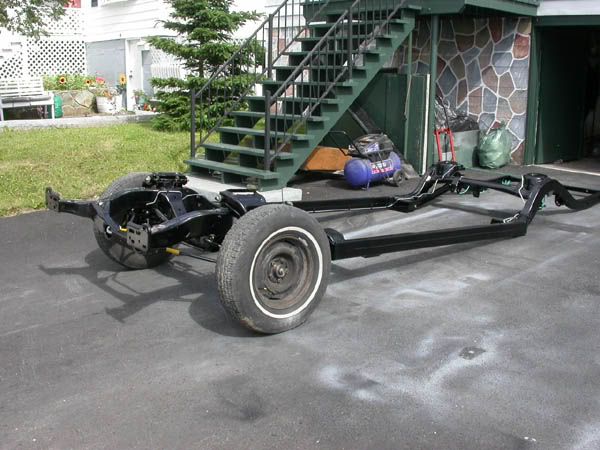
Back from sandblasting and primed. The rear boxes at the ends of the side rails just before the chassis kicks up to go over the rear axle were blocked with silt. Took a couple of hours with the hose to flush silt, rocks and rust scale out. I had a welder check the steel, he said a little thin but not enough to worry about. I have since coated the inside with rust converter and a wax/oil coating.
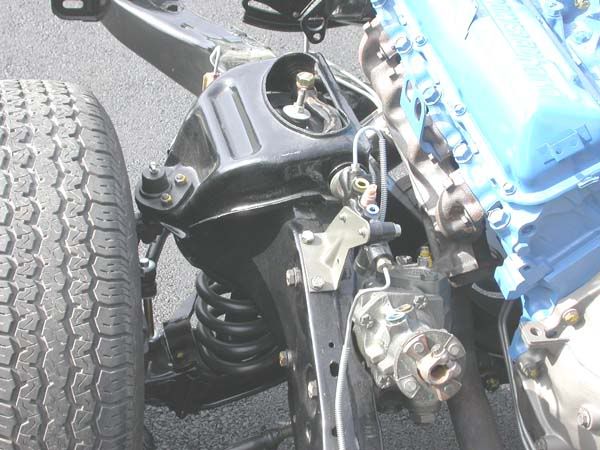
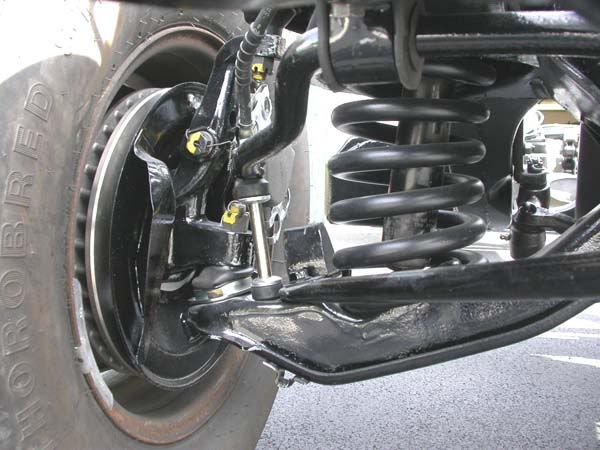
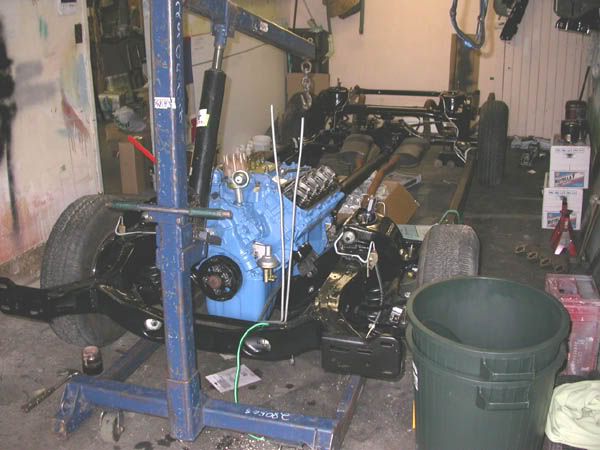
Partial assembly, the front springs were fun. It was like a big wheelbarrow.
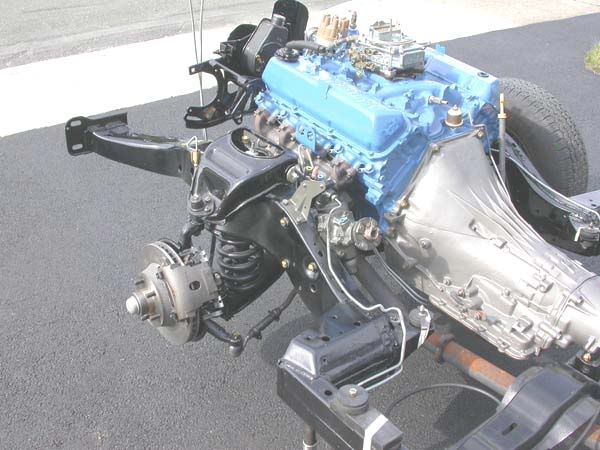
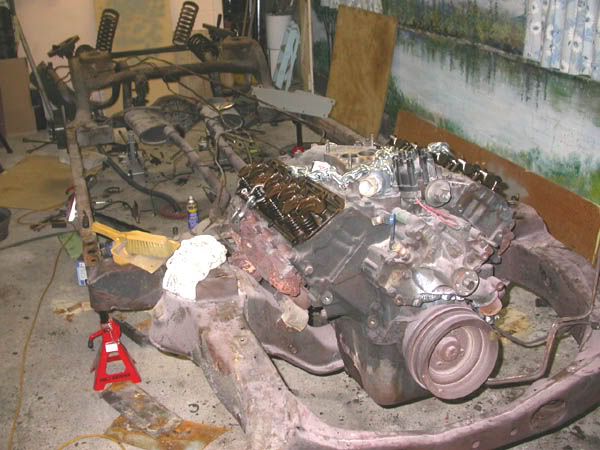
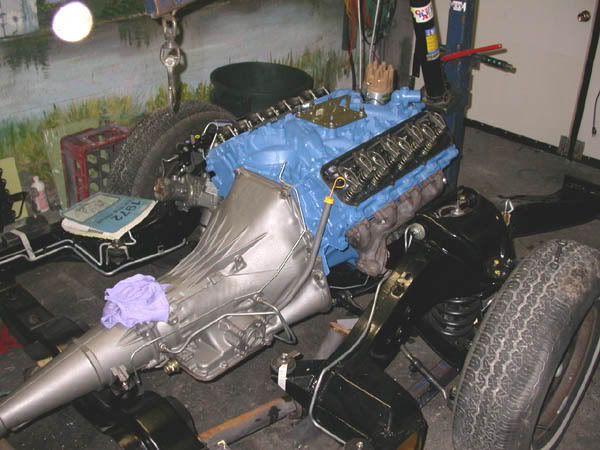
Powerpack in. Practically fell in place. It was too easy which means that disaster must be looming on the horizon.
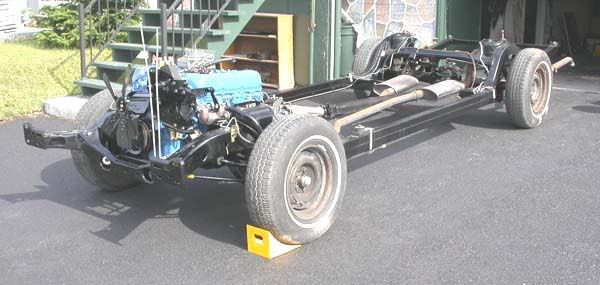
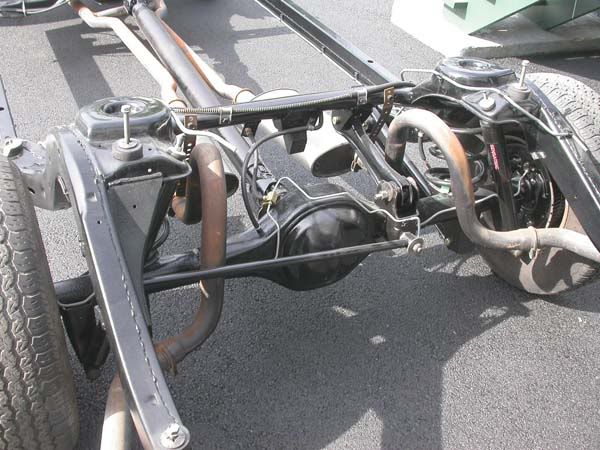
Rear end in... twice!
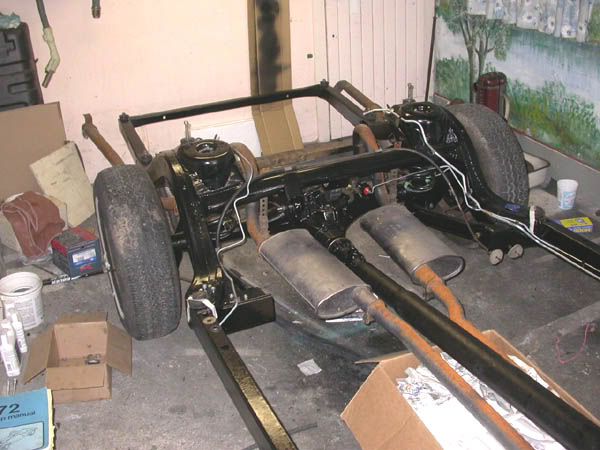
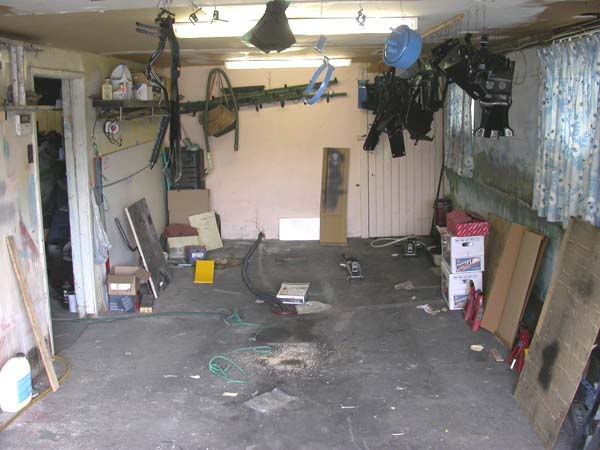
Under construction. It's so easy to work on without the body.
What's been done so far
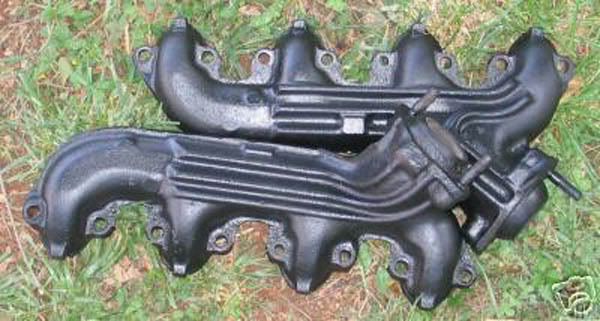
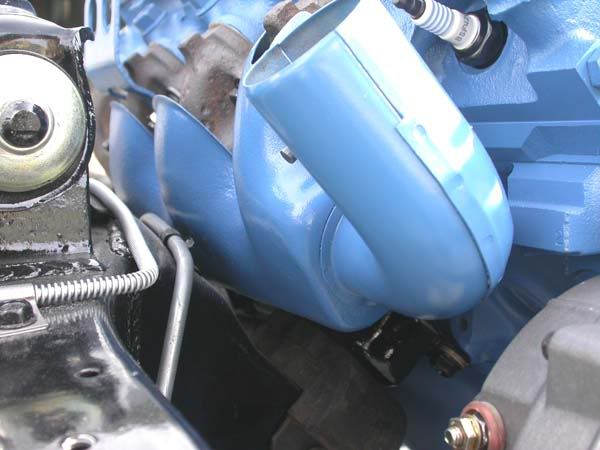
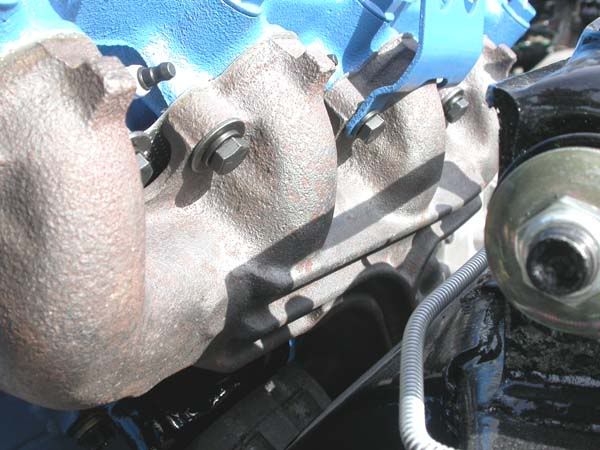
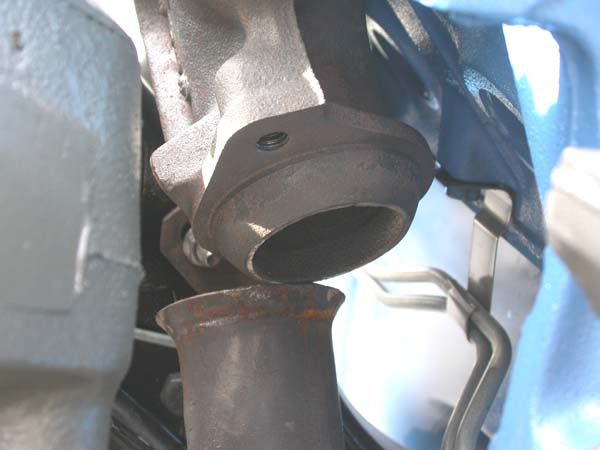
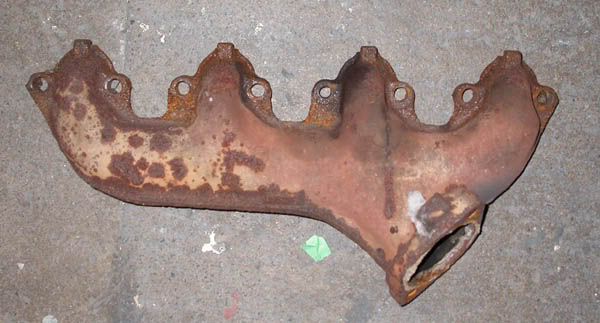
Engine - This was fun. Bought D0VE heads: new valves, springs, seals, exhaust seats and one pitted intake seat, mild porting to remove EGR air boss in exhaust port. New timing set w/o 4 degree retard. (original timing chain stretched beyond recognition. No wonder I couldn't keep the timing right) Original nylon gear still had its teeth. New lifters, pushrods, bearing. New slightly better then OEM camshaft for mild performance increase. New distributor (original worn out) , new crankshaft damper, replaced crank pulley as original was dented. New oil, water and fuel pumps. Base pan very pitted. Replaced with a better used one from ebay. Drivers exhaust manifold cracked. Replaced both from a 75 Lincoln, heavier duty with ribs. The passenger side was already replaced once with a 75 so the pipe just bolted back in. The drivers side will need to be reworked.
Thought I could reuse pistons. Nope. Broken ring in #7 scored the cylinder. Bored .030 over; cast pistons gave 10.5:1 CR. Too high I was told for the mild cam I had and the junk gas here. They found forged pistons that gave 9:5.1 and with a snug enough fit so no cold start rattle. We'll see. (For those who may not know. Forged pistons expand more than cast so they have to fit more loosely. This means some rattle until the engine warms up.) The only other alternative was cast pistons with 8:1 CR. I wanted to go up not down.
I had 72 stamped rocker arms. They wouldn't fit the the 70 heads I had. I was told that the cast rockers for 1970 uses the valve stem to keep from spinning and this causes valve stem wear so I should try roller rockers. I said ok. Unfortunately they couldn't get the valve train geometry despite three sets of pushrods. Arrrg! Eventually went with shorter rocker studs, and the cast rockers and left it at that. Shoulda gone with 73 heads.
Transmission - It was shot. All the seals were rock hard and fell apart. New seals, gaskets, clutch plates, bands and vacuum modulator.
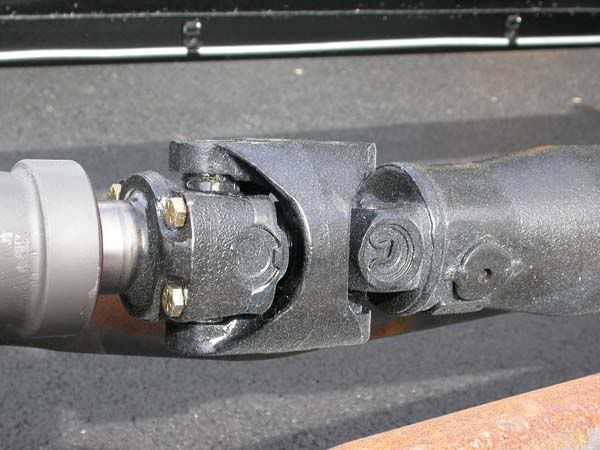
Driveshaft - It was shot. All new universals.
Rear axle - Guess what! New seals and bearings. Had it installed and saw the pinion sealed leaked. Had to remove it, send it back. Repaired and reinstalled. Fine now.
Brakes - Entire system replaced (for safety). Everything new except for the front calipers, booster and metering valve which were rebuilt and the rear drums which were honed out.
Suspension - New shocks from last year. All new bushings (originals rotted) and hardware. All new steering linkage and ball joints (for safety). New springs, there wasn't much sag but it may happen and since I could do it well.... Steering box and power pump got new seals as both leaked. Chiseled off an inch of grease/dirt from 30+ years of grease jobs on the front end. The front springs were a scary experince both out and in!
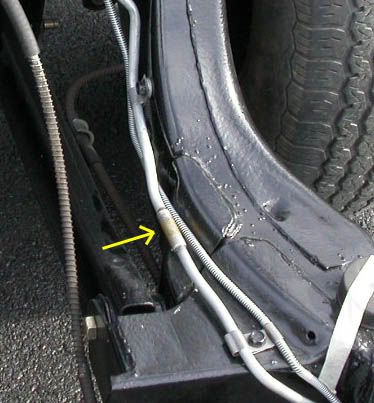
Chassis - Stripped, primed, painted, all new lines for fuel, brakes and fuel vapor return.
Body - stripped not quite to bare metal but enought to get the crap paint and any rust off by media and sanding. Holes filled with sheet metal, now it sits with a coat of sandable primer. When ready it will be dropped onto the chassis. I'll reattach the doors, hood, fenders, grill facia and trunk. It will then go back for blocking out, paint and a vinyl roof in the fall. (Some may remember that I was going to go w/o vinyl but cost and time swayed my decision) Trim rechromed or polished. New weatherstrip. I rebuilt (paint, new gaskets, polished lenses) the tail, parking and cornering lights.
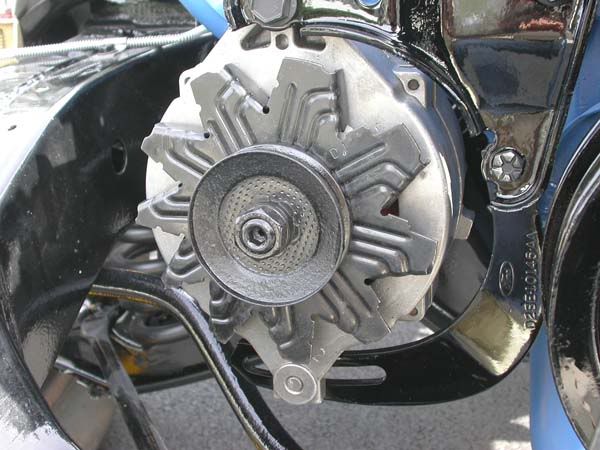
Electrical and vacuum - In good shape. Wires were soft and pliable, no cracks or brittleness a couple of bad connectors. Stripped off old vinyl tape wrap and rewrapped. Vacuum hoses all good, needed cleaning. Starter and alternator rebuilt as both were on the way out. Disassembled and repainted heater and wiper motors.
A/C - Don't know what I'll do here yet. Evaporator good, condensor shakey, hoses good, compressor appears ok.
Interior - Very good condition. I'll replace the sound deadener and the insulation but that's it. Everything else will be cleaned.
I think the car had 156k miles on it. The engine top end doesn't show it but the brake pedal is a strong clue. The steel trim around the pad has one edge worn through. The worn out distributor bushing is another hint. I think the engine was rebuilt along the way and the crank pulley was dented during an engine pull.
Like I said this project just kept growing. Once I started removing things I could see other things that needed work and this led to other things etc. The usual suspects and ebay were a big help. Powertrain, body, rechroming, glass install are professionally done. Everything else I'm doing myself.
In the end a lot of this
I'll keep updating if anyone's interested.
Edit: grammer, spelling and clarification.